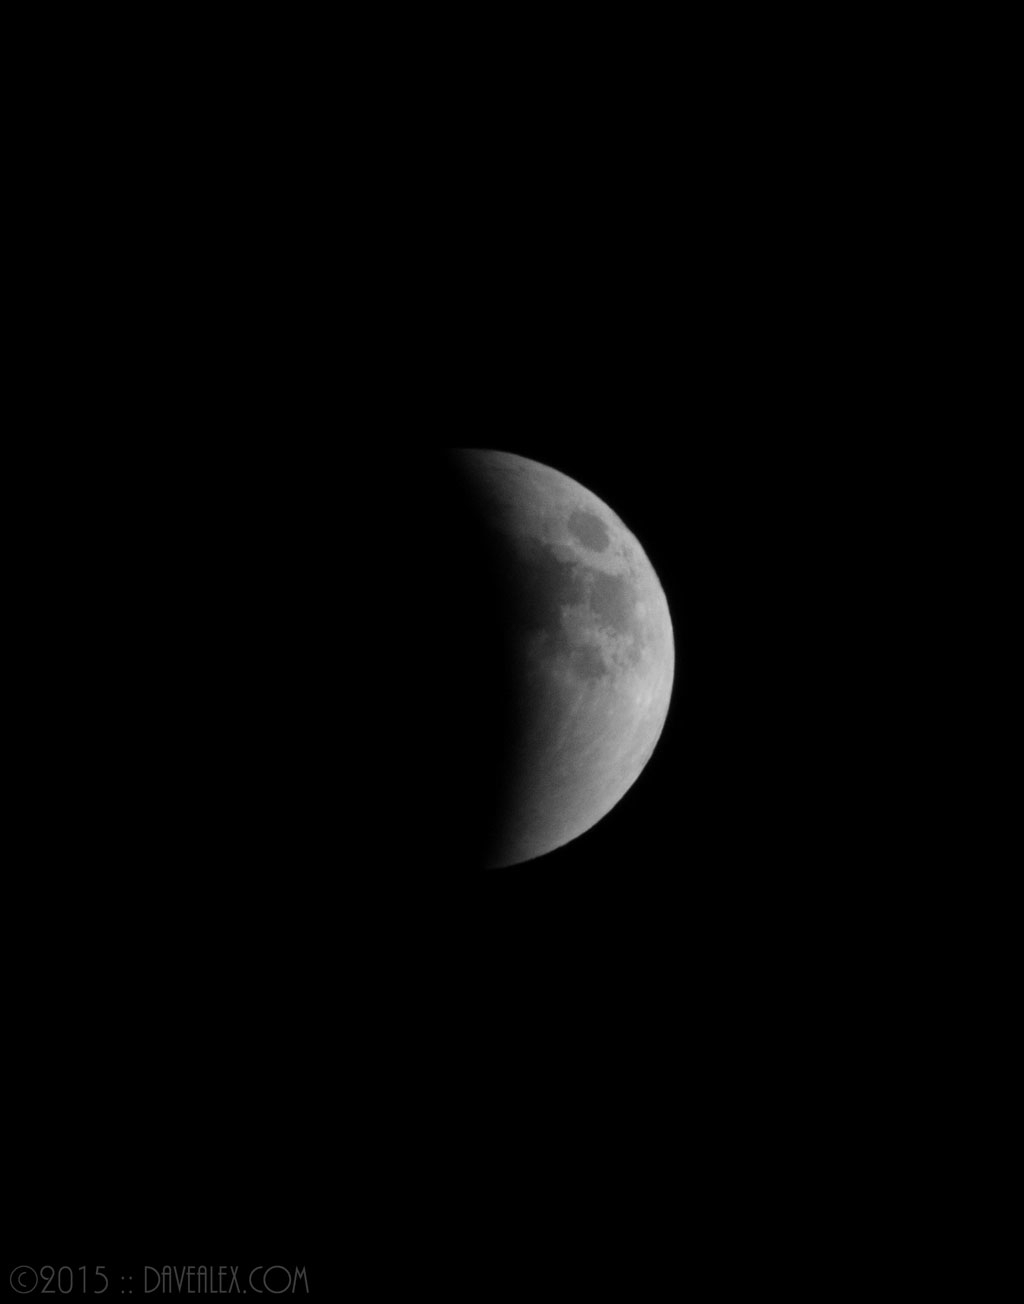
Man I just love the sound of that (the Blood Moon), kinda gothic and fitting around fall as Halloween approaches! During this orbit, the full eclipse was at a nice time where most folks could enjoy it; which is awesome because everyone should enjoy these celestial events, IMHO! My kids finally got to see it due to the early time. Here is the blood red super moon!
Assuming no cloud cover and available where I live, I always watch these eclipse events and usually pull the camera out and photograph them. In the recent past events I noted having trouble dialing in the setting for photographing the event, especially getting the blood red part in focus and alternatively the bright partial moon in focus. My goal this time, other than enjoying the entire event, was to dial in the settings and process so next time I can focus on some more creative elements of photography and not so much of the technical stuff.
Because I tend to forget stuff that I don’t use often, I figured I’d document my findings which would at least serve me for future events. As a bonus, hopefully this is helpful to others that want to photograph these type of events and maybe haven’t known how to do it. Finally, I’m hoping that someone with much more experience and skills than I could also chime in and provide some suggestions for my next attempt!
A couple of quick tips I use whenever doing low-light photography:
Tripod. I most always use a tripod in low light. I configure such that I don’t have to bend over or position myself around the legs, simple ergonomics! I put the “V” on the legs spread so I’m in the middle of it (hmmm…); and extend the height so I don’t have to bend over or stand on my tip-toes. You need the tripod as you can’t hold the camera still enough to capture the low light and stay in focus.
Focus. This is still one of the harder parts for me because focusing all the way out with the camera lens is never going to give sharp focus. Focus depends on the temperature and other environmental factors. I tend to use auto-focus if I have a light source far away, and then I turn off auto-focus and fine tune from there using my eye in the viewfinder, and then taking pictures and reviewing the zoomed digital screen. Many times I don’t have a big enough bright source so it is just trial and error.
Image Stabilization. Turn that bad-boy off. There is a slight vibration when in use that will give you less focus. Image Stabilization isn’t needed for tripod work so it always gets turned off.
Remote trigger. This is a wired remote that allows me to trigger the shutter (and lock it, if doing time lapse) without touching the camera or tripod setup. I recommend these so you don’t have to touch the camera when taking the picture at all; which more often than not causes some blur in my photos. This has a really small adapter so do this in the light (cell phone flashlight apps are good for this).
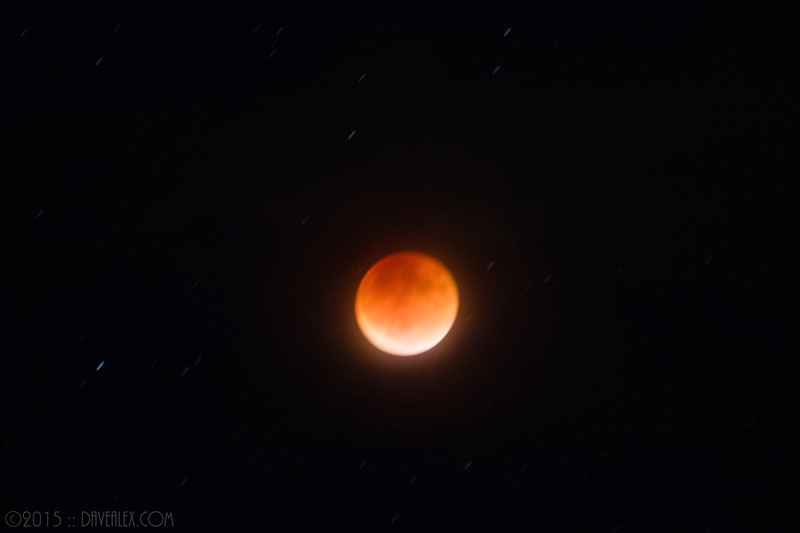
Now to the camera’s configuration. With low-light situations, especially a lunar eclipse which lacks light by definition, you want to capture as much light as possible, in the shortest amount of time possible. A problem is we’re on a moving object (yes, the earth is rotating) and so open exposure will result in blurred photos if open too long. My rule of thumb for stars (when shooting meteorites) is 8 seconds max. When shooting severe weather (clouds and such) in low light it is about 4 seconds max. For the moon in crisp focus since there is tremendous detail, I’m shooting for the smallest exposure possible. Below is a picture when the exposure is too long, notice the stars starting to trail and the moon being blurry.
I always shoot in Manual Mode. Note that this mode isn’t available only just DSLRs, my daughter’s trusty (and inexpensive) point and shoot Canon also has a manual mode and tripod mount and can take great low-light photos! There are three standard adjustments that all are interrelated that I work with (note these are my layman definitions, for more scientific and precise information, you should check out other sources):
a) Shutter speed governs how long is the shutter open and letting light in.
b) Aperture or f-stop is how big does the shutter open up, letting in more (or less) light while the shutter is open.
c) ISO is how fast the “film speed” is, which in DSLR terms how quickly the light is absorbed onto the photograph.
d) This is not configurable, but the lens speed is how much light your lens can let through quickly, or how expensive is your glass. Rule of thumb, the more expensive, the quicker!
Because I have too many hobbies I’m limited to what I can spend, so a fast (expensive) lens is not an option for me at this time, so I get a slow lens and have to work with the other configurable factors. A faster lens will let more light in by default allowing more optimal camera configurations.
Back to my goal, I need to let in as much light as possible in the shortest amount of time, so I typically go with the lowest f-stop setting my lens allows and I adjust the exposure and ISO.
Because I want to let the earth move as little as possible while the shutter is open, my goal is as fast shutter speed as possible.
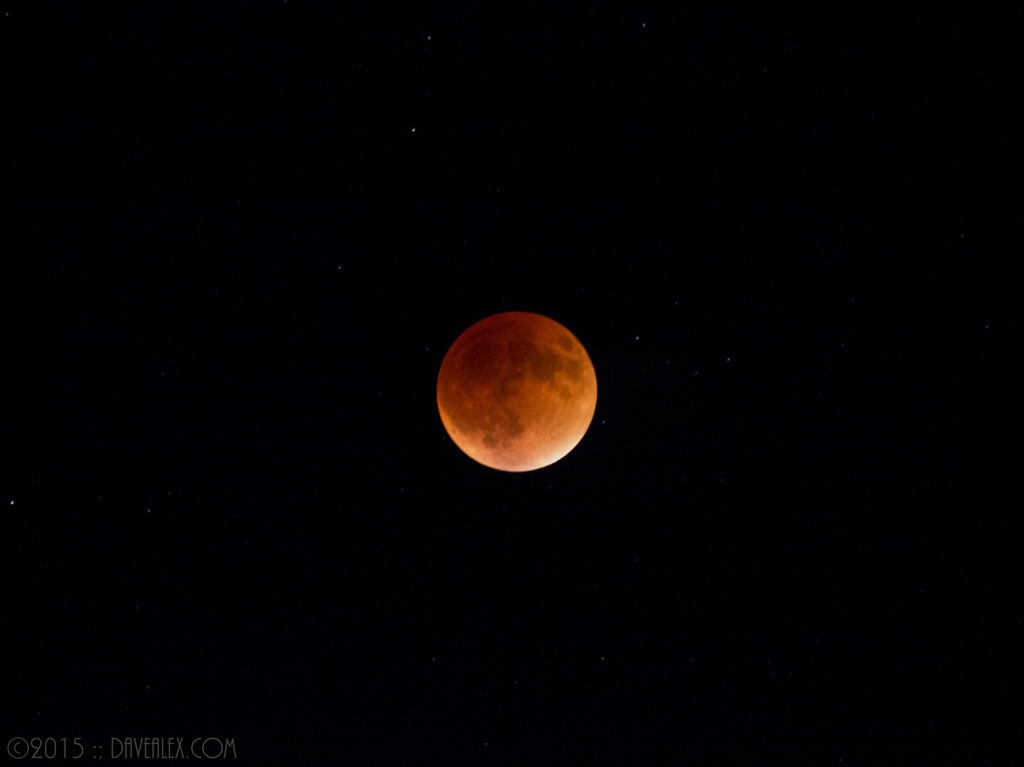
Because I want crisp and sharp pictures, I need to balance with the lowest ISO setting possible (higher ISO absorbs more light which is great, but also absorbs noise “pixelating” your picture). Here is a pretty noisy photo taking with a very high ISO (3200), you can see the graininess in the moon. Are those dots around the moon stars or noise? I believe stars but noise looks basically the same!
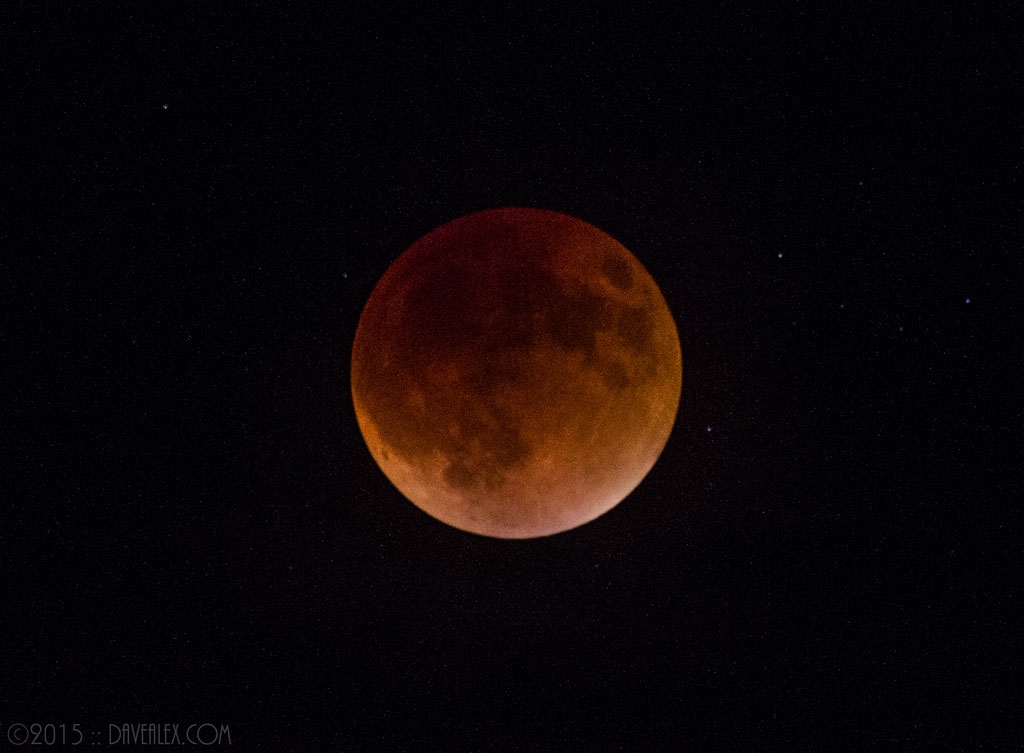
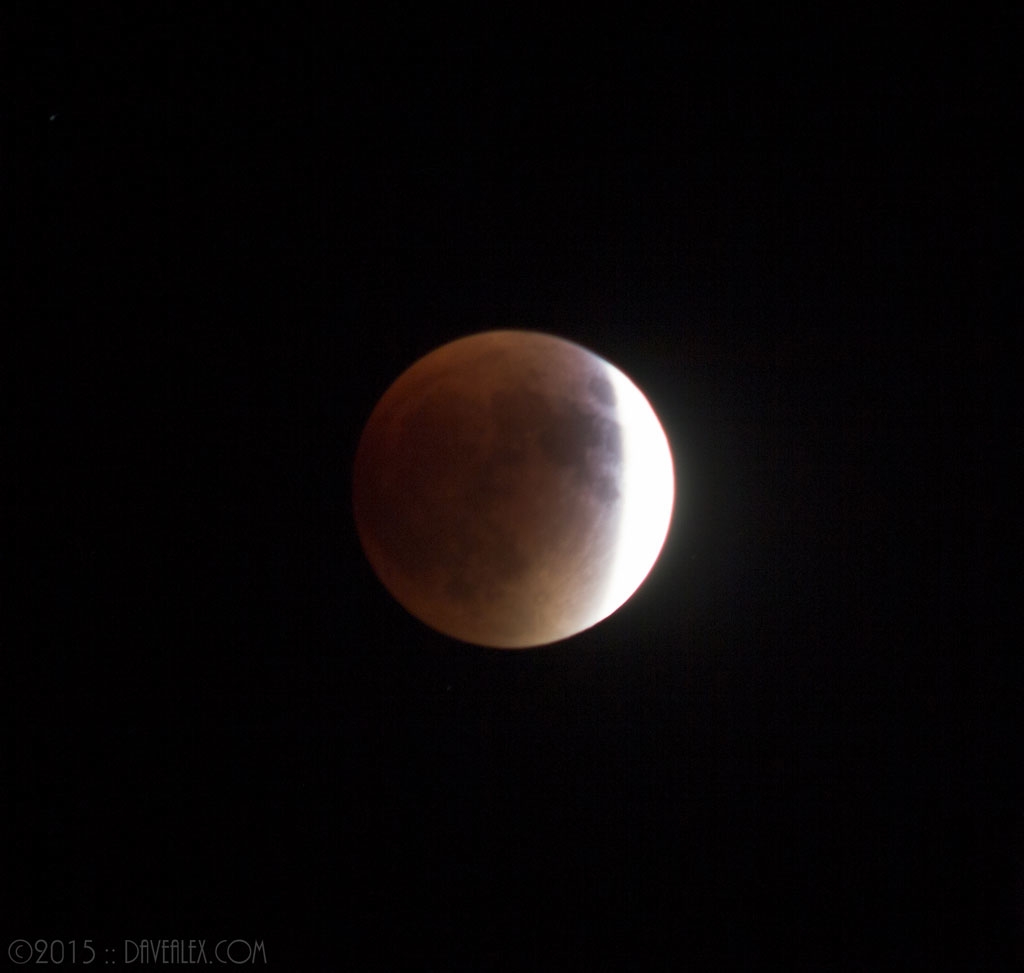
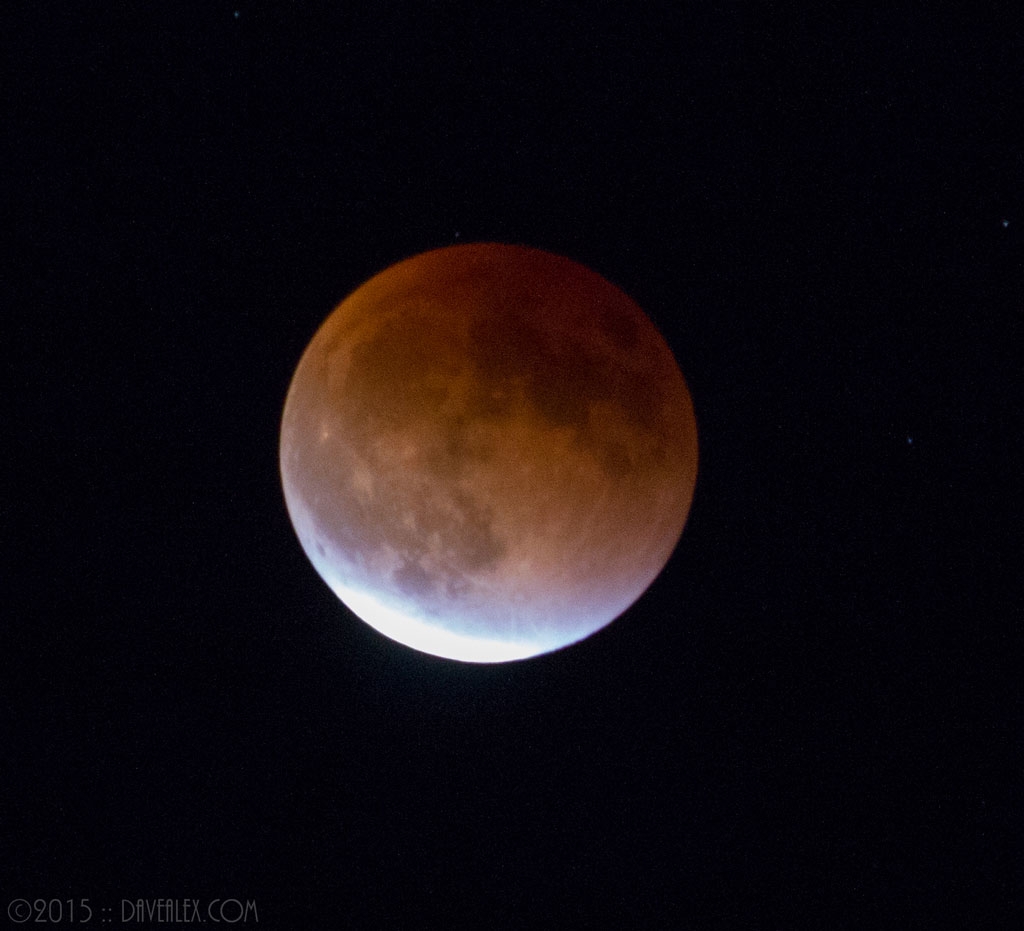
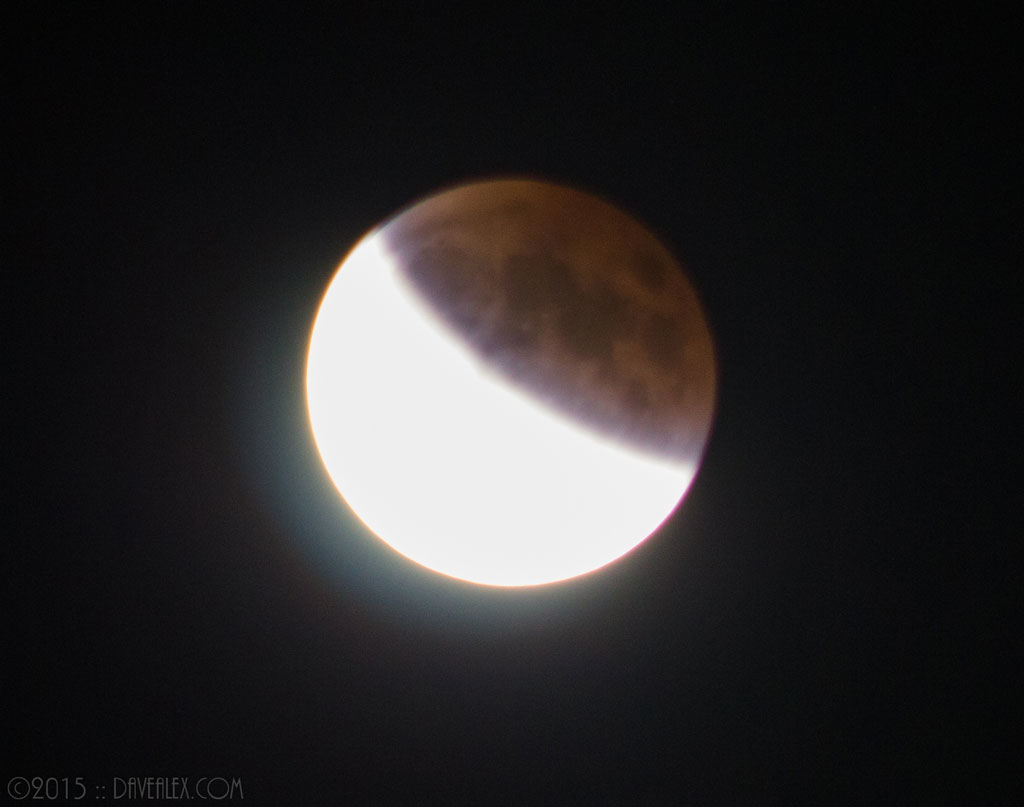
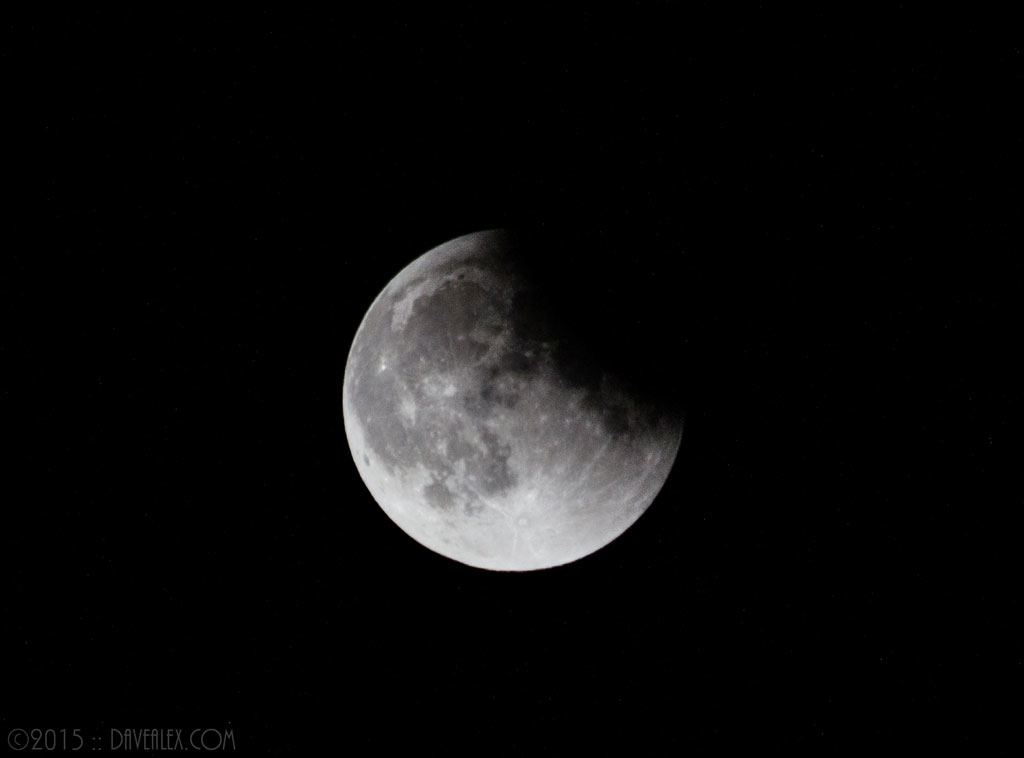
There are really two phases to the moon eclipse, when it is partially eclipsed with the sun’s reflected light and our shadow on the surface; and when it is fully eclipsed and very dim. As the moon is entering/exiting the eclipsed state, I often want to get the blood red part in focus but also the bright reflective part in focus too.
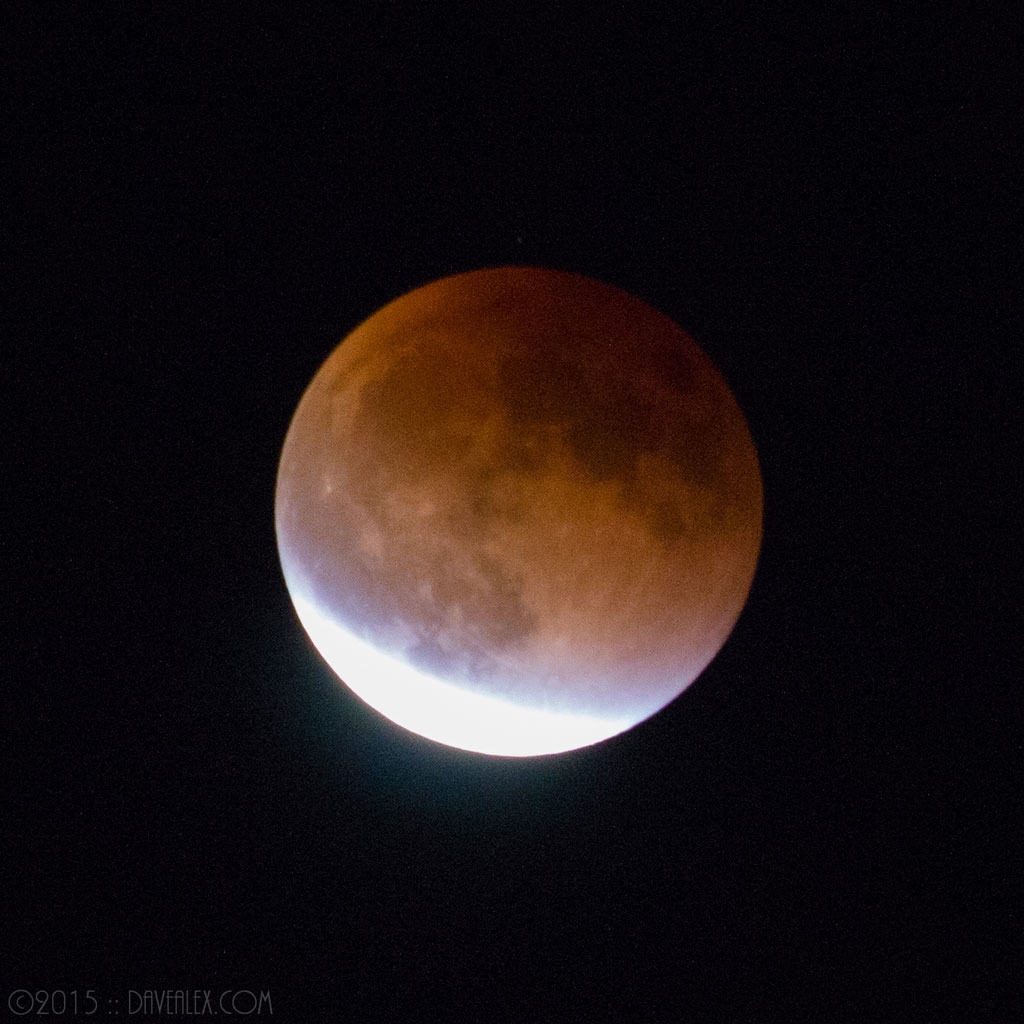
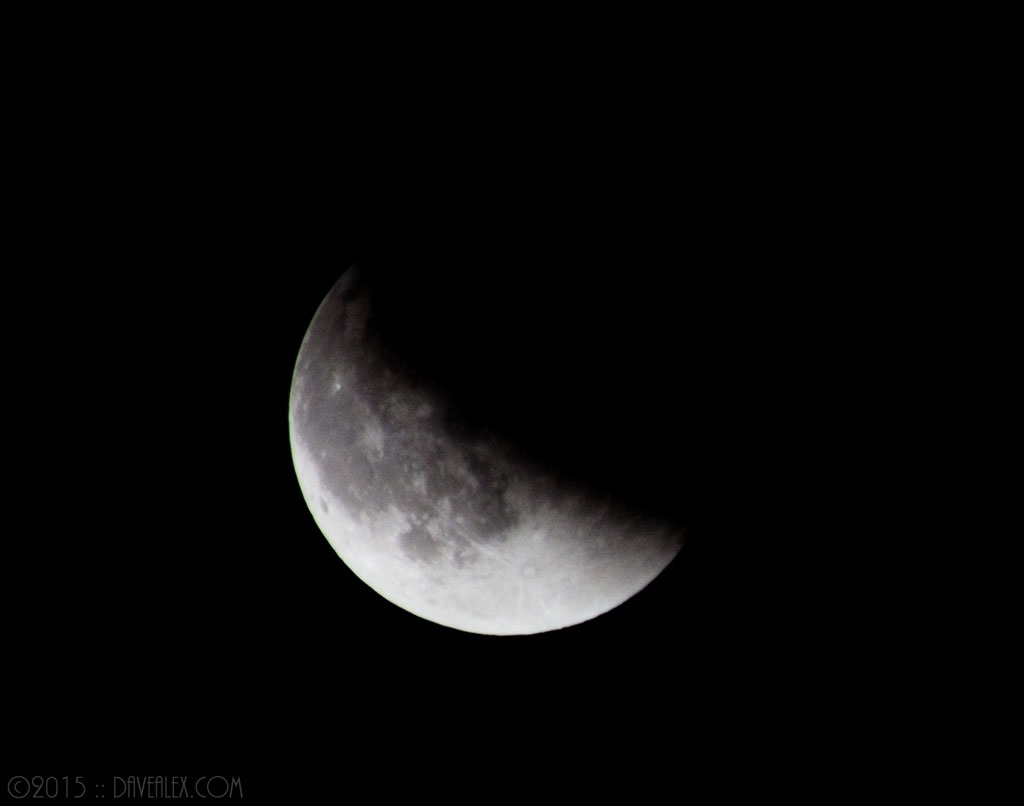
I was able to dial it in last night such that I could make one adjustment and capture both of my goals as it was entering/exiting the eclipsed phase. I am using a Canon EOS T2i with Canon 70-300mm 1:4-5.6 lens. My f-stop was 5.6 at 300mm and my ISO was mainly 800 or 1600. I would switch between 1/4 second for the blood red perspective and 1/1000 second (or even faster as it got less eclipsed) for the bright perspective. Simply switching the shutter speed back and forth I was able to capture both perspectives of the eclipse!
What a fun night, and wonderful celestial event! Next up, October 8, 2015 the Draconids meteorite shower, and then October 21-22 is the Orionids! Can’t wait!
