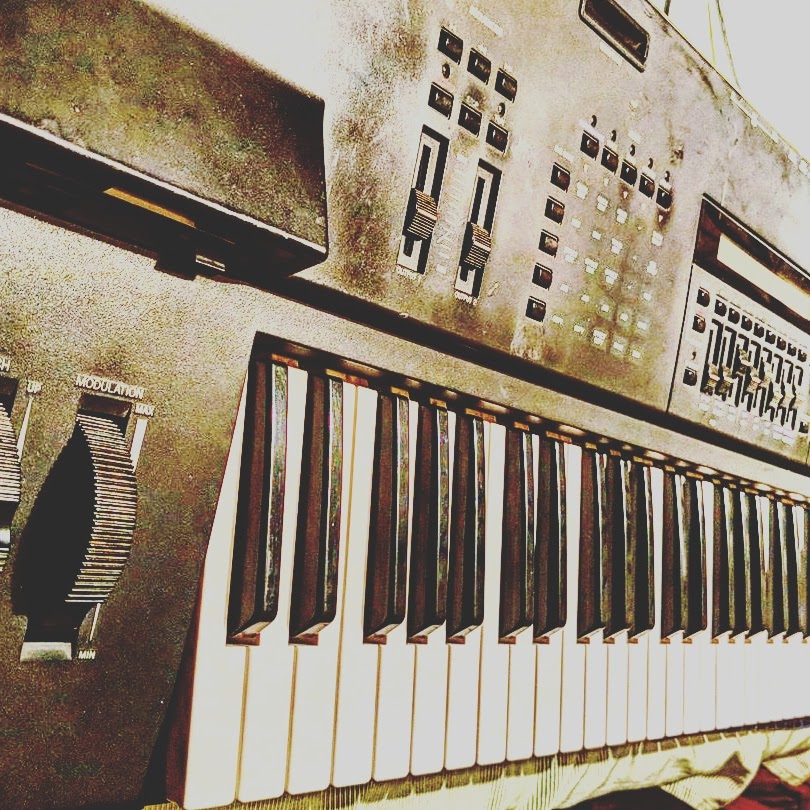
I purchased this classic 1992 Advanced Wavetable Synthesis 2nd Generation workstation keyboard the other day needing a little TLC. The person I bought it from was forthright and disclosed several of the issues and was happy that I was going to dig into it and see if I could fix some of the issues. A fun project and the price was right.
There were several more issues that weren’t disclosed by that I found after a thorough investigation of the synth. How I do this is inspect it on the outside looking for any broken or malfunctioning parts. That involves taking a dive in the mostly-menu driven UX, testing all buttons, knobs and sliders, and playing with all the tactile-driven features that the synth offers. After thorough inspection, here is what I found:
Outside:
- Power Cable had been frayed and was taped; scary and for sure to be replaced
- The bottom was missing one of four of the feet
- Pretty grimey and generally scuffed, likely sign of getting good use!
- The middle-C# key would stick; meaning when you pressed it down it would stay down, but you could pull it back up
- The C key had a chip out of the front underside, not that big of deal cosmetically but important as a clue of prior trauma
- The diskette drive was noisy and when playing the synth you could hear bleed-through from the motor of the drive; the seller had stated when he got it the diskette drive had popped out and he had to push it back in
- The diskette drive’s red light was continuously illuminated
- All sounds were at the preset sound; nothing in memory
- The sequencer section wasn’t working; but I’m not familiar with all the features of the synth so this could be neophoetic
- The aftertouch didn’t appear to be working
- There was no memory installed; but YamahaMusicians.com had a great moderator and suggestion for super-maxing the unit, so check into a volatile memory upgrade
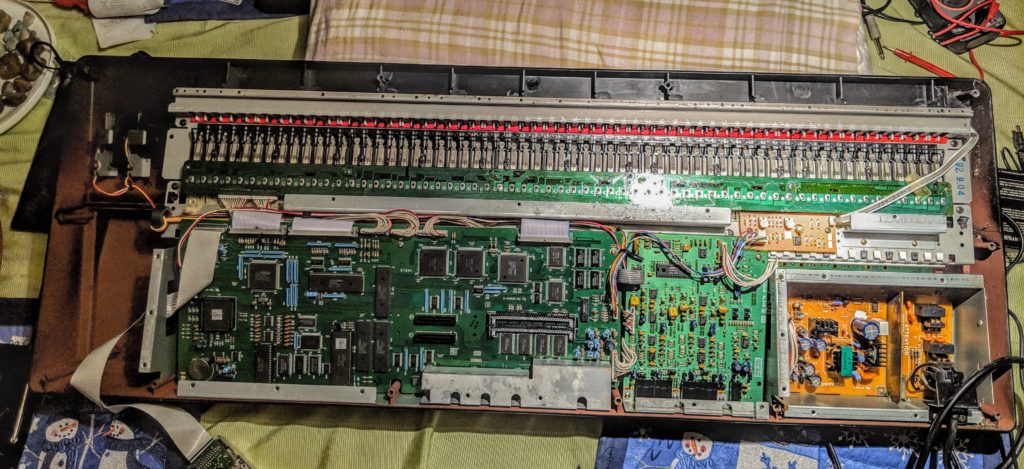
Taking the synth apart consists of the same procedure for all synths–take out all the screws on the back panel and open it up and see what you’ve got. The SY-85 frame requires that you take out two circuit boards before taking out the keyboard assembly; so to do any keyboard work you have to disassemble much of the unit. Since I didn’t find any problems with the front panel, I didn’t dive the one-layer deeper needed to fully gut the keyboard.
Floppy Diskette
After removing some screws the drive was mounted on a tray. To get to the drive circuitry and interfaces you had to remove that tray, and when I did after inspection the drive looked sound. I reset the interface cables, blew it out with compressed air, and reset the belt for the drive. I then mounted the tray back to the drive for safety.
Keyboard
Typically when I do keyboard work I spend the extra hour or so and really clean and polish up the keys. That is the primary human interface and gets the most use; and typically grosses me out. I pulled the electronic switches and interface off and put it aside for safety. I then pulled off all the keys, starting with the one that was sticking.
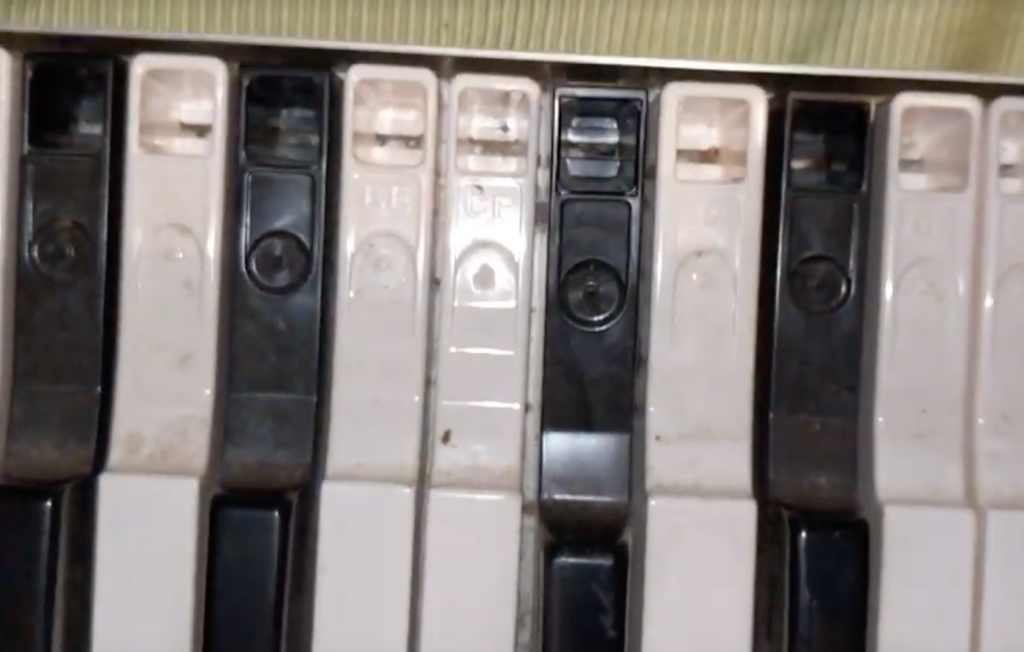
To remove a black key you first need the white keys surrounding it pulled out. Most keyboards have a plastic clip that runs along the entire backside of the keyboard assembly. This fits perfectly in the space between the keys and metal frame. With this clip removed from the keyboard there is just enough room to push the key back and it will pop out of the metal assembly. You then slide it forward a bit and lift it straight up and away.
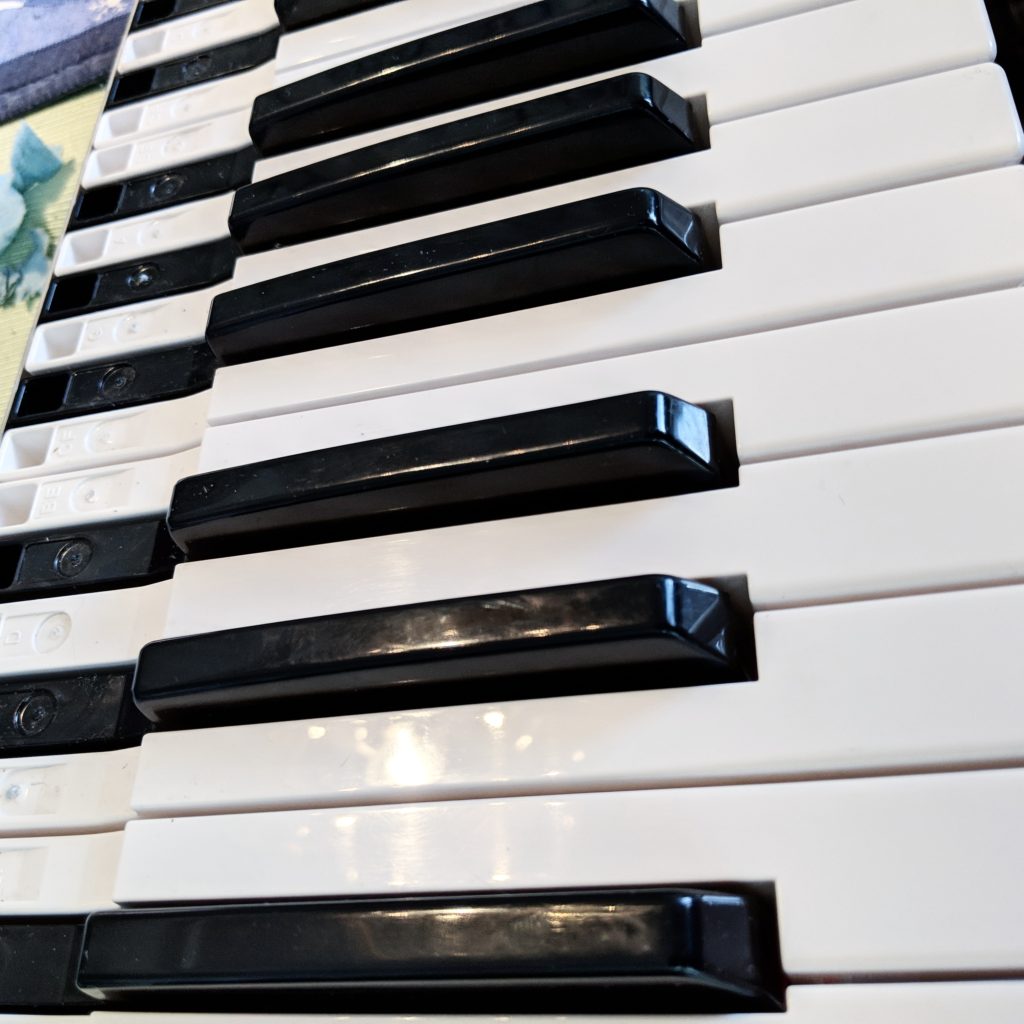
In looking at the white key that had a chip and the black key, on the end of the key there was a chip that appeared to let the key drift to the right which would drag on the white key next to it. I wondered if that little chip would cause this problem, but assumed I may have to order a new black key.
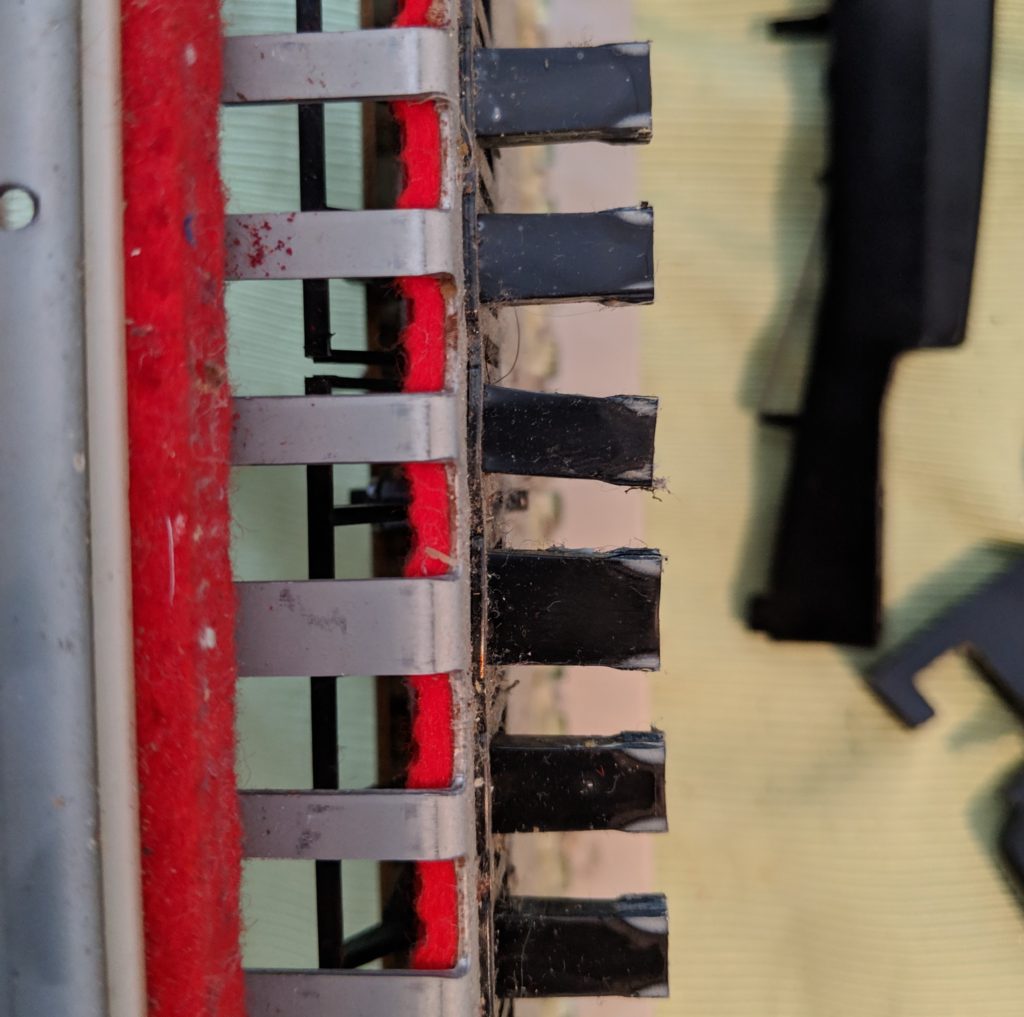
After removing all the keys I took a look at the metal assembly. I noted that there is a post protruding from the assembly whose purpose is to align each key as it is pressed. The post where the black was sticking was bent to the right–obviously the problem. The alignment post to the right, or for the D key, was also slightly bent. I used pliers to gently bend these back to their perpendicular origin. I’m guessing that something had fell onto the keyboard or the keyboard fell causing brute force trauma to the unit; bending and chipping a couple of keys. It was very localized to the middle-C area of the keyboard.
When taking the keyboard assembly off of the case I noticed the two front screws were not affixed to the case any longer as those enclosure mounting points were broken. These were made of the hard plastic like the rest of the case. I was able to remove the screws from the broken plastic risers with a plier and screwdriver. I used super glue in several coatings to firmly affix those broken risers back onto the main case. I let it dry about 8 hours and then added another round of glue inside of a paper containment ring I made and wrapped around the shaft…given me a solid glue moat around the base of that shaft for extra support. I let it dry for a day.
Aftertouch
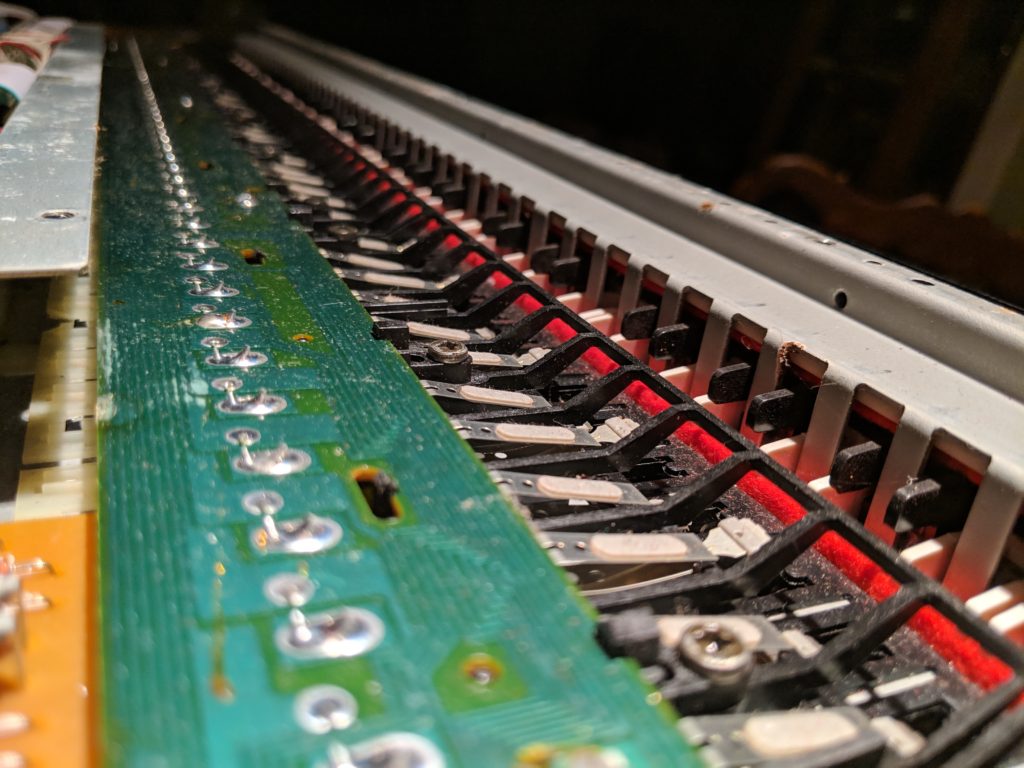
There is a PCB on the keyboard assembly that was connected to the front of the keys, likely a velocity and/or aftertouch sensor strip. It had a semi-fragile flexible cable connecting the strip to the PCB. The connections were different than I’ve seen; but they fit down in a ribbon strip connector and a plastic piece snaps over the top locking the cable in place. I reset this cable.
Power cable
The power cable situation was scary. This synth uses a groundless 2-prong plug with a round wire leading into a metal mount on the back of the synth case above the power supply. There is a plastic grommet used to prevent the cable from getting forcefully yanked out of the mount. I purchased a 12-foot extension cable from the hardware store for less than $10 and cut the female connector. Using wire cutters I freed up 4 inches of black and white cable.
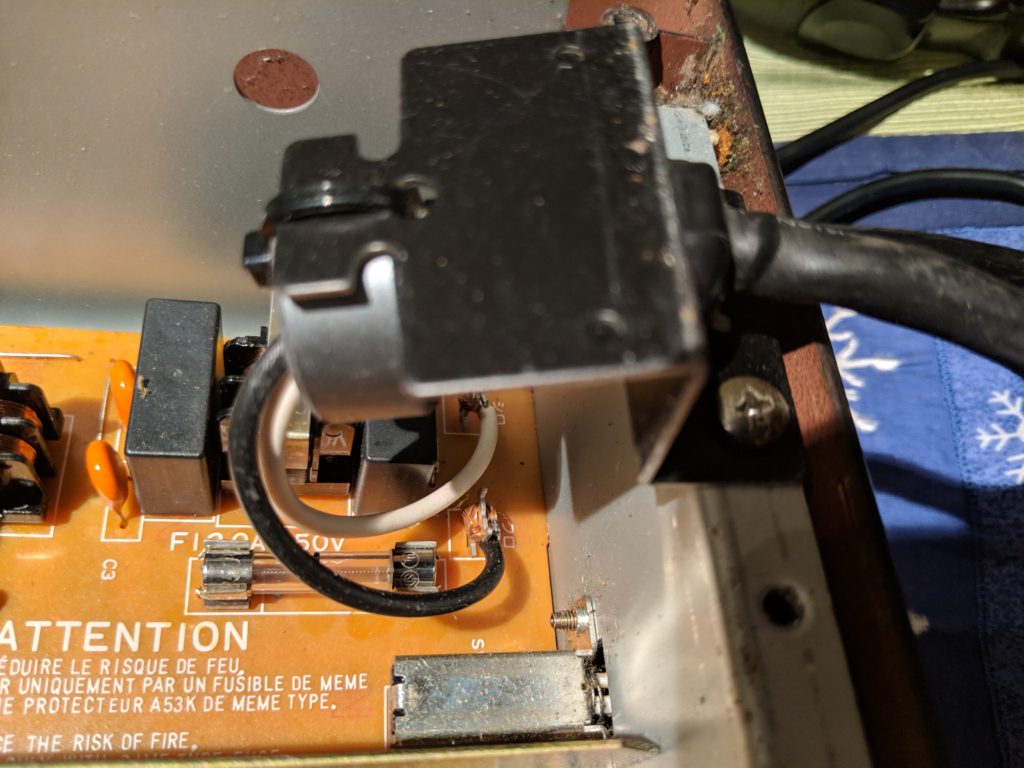
To remove the existing cord I simply had to unwrap the copper wire from posts on the power supply board–there was no solder to remove. I removed the cord from the mount and then removed the grommet. The new cable I put back in the grommet, and then with pliers put the grommet in place and it snapped back into the metal mount. A pair of pliers works really nice with the removal and insertion of the plastic grommet into the metal frame. I then wrapped the copper around the shafts and gave it a little solder to prevent it from slipping off.
Missing foot
I found one of these available at my go to synth supply shop Syntaur. I ordered this foot and a replacement battery. Often I’ve seen a battery failure completely dump all the memory of the synth, perhaps that is what happened here; and since the battery is cheap it makes no sense to not replace it.
Memory upgrade
I found a great forum YamahaMusicians.com that has a ton of great resources for the SY-85. Among them was a posting about upgrading the volatile RAM beyond its maximum specified limit. The SY-85 has two memory slots on the PCB under the 6-screw access plate on the bottom of the synth case. At the time 1MB chips were what was available which maxed out the synth at 2.5MB (it started with 512K base memory). This article explains how the synth could use up to 2x 4MB memory sticks for just under 9MB of volatile RAM. Note that volatile RAM would lose any samples loaded when the machine was turned off. There are also two jacks for non-volatile RAM upgrade (1MB each), but I haven’t yet found a cheap solution for this upgrade. I went to the website they recommended and ordered two 4MB sticks.
Firmware
I put back together the synth and power it on. No smoke happened and a perfectly functioning keyboard, aftertouch and simple patch were working.
From there I downloaded the factory reset disks, again from YamahaMusicians.com, in their downloads section. You have to be a member to access this but it was free and easy. I have a USB floppy drive and I only have HD 1.44MB diskettes. In 1992 that was not the standard so you have to format the diskette 720KB, and must put tape over the open hole, the one without the sliding write-protection tab. Once taped up, I used my USB floppy drive on my Windows machine to format to 720K. I then copied the file for the reset disk I downloaded from YM.com. I put this in the better functioning diskette drive (it no longer makes audible noises through the audio path) and loaded the factory settings. You could also SYSEX the reset using MIDI if you don’t have a USB Floppy Drive or other way to copy the file to the diskette.
I’ll let the synth sit for about a week unplugged and turned off to see if it loses its memory. By that time the memory and new battery should arrive and I can install both. Note that the battery installation requires soldering skills and one should always be extremely careful not to overhead the battery or it can explode!
Hi Dave,
I enjoyed your talk at our club meeting last week (LGMC), I look forward to doing the dig with you next week in Golden.
Bob