
Quick Guide to this site…
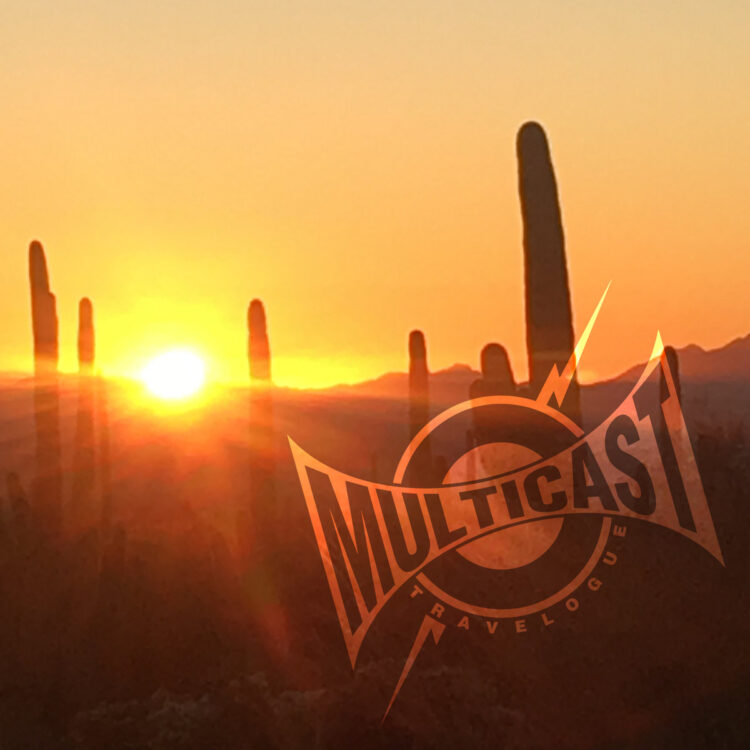
What a journey it has been. Multicast’s Travelogue
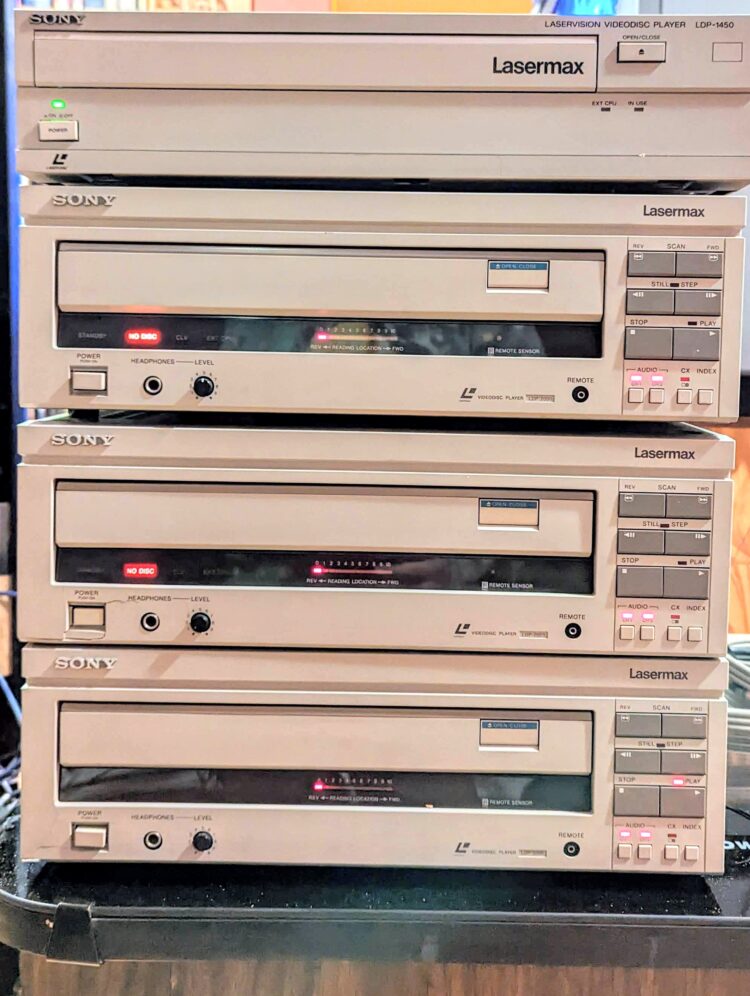
Laserdisc game parts for sale
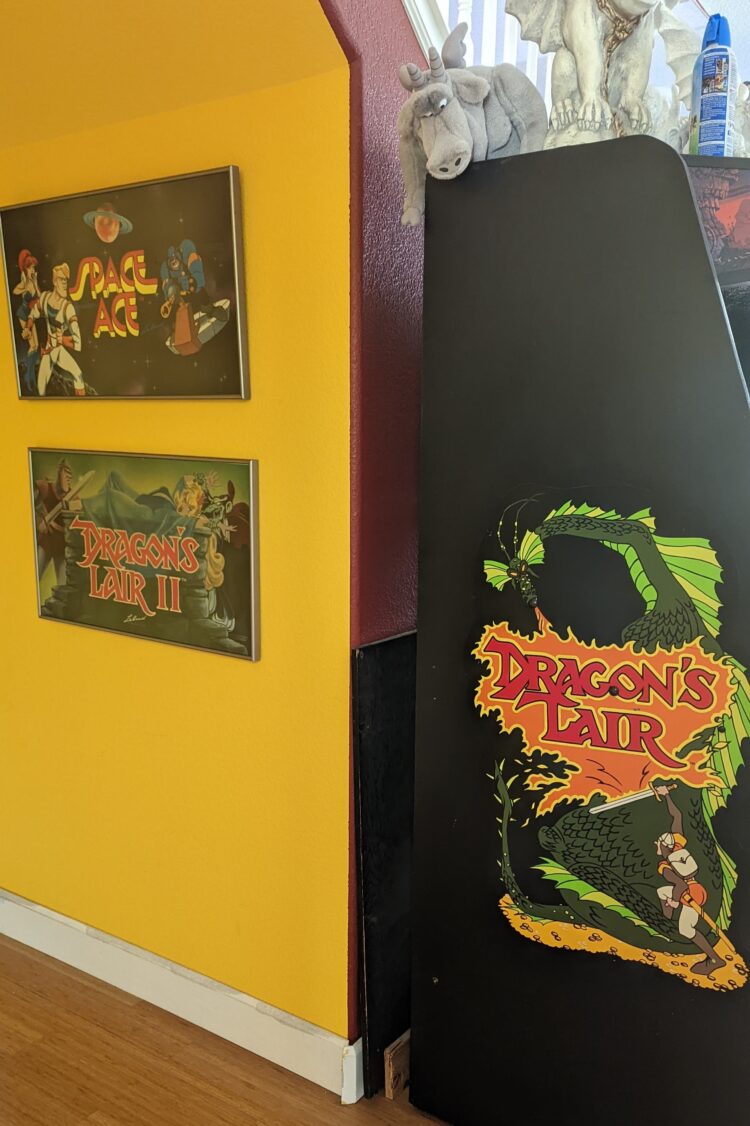
Dragon’s Lair Arcade Multigame Upgrade Project
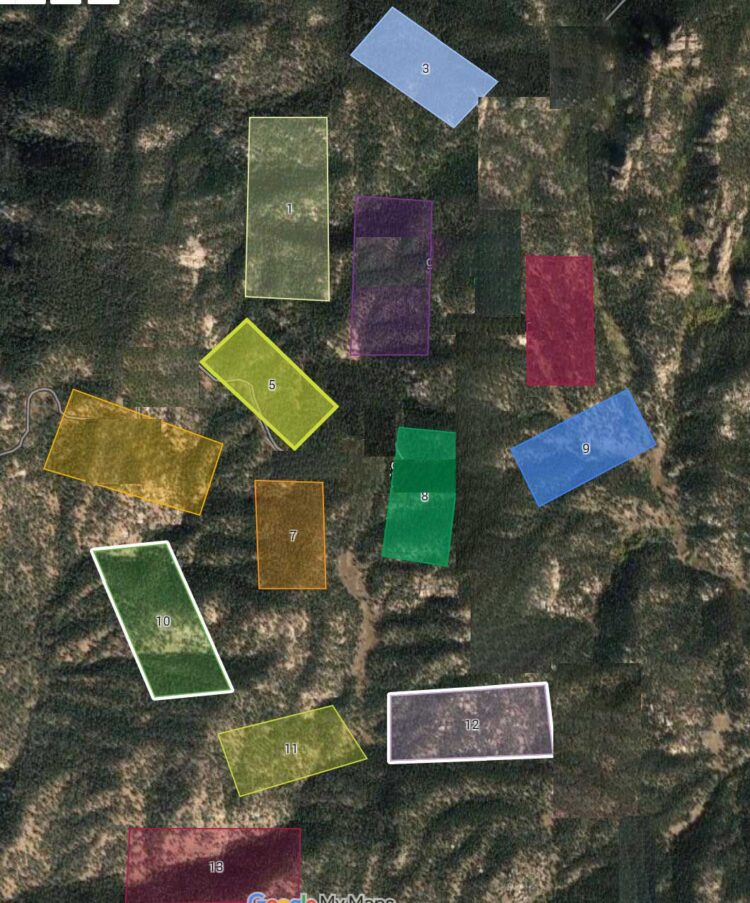
Creating a prospecting map
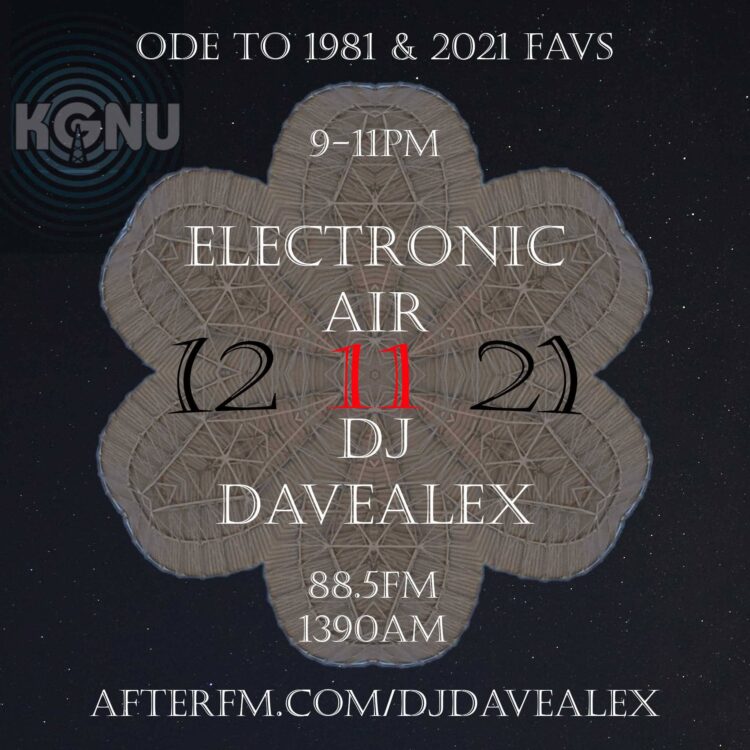
Radio DJ gigs in 2021
Top music picks of 2021
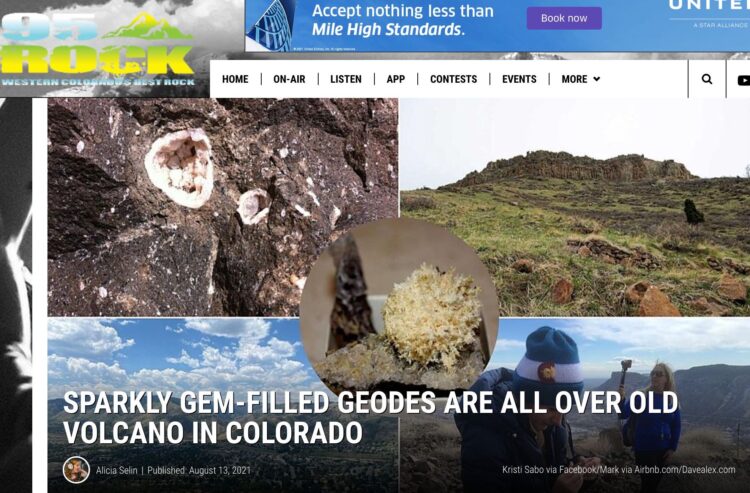
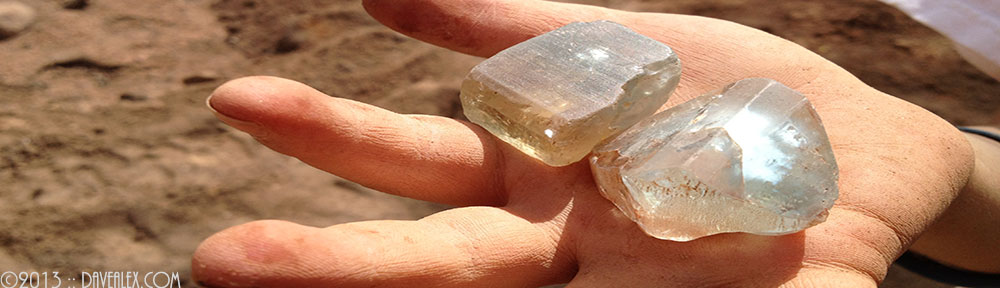
95Rock Grand Junction features crystal photos
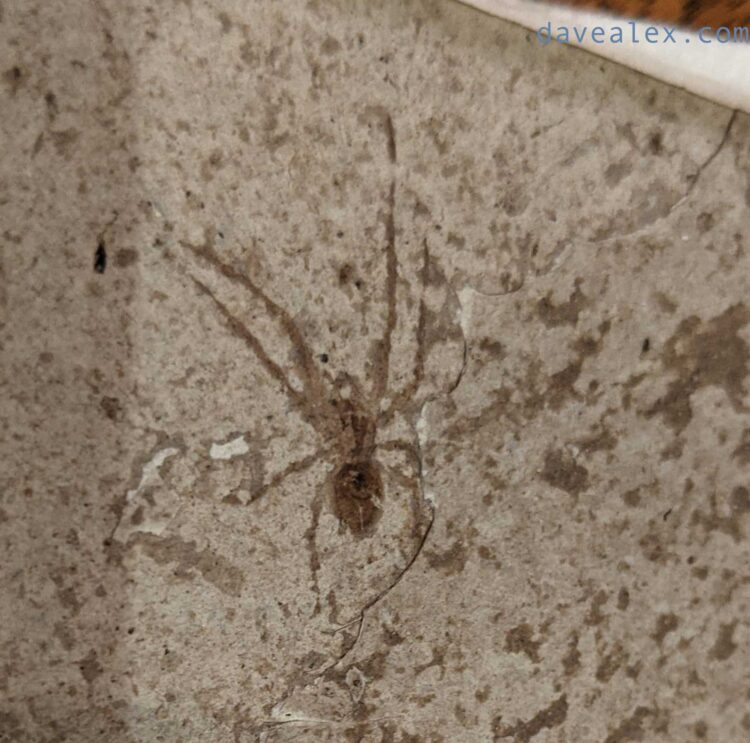
Florissant Fossils
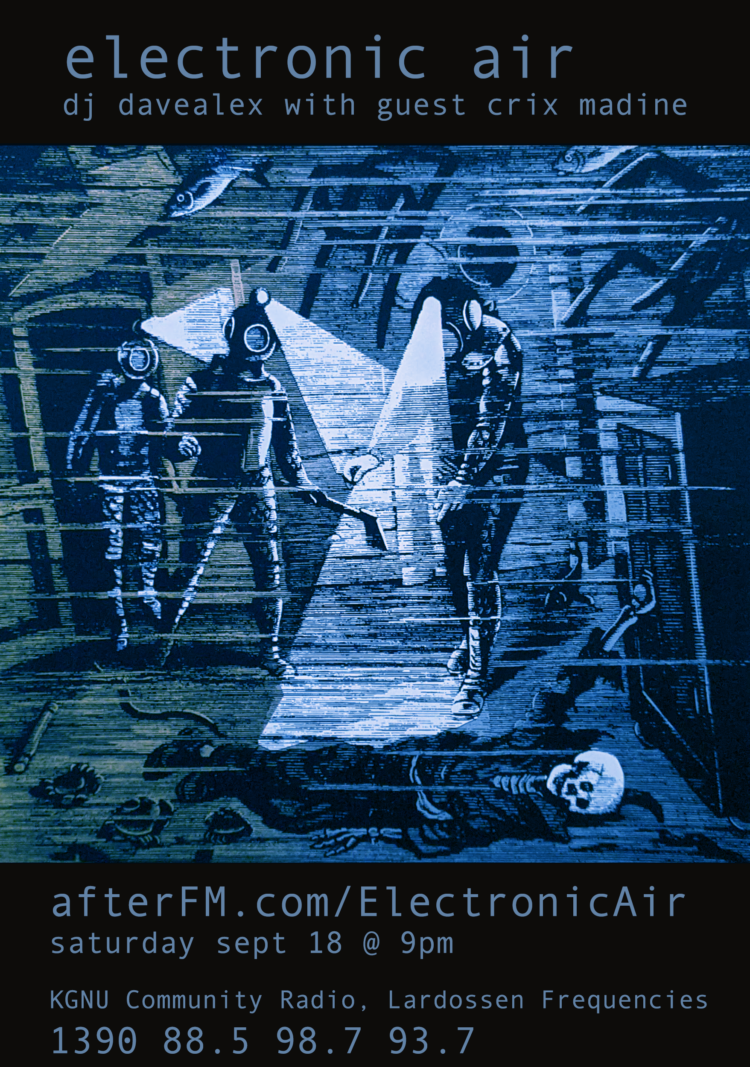
Crix Madine guests on Electronic Air