
There were many rumors that Gem-o-rama was done after the 75th year, but seeing a flyer for year #76 got my hopes up for attending in 2017 again with Kirk. But, the work schedule wasn’t looking like it was going to cooperate so I had written off going this year.
The week before Kirk calls me and says he still wants to go, but on a compressed schedule. I was able to take a day off of work last minute and we were locked in for another road trip and gem collecting extravaganza. I’ll detail the road trip in other blog posts (it was a lot of driving–thank you Kirk–and a ton of fun). But this article will talk about the event itself.
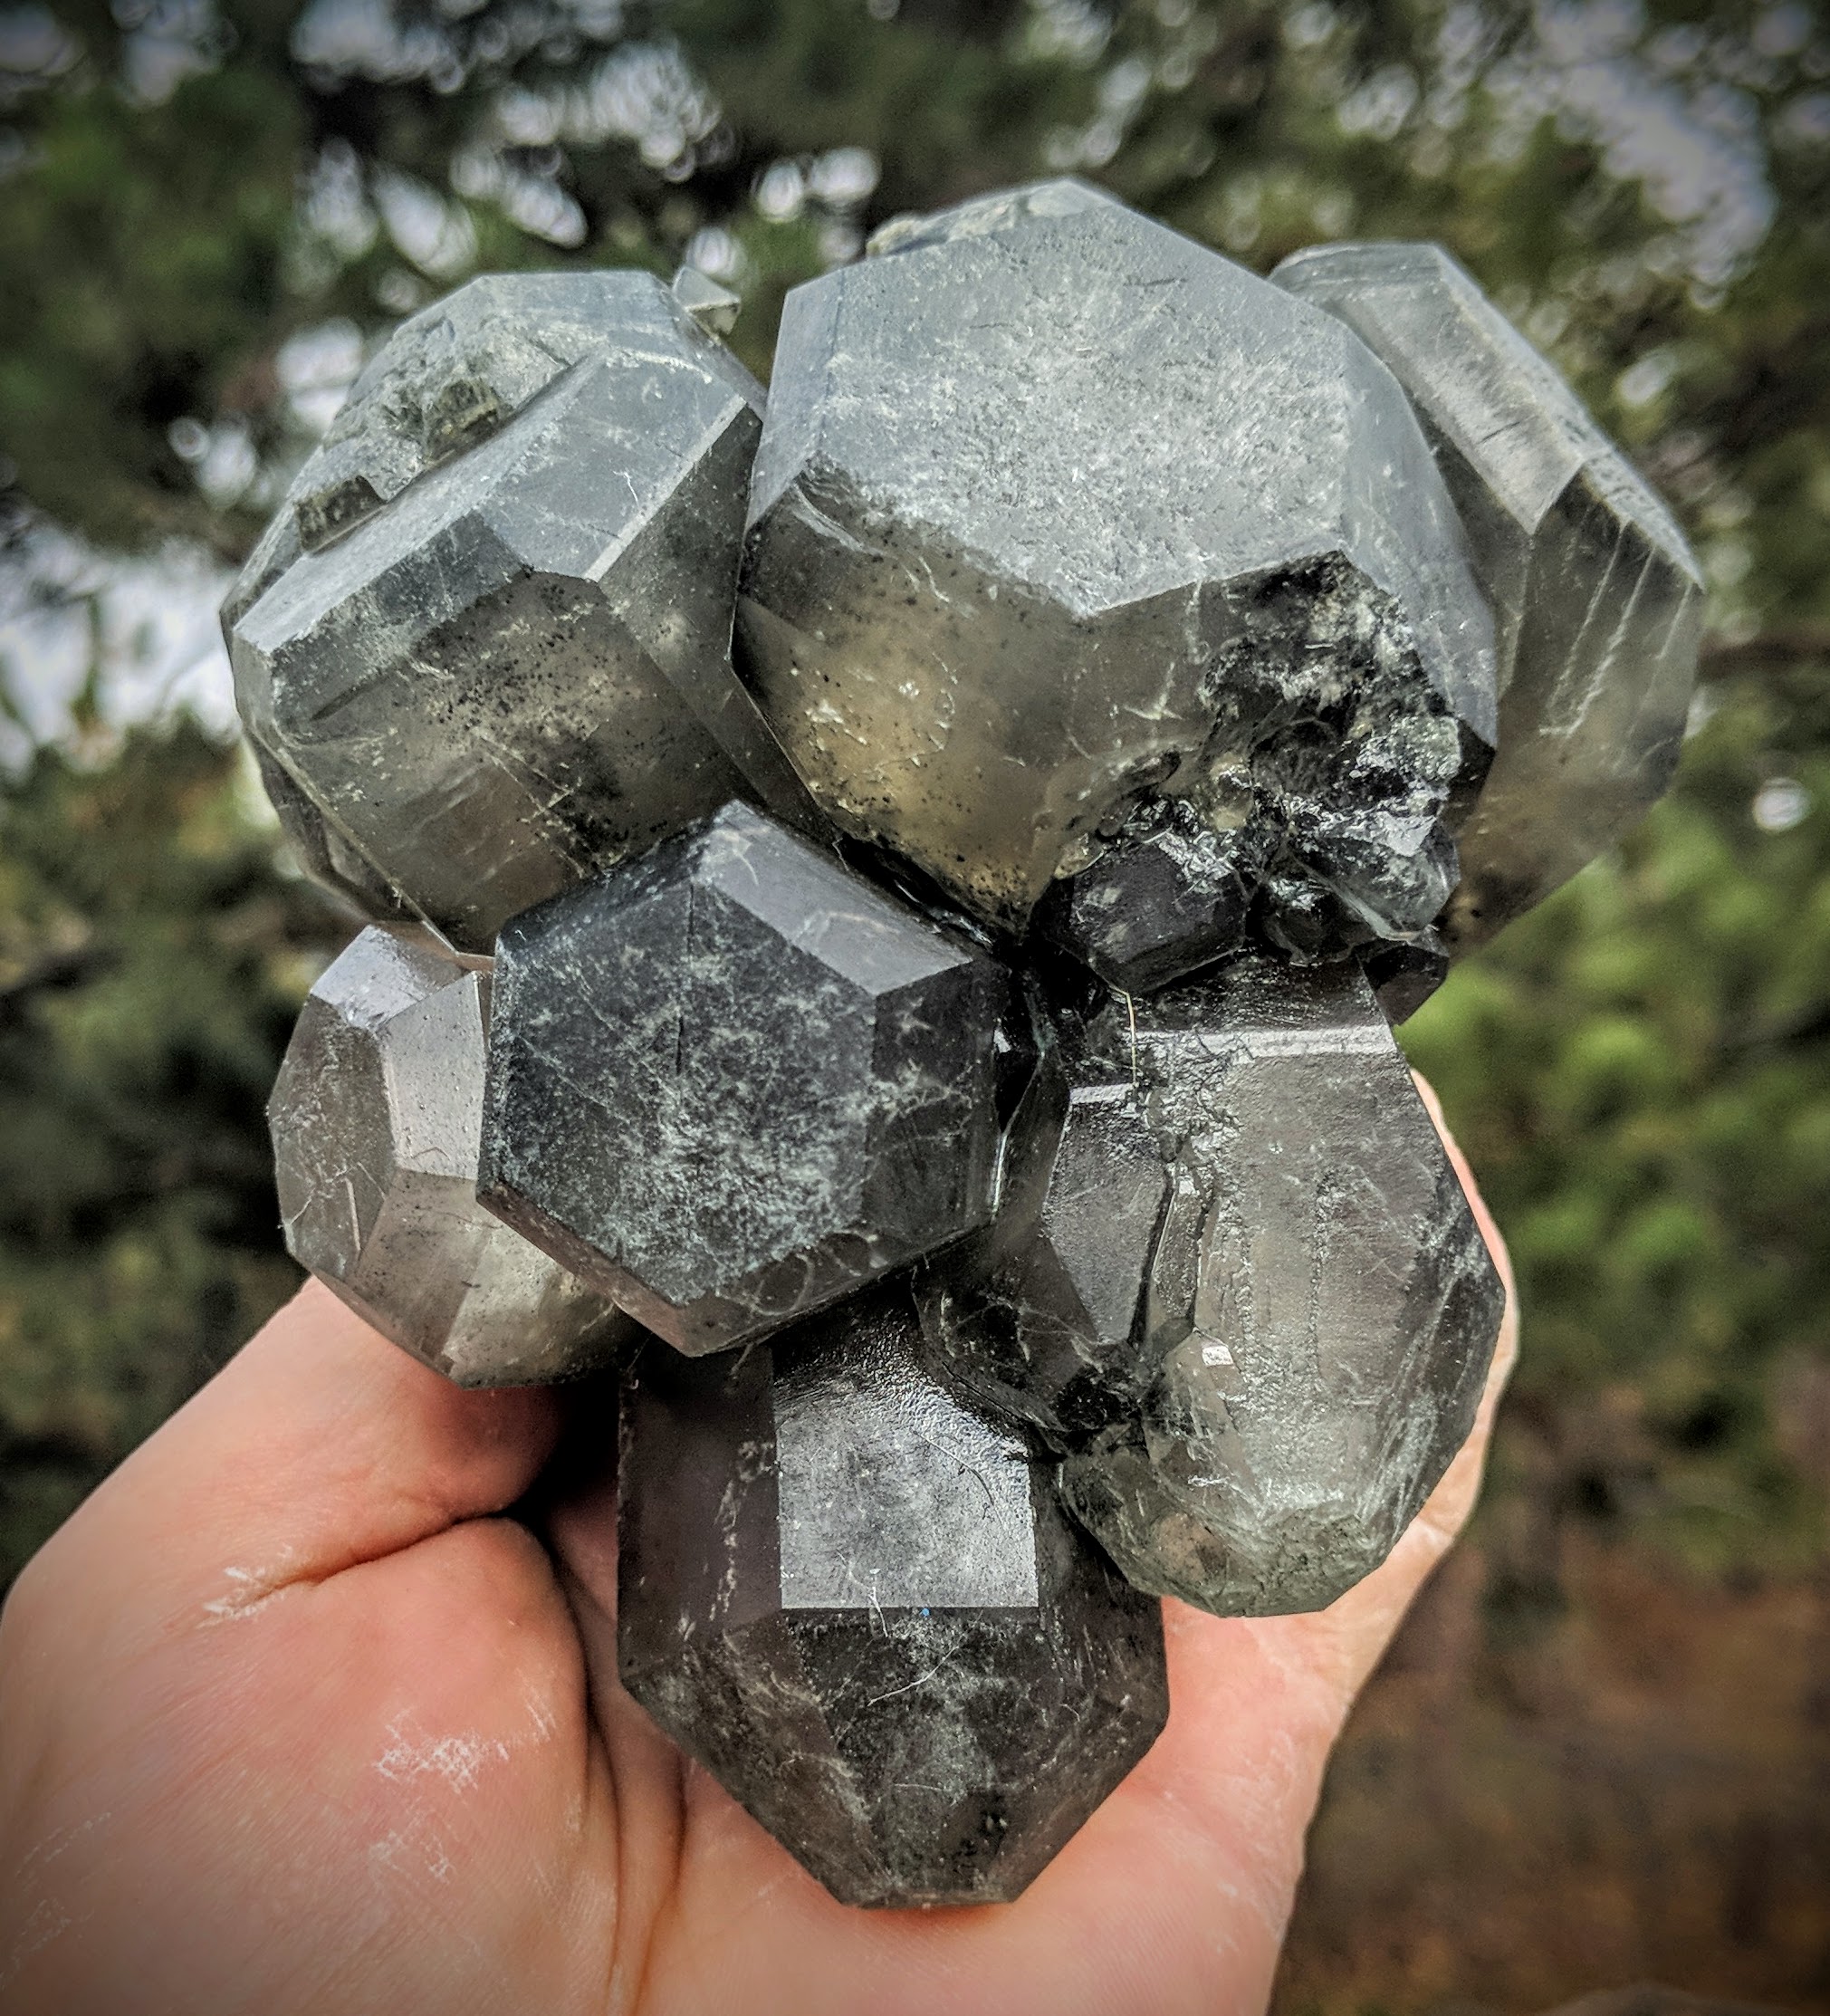
We learned a lot at last year’s field trips and so we had a strategy going into this year. For the mud trip, I was focused on Hanksite complete crystals and/or clusters. I ended up leaving a lot of crystals that I found, many were probably nice, but it was nice having mostly great ones to clean this year instead of a bunch of so-so ones–the strategy paid off!
Cleaning these does take some effort. This year we bought a couple more liters of brine from the store for cleaning which was needed. We both brought dental picks and a variety of firmness and size of brushes which also sped up the cleaning process. We brought newspaper to wrap the crystals in, and zip-lock baggies to seal in the moisture for the drive back home. I brought paper towels which was a mistake as it stuck to the crystals if they fully dried, so newspaper next time for sure. For cleaning, a bucket is too big except if you find a monster cluster, so we brought hard plastic throw-away containers from the grocery store which conserved brine and make it easier to access.
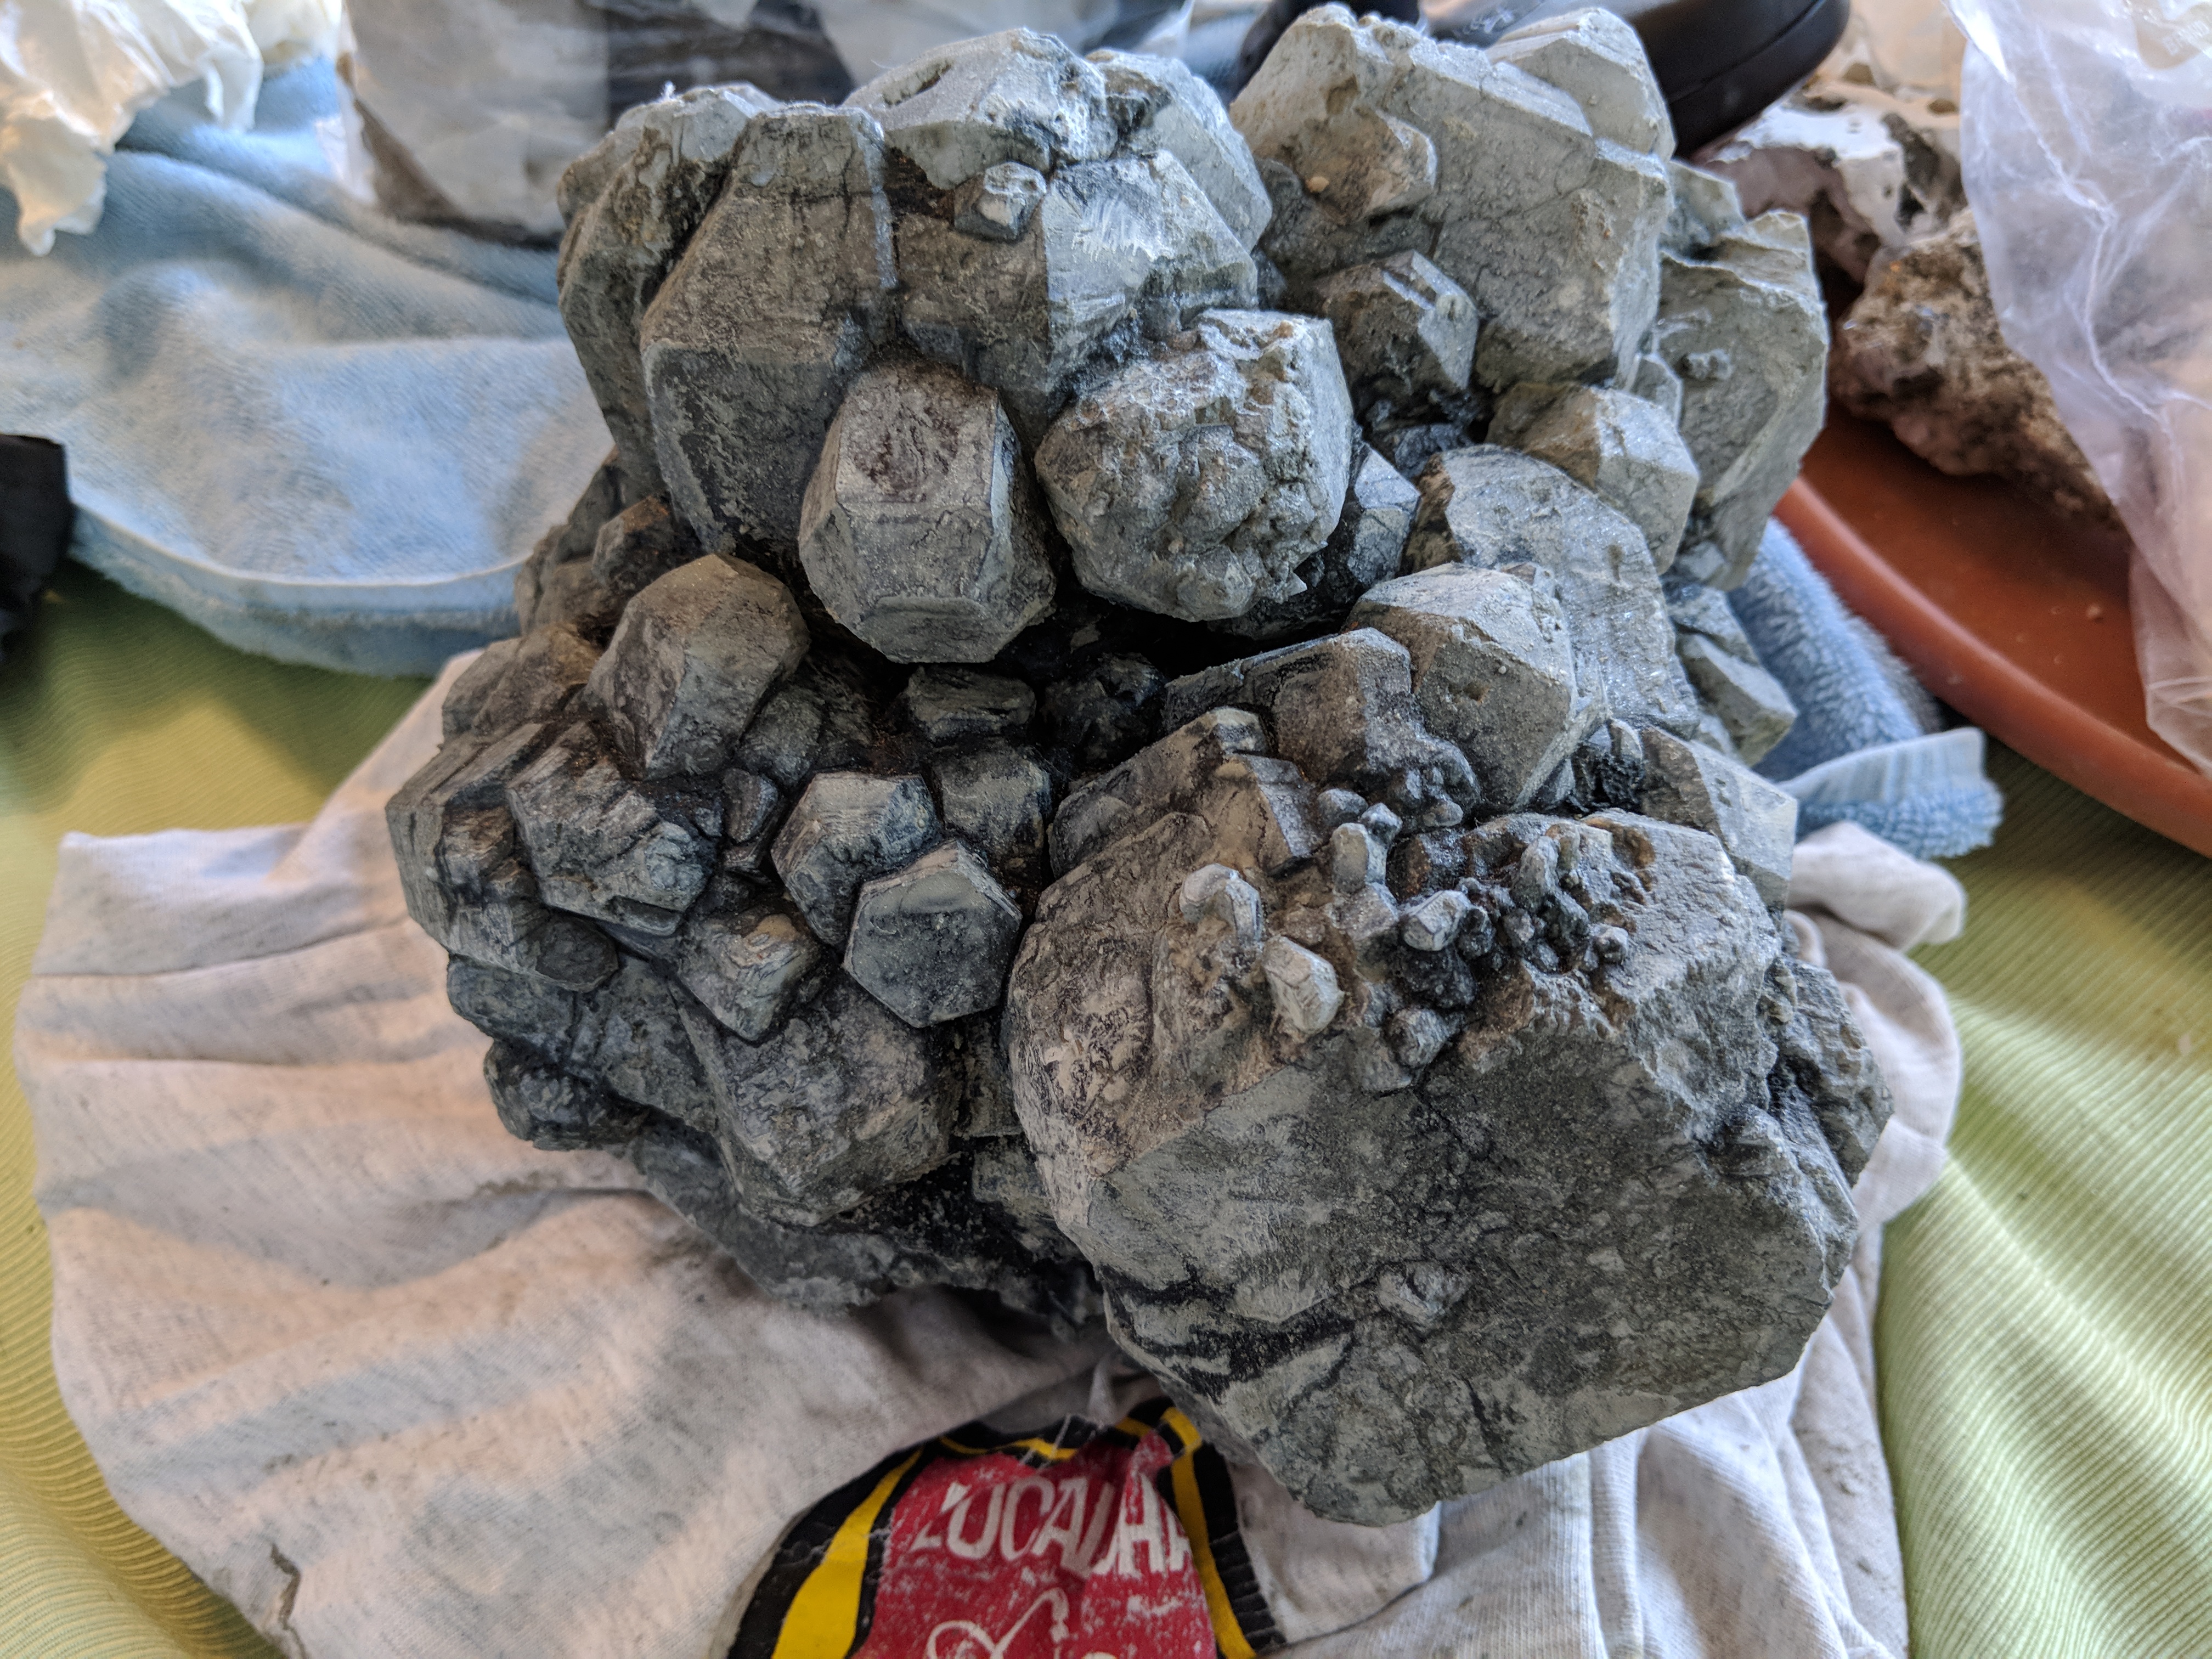

Instead of spending a bunch of time cleaning at the site of the mud dig, we just did a quick scrub, especially on the clusters, which left more time for digging. Note there were more people this year than before, and it took longer to drive to the mud site, so less time actually searching for crystals. After the mud field trip we got back in line in Trona, ate lunch, and then a much deeper cleaning of the crystals. The goal is to get most of the mud off of the crystals. We then wrapped them while they were wet and sealed them in zip-lock containers. This helps considerably to have them still moist after the road trip home for the final cleanup. If the crystals dry up, then you’ll need to scrape every face to get the top layer of dried hanksite off, which is more effort.
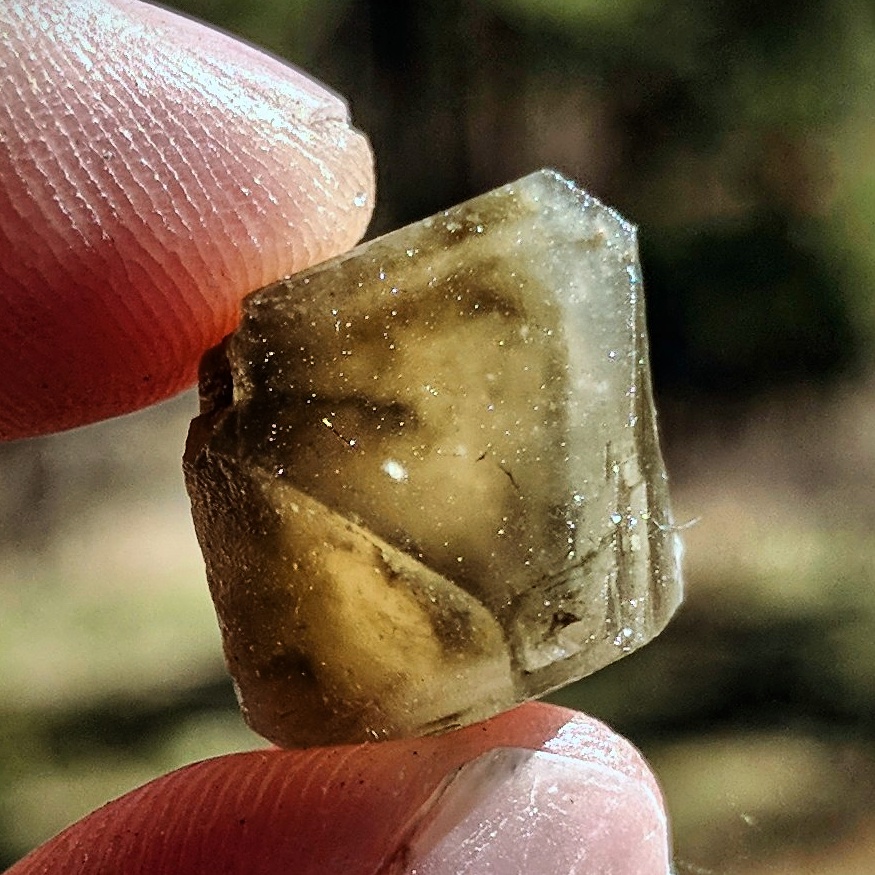
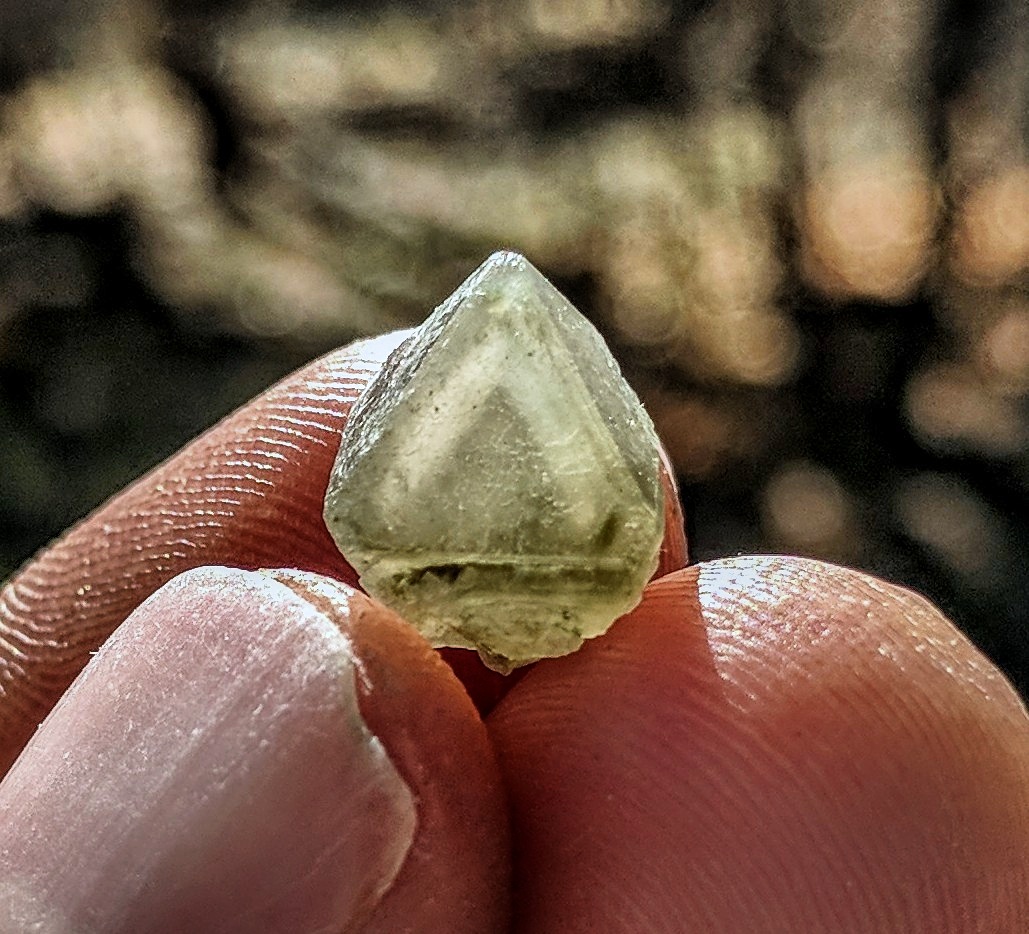
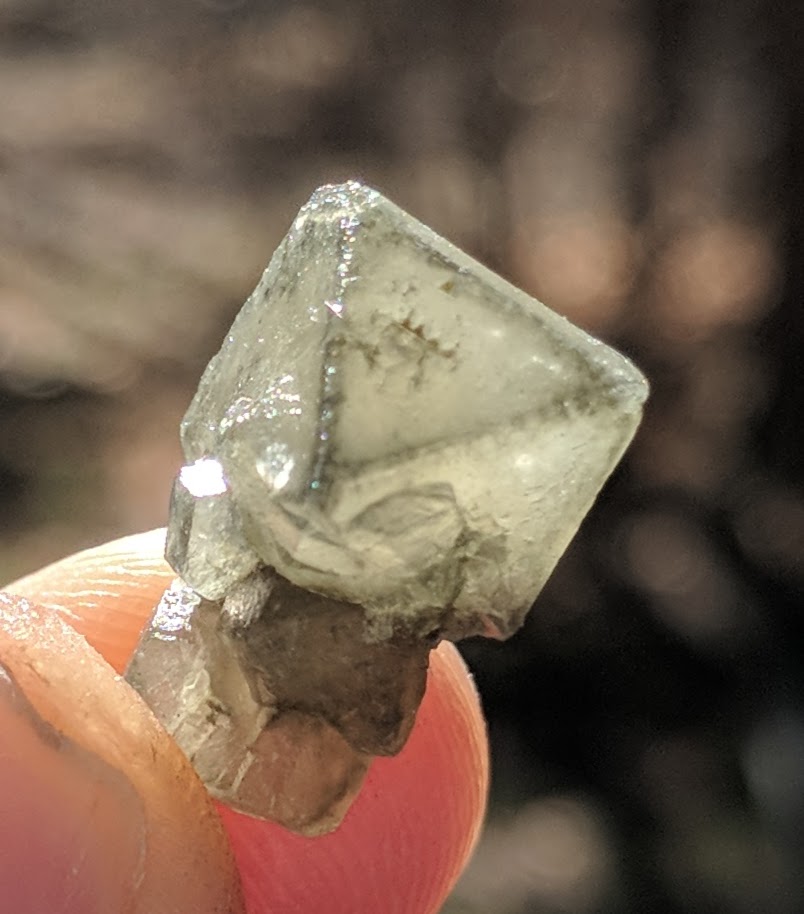
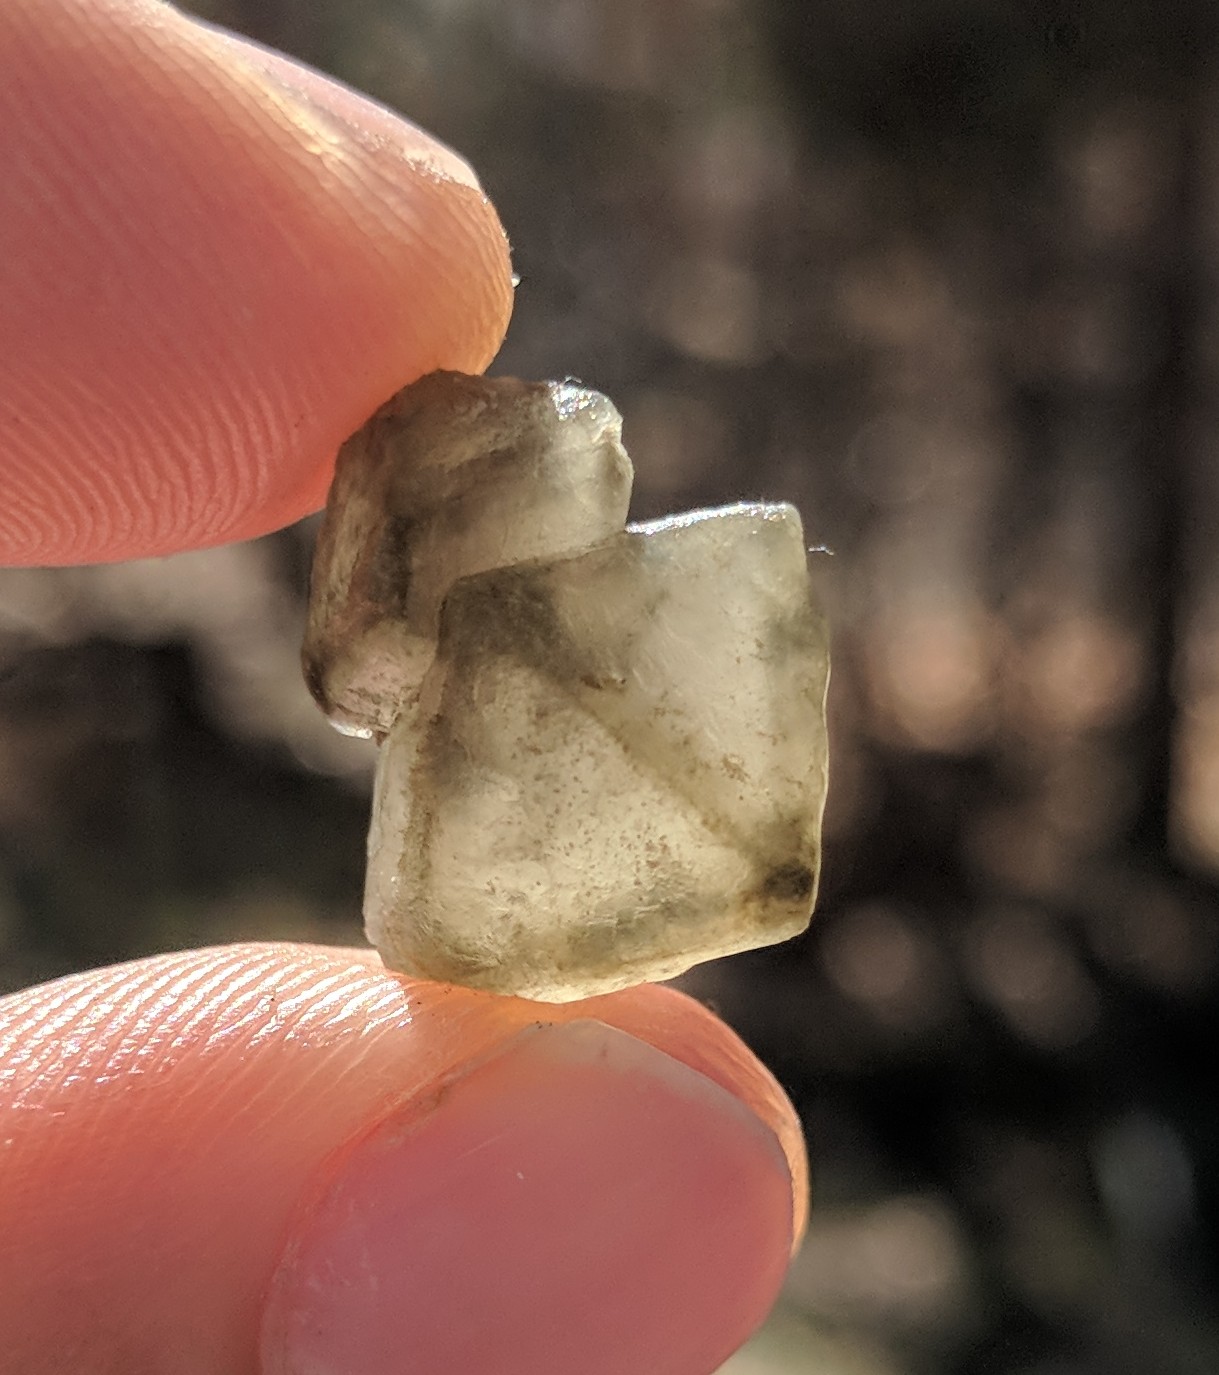
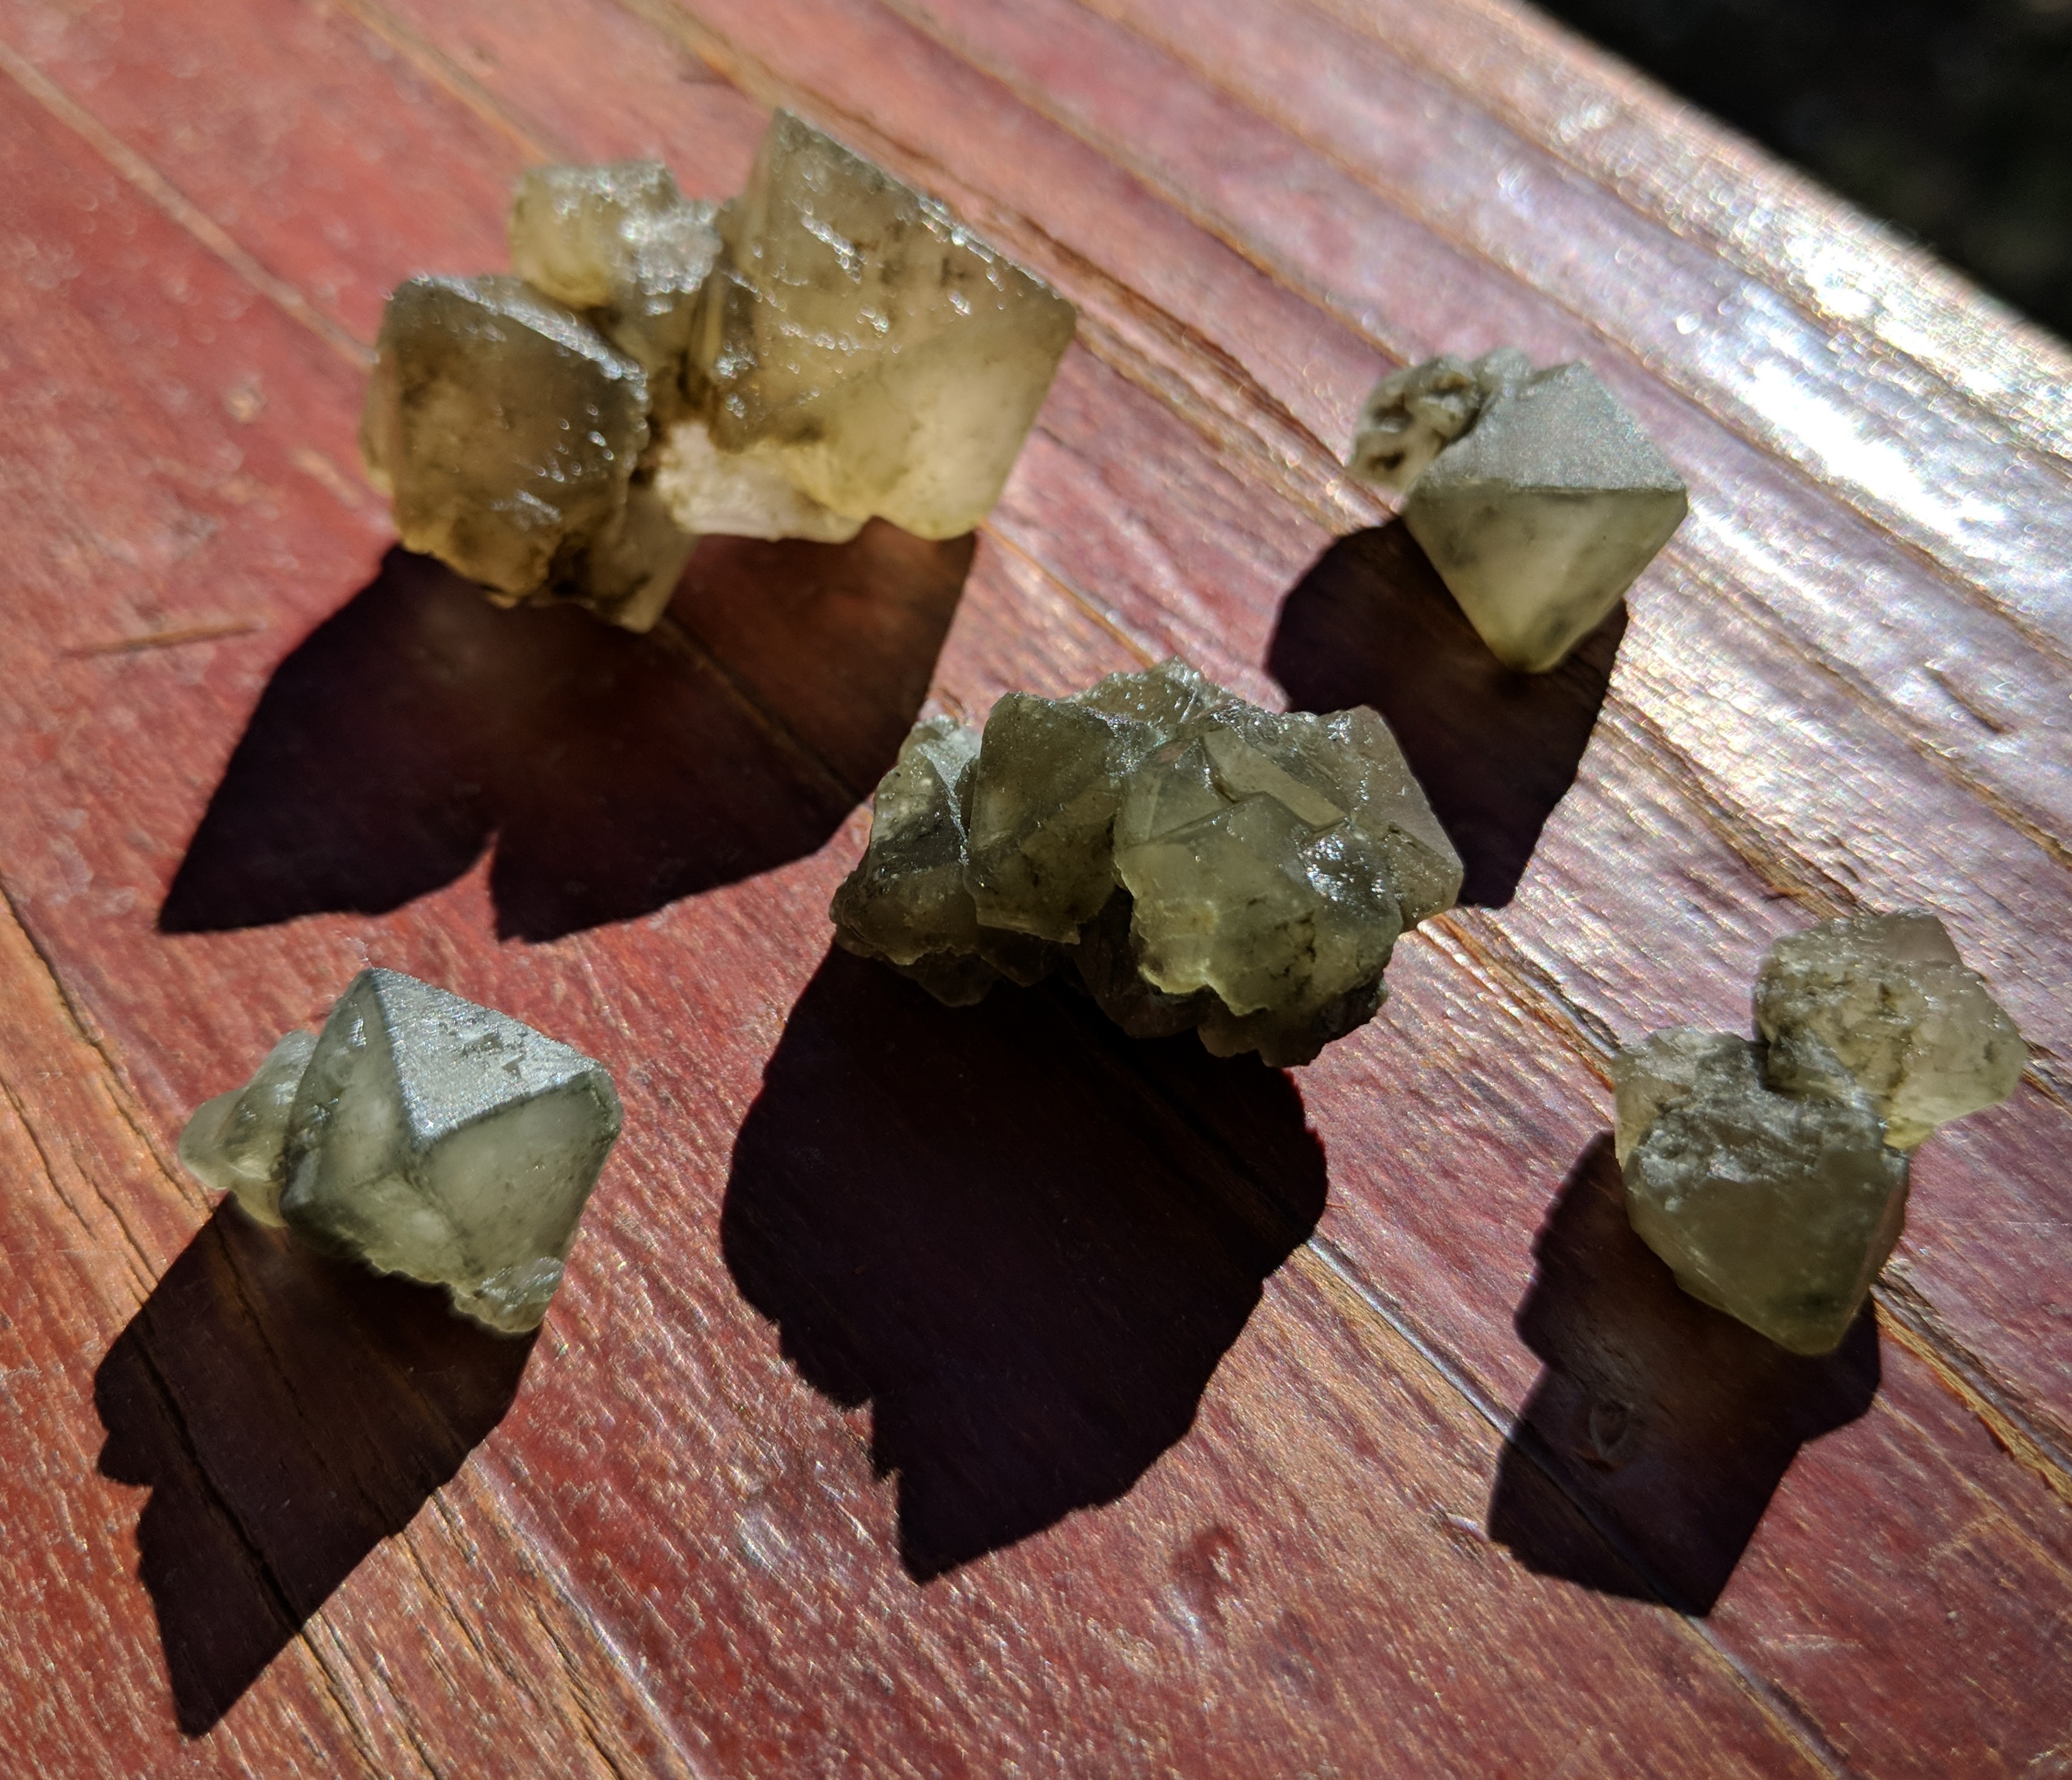
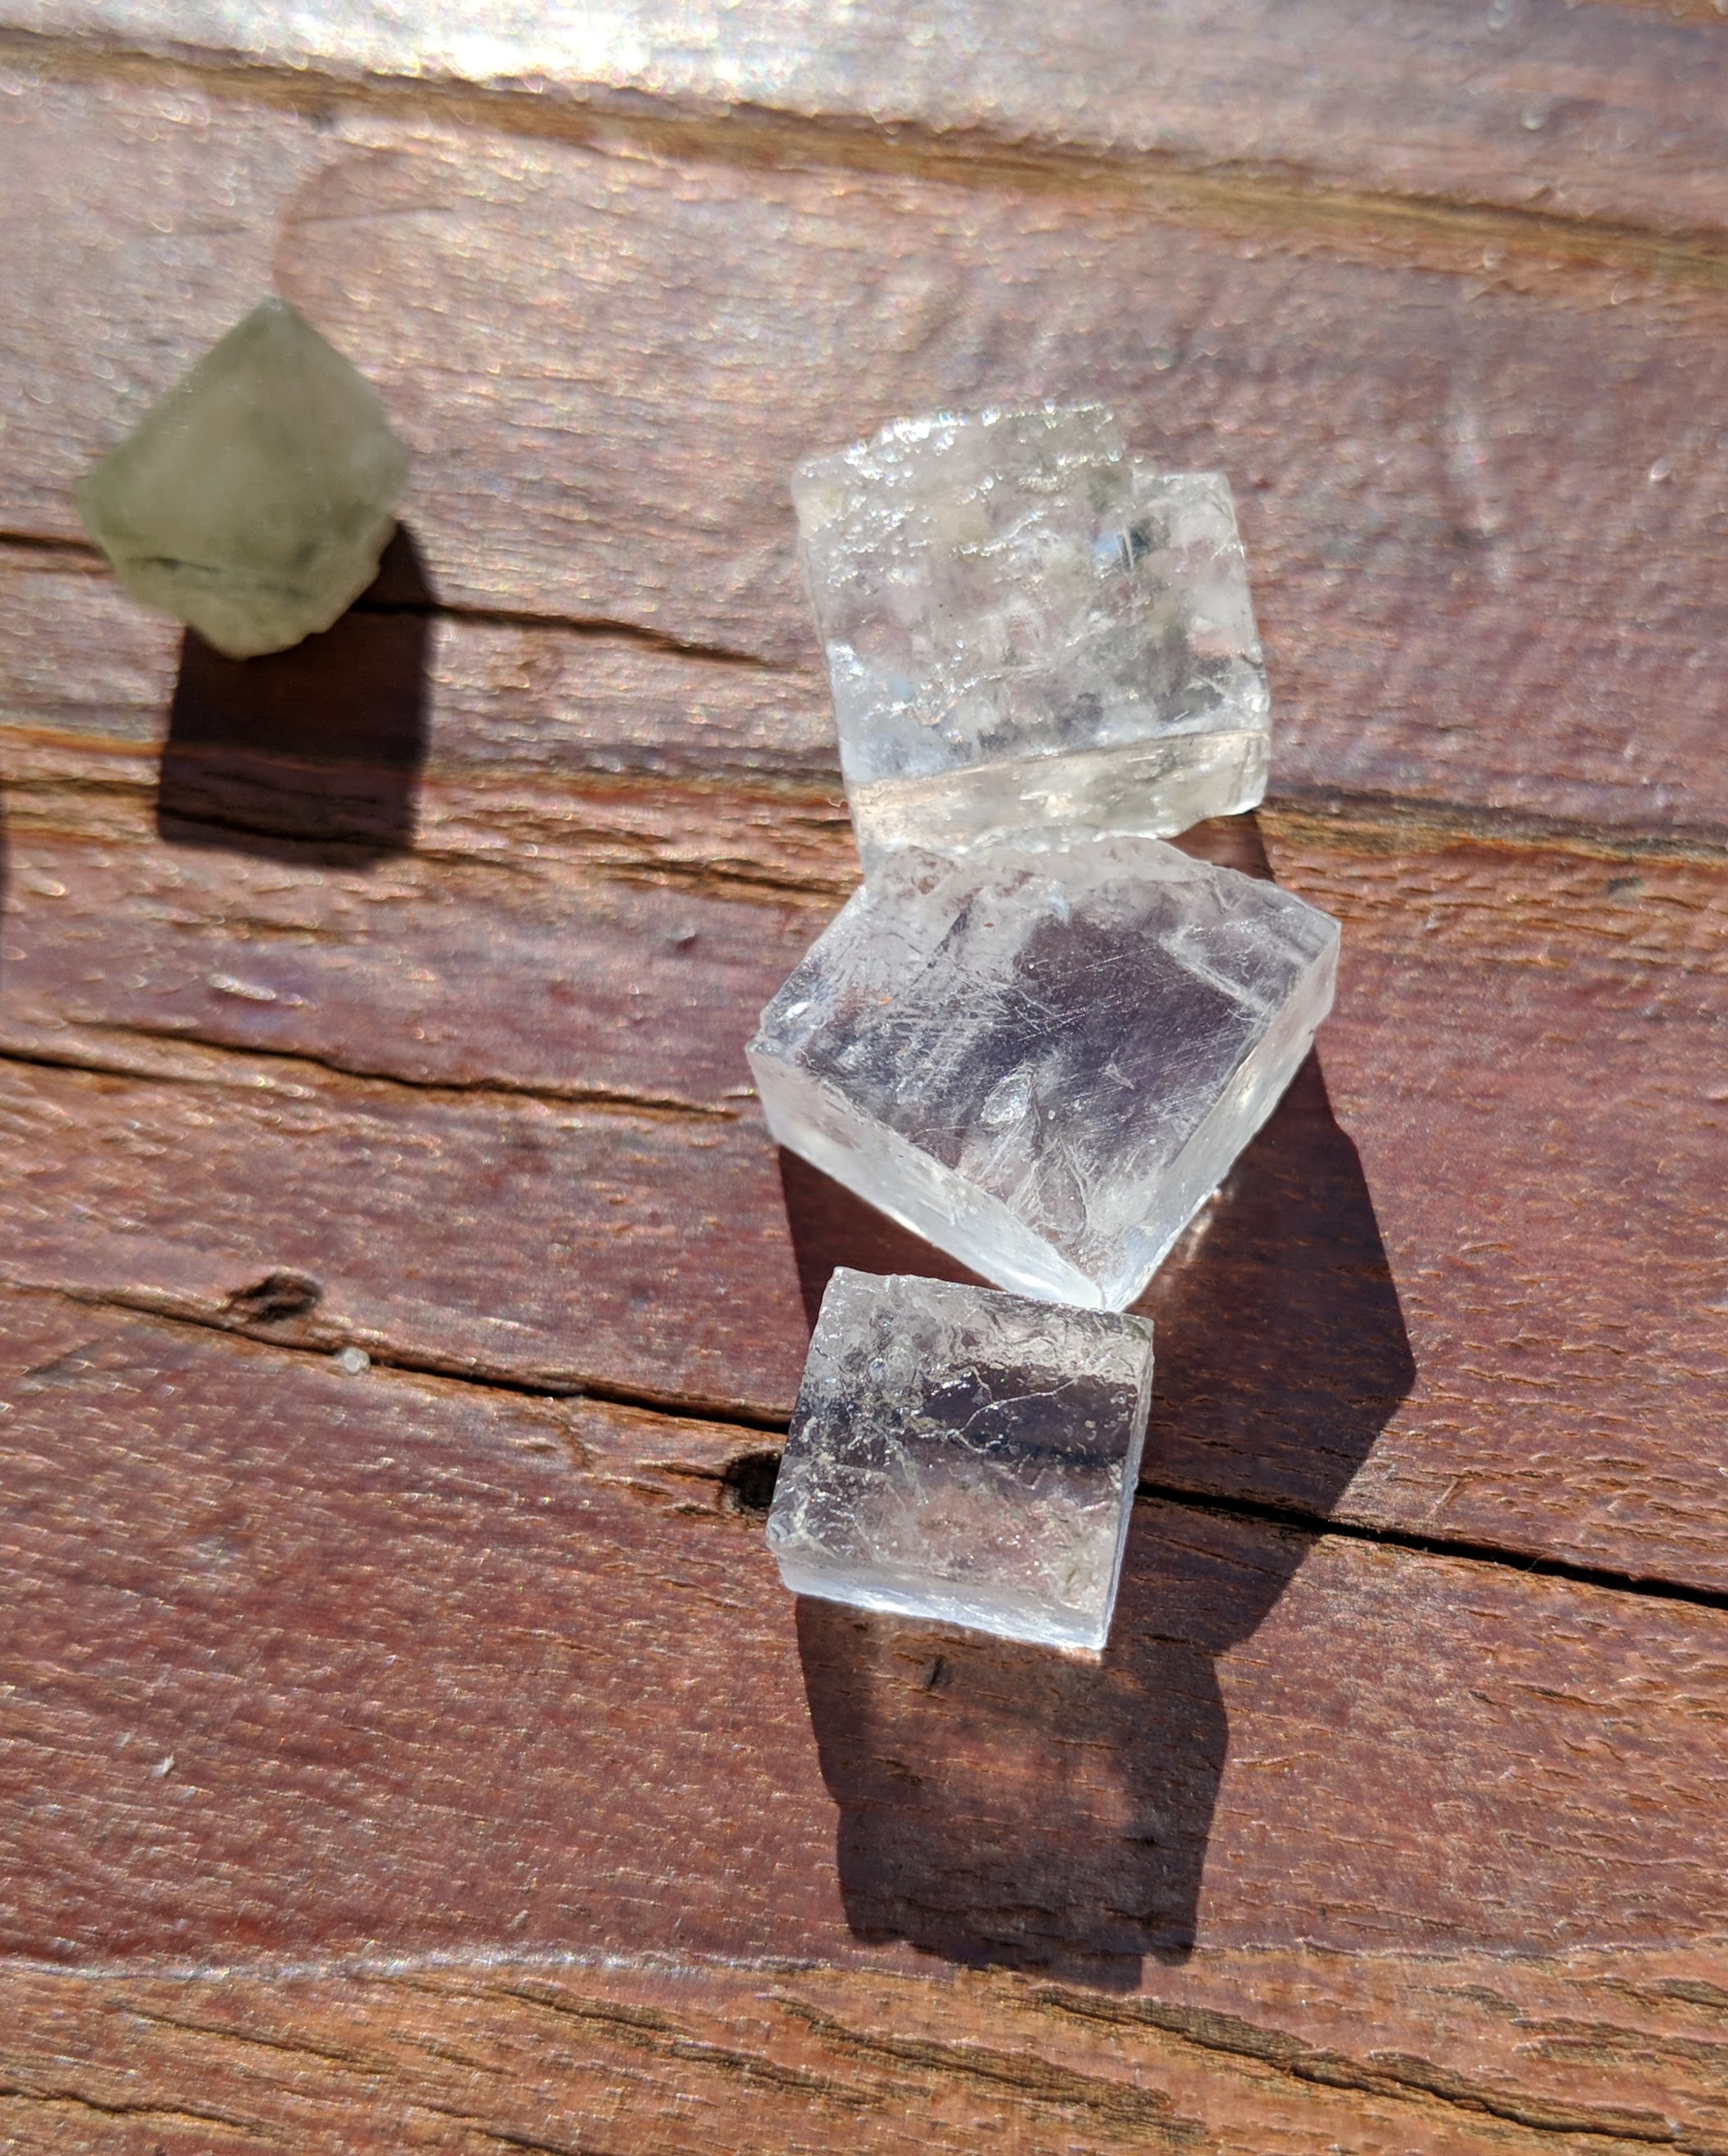
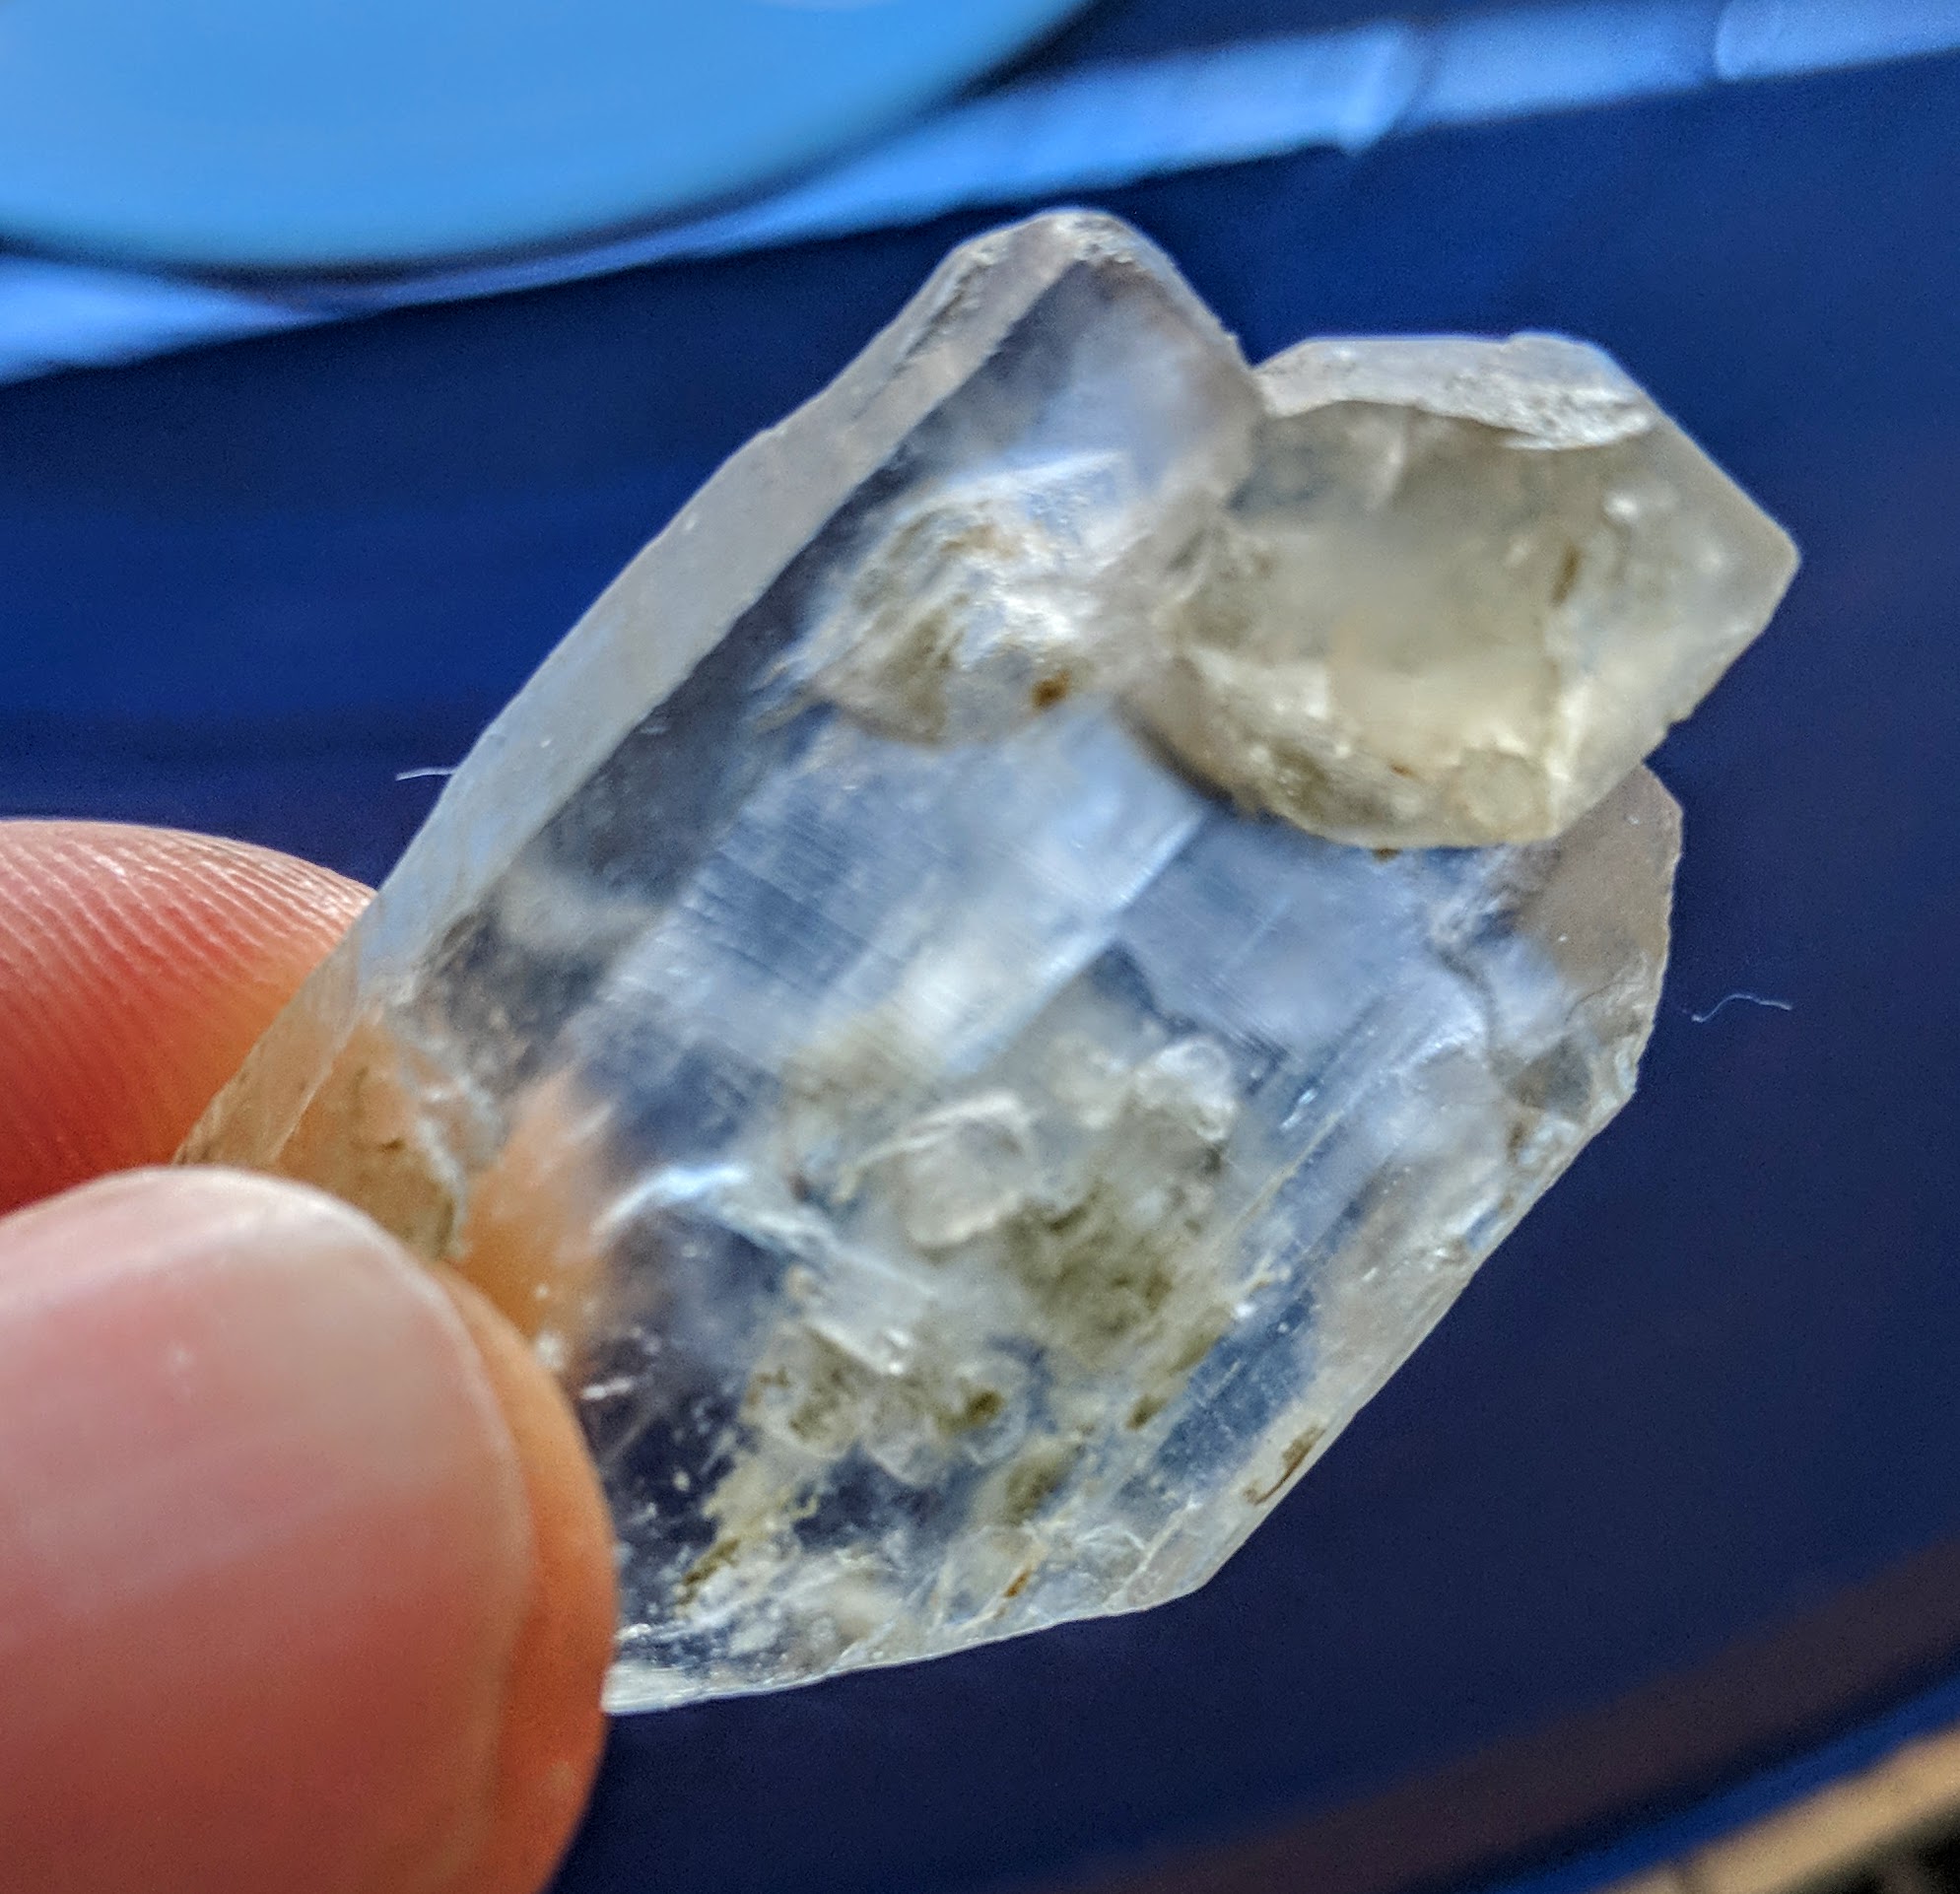
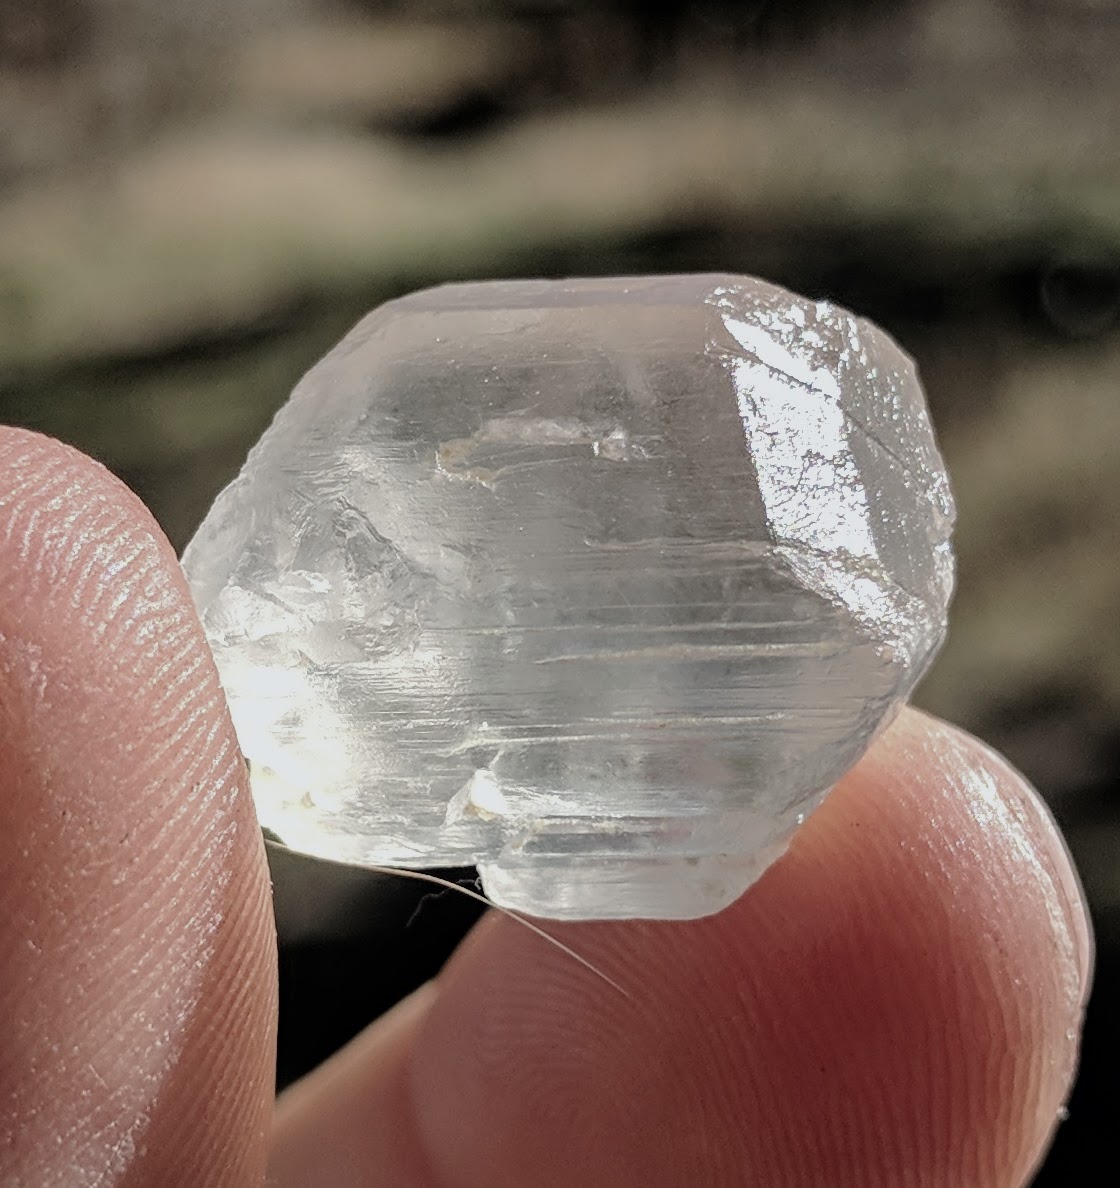
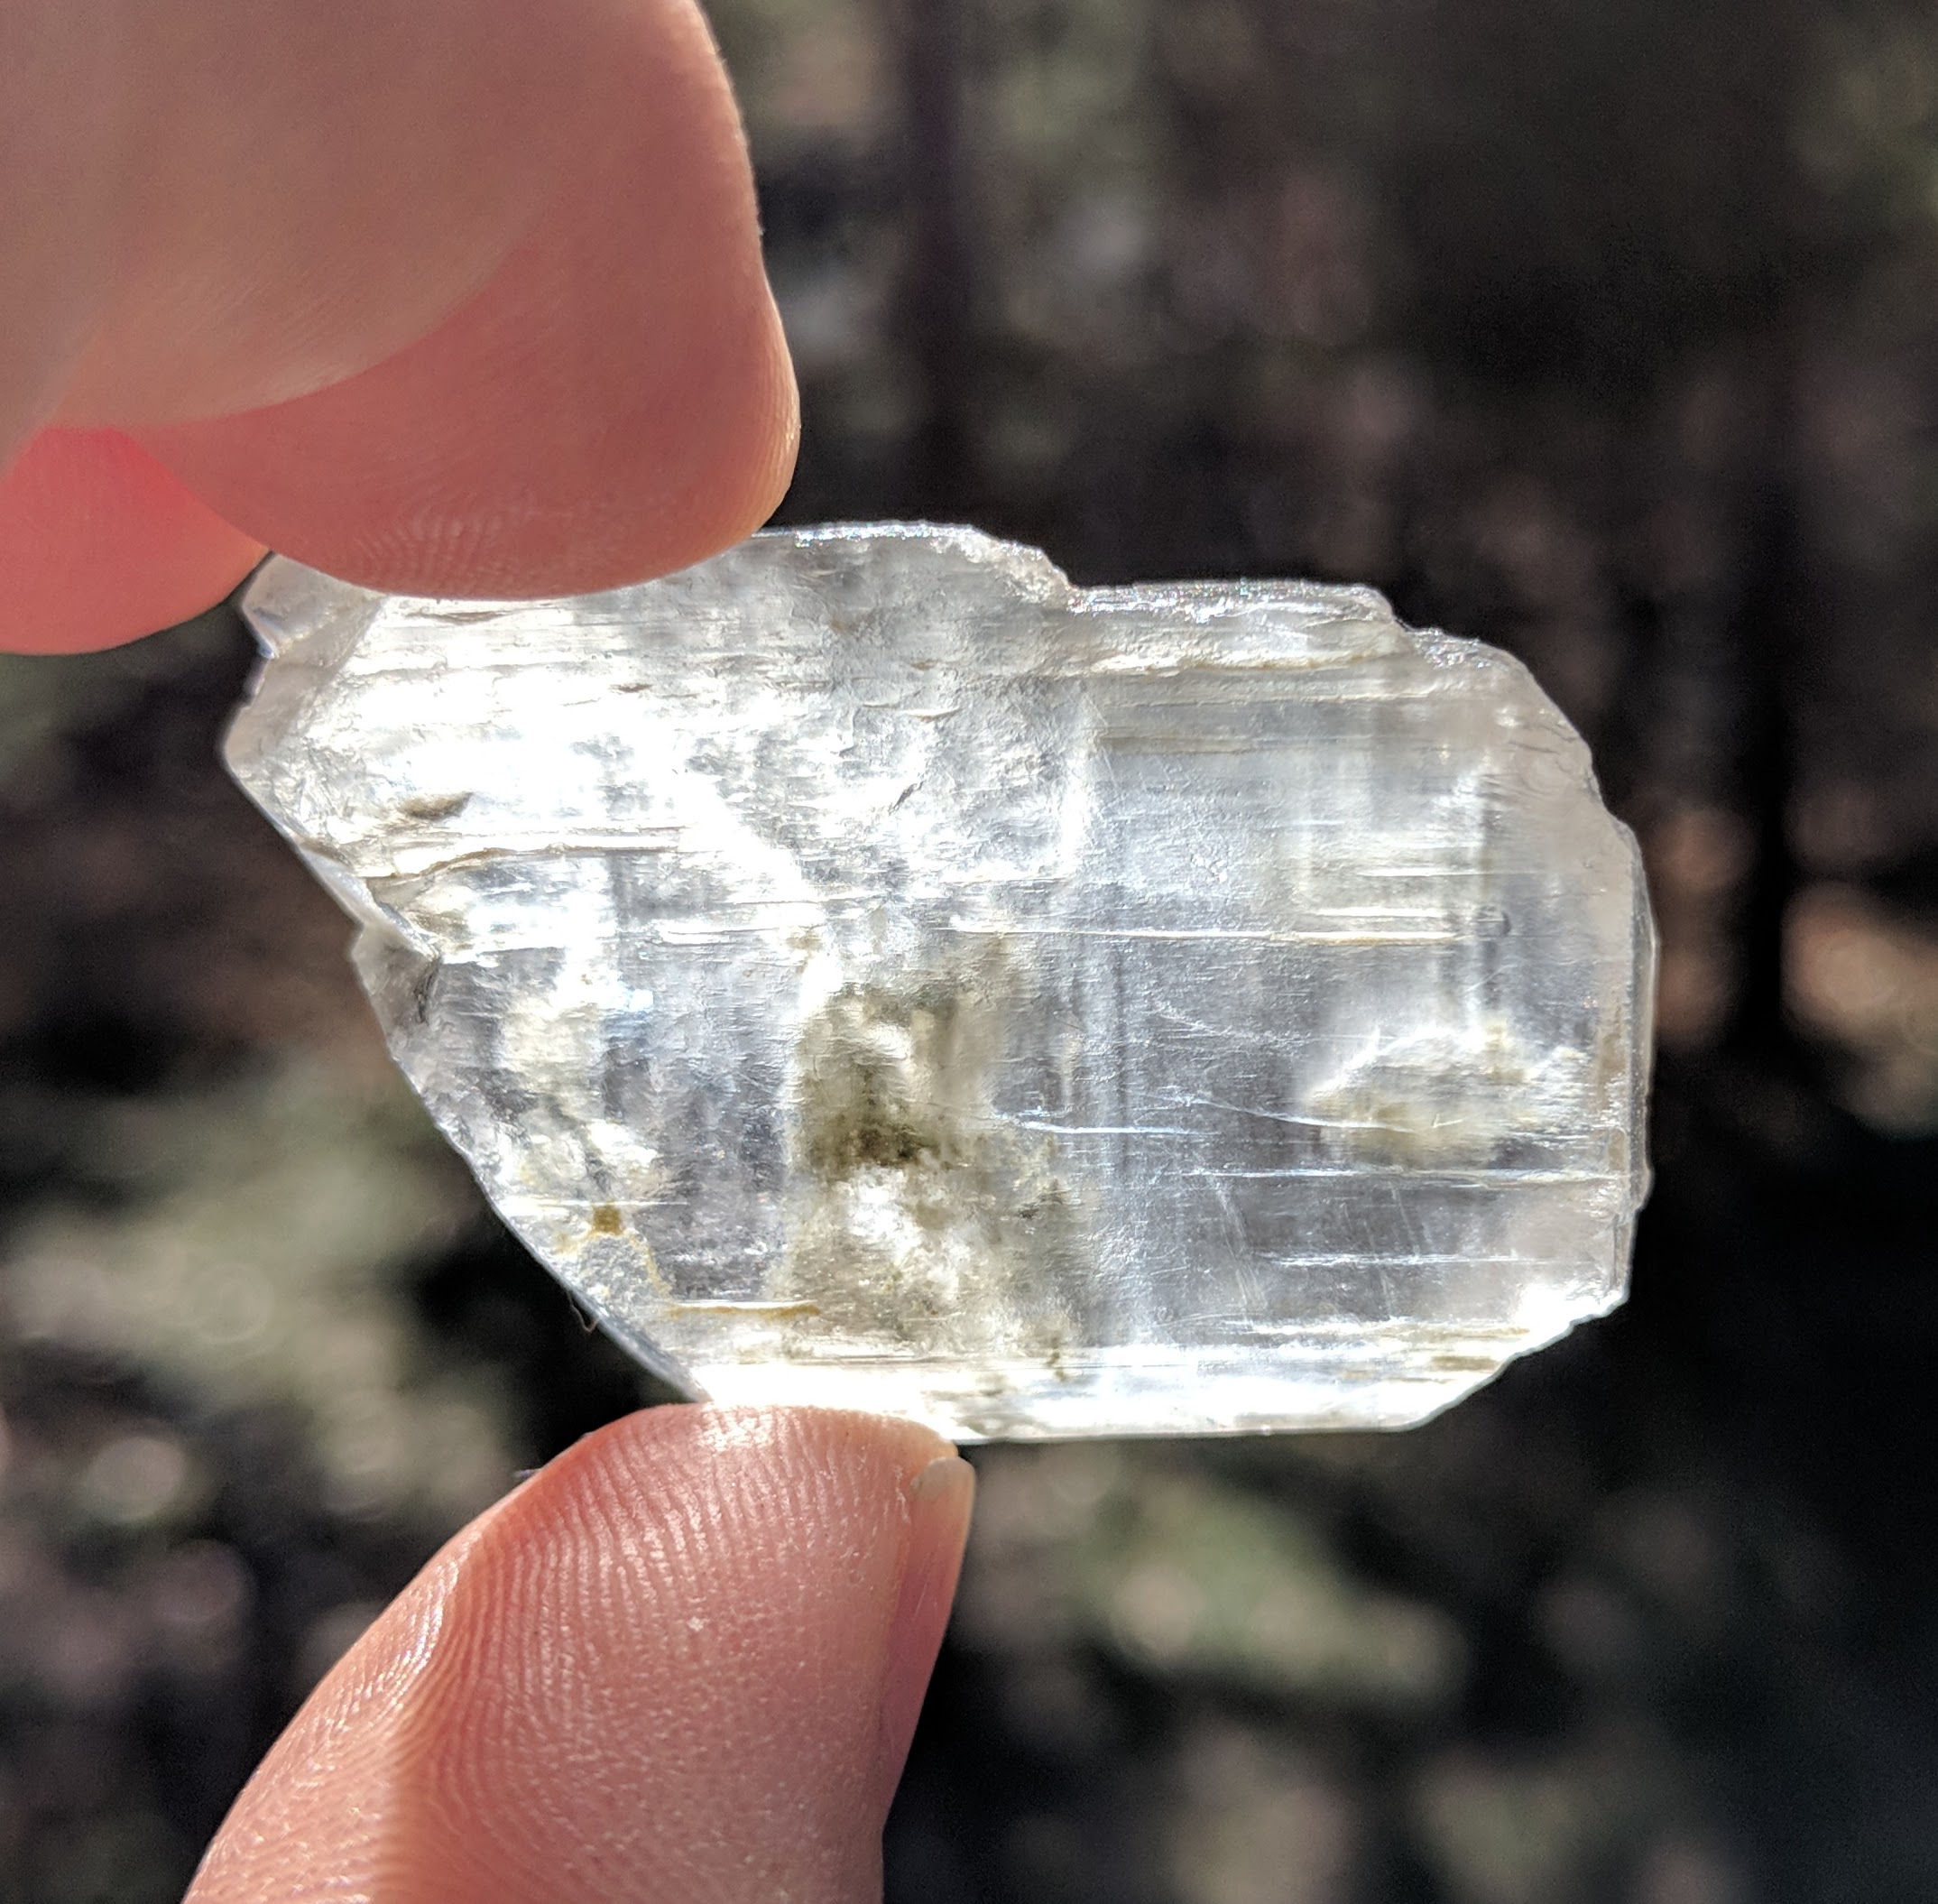
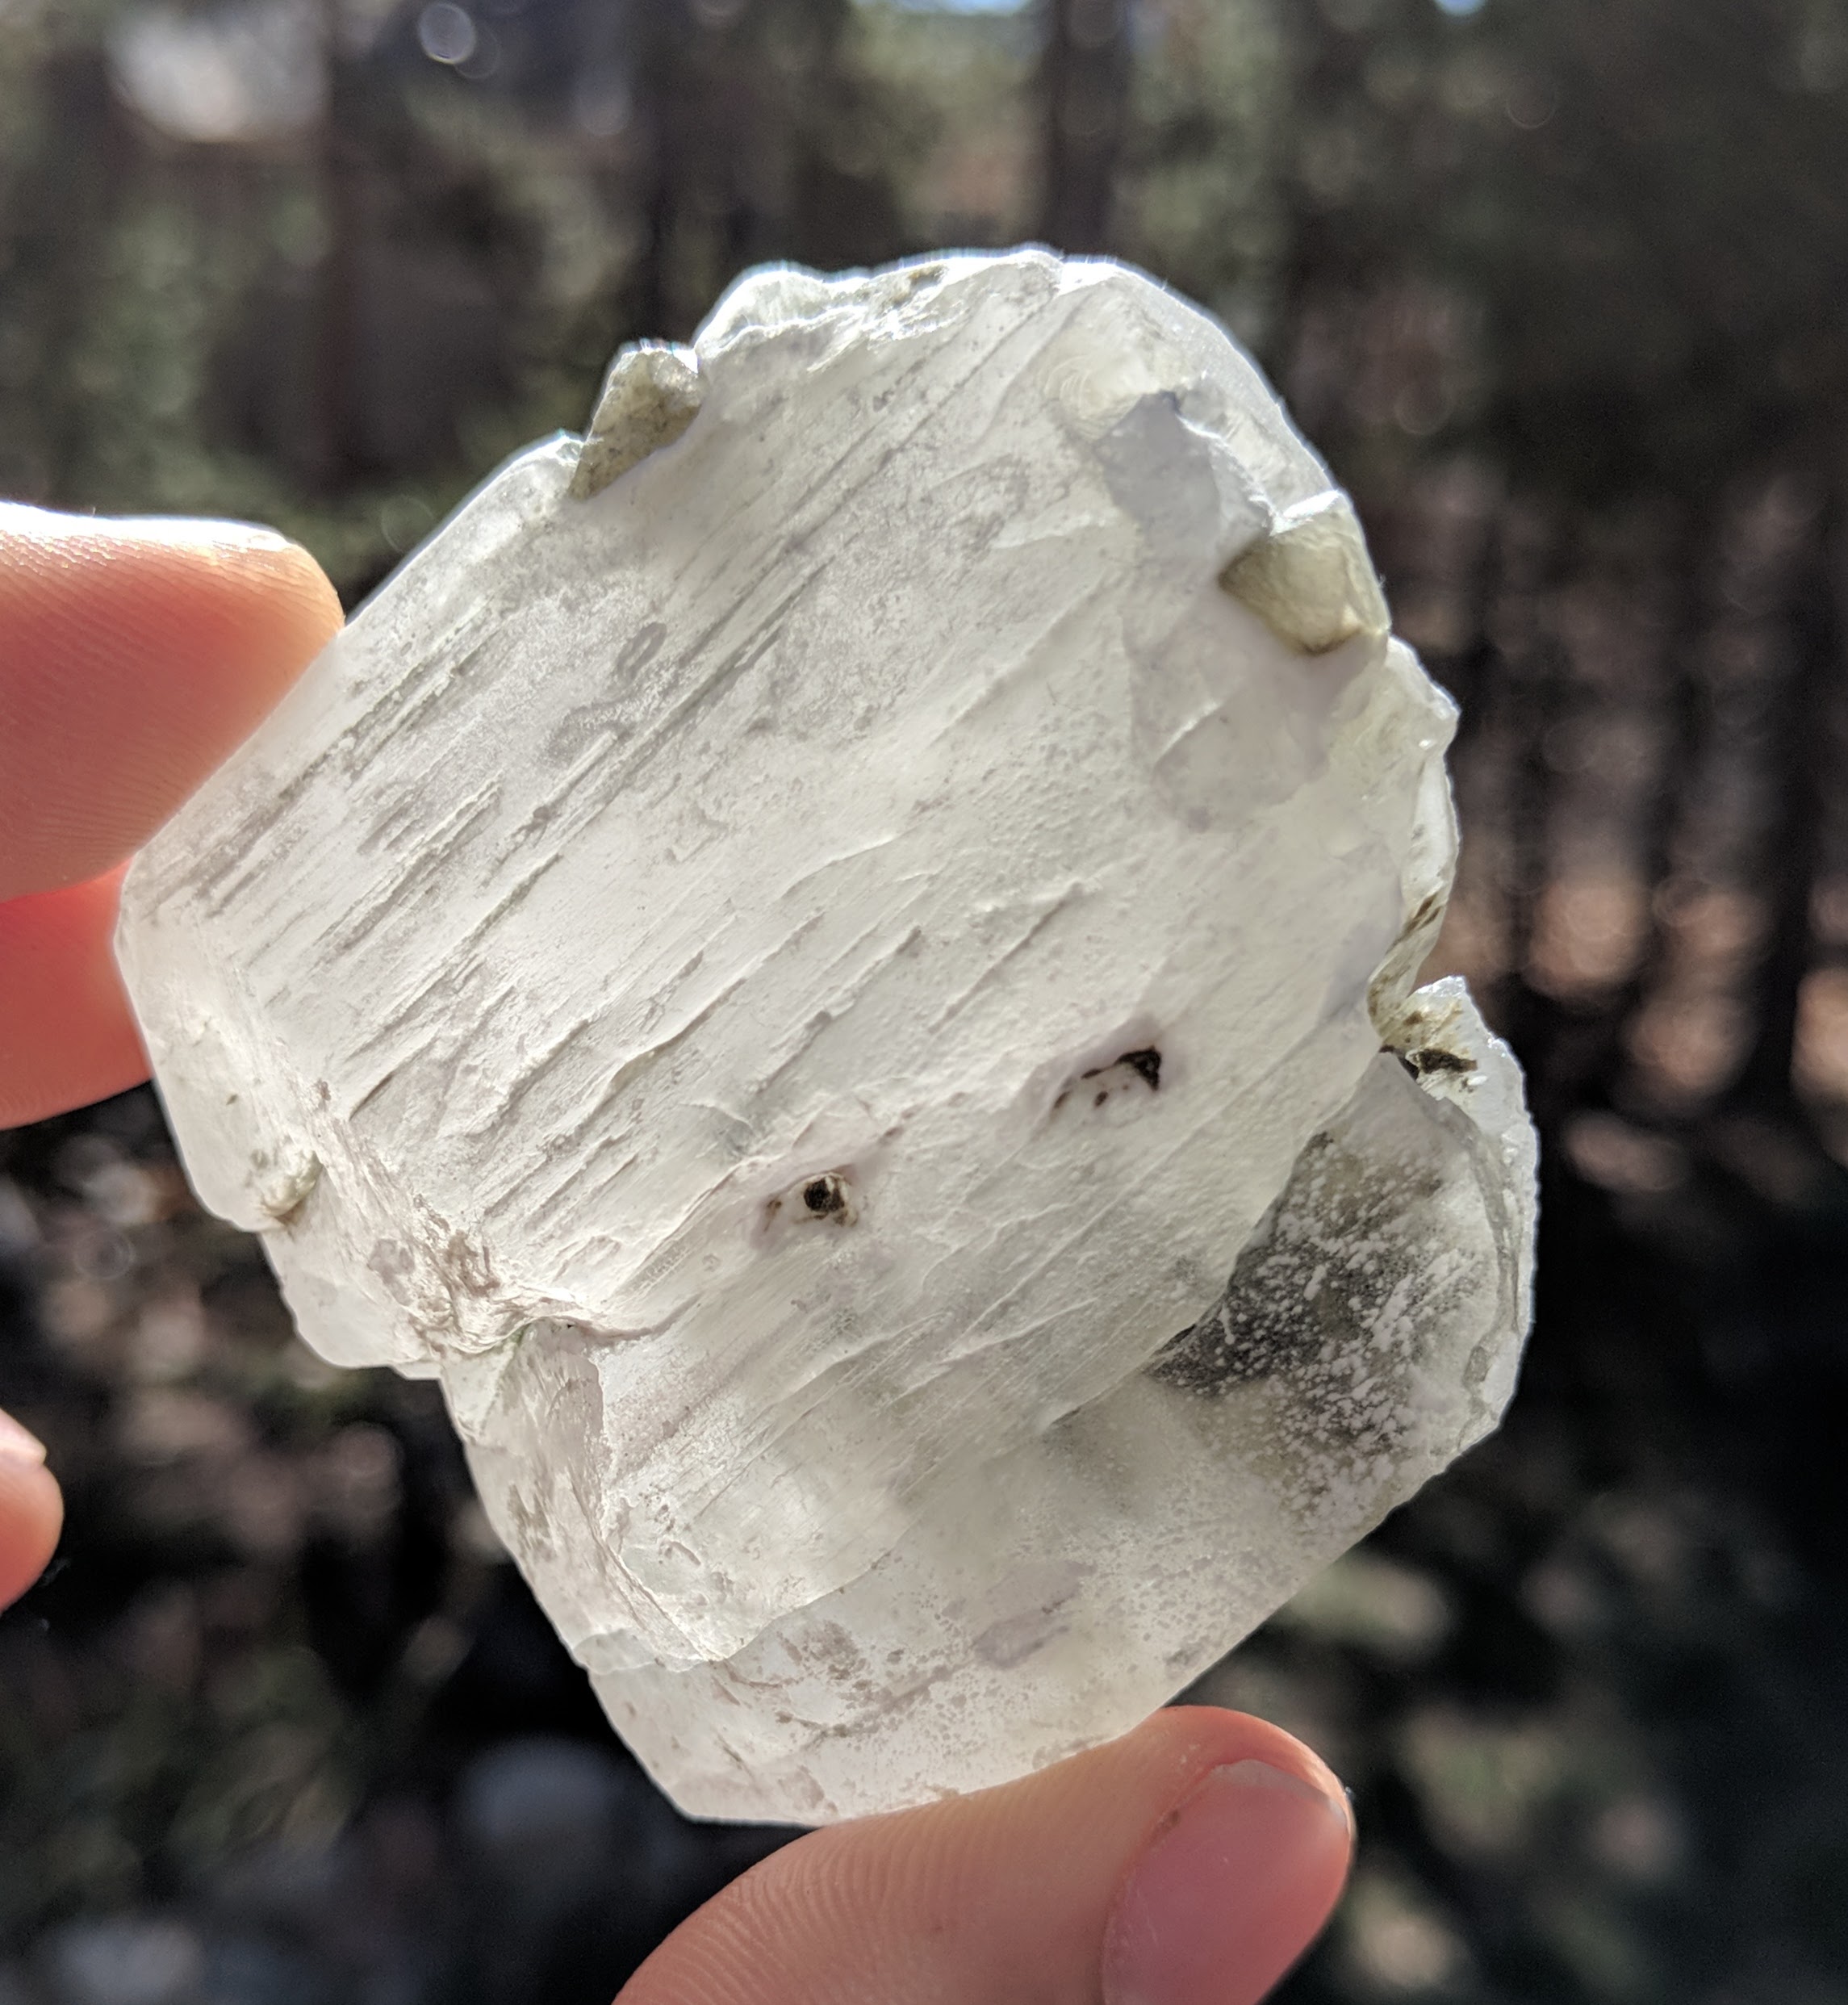
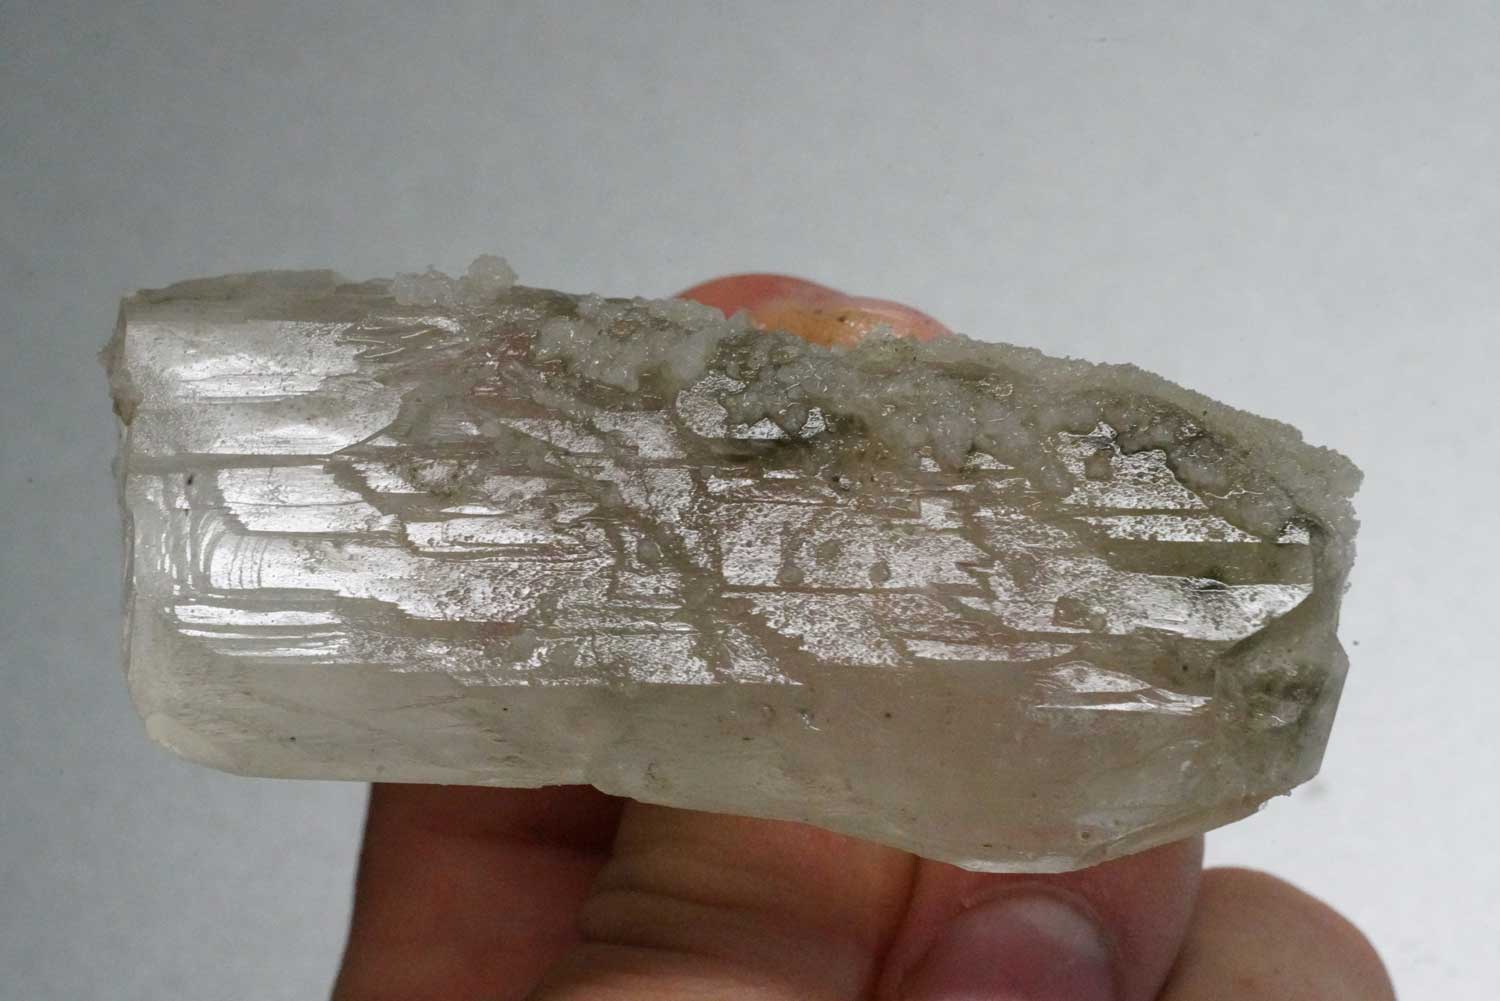
The second field trip on Saturday was the blow-hole trip. We learned last year that the hanksite crystals were neat from this dig as there were basically three types we want, all double-terminated. Barrels with flat ends, one side flat and the other side pointed, and both sides pointed. But, the hanksites from this dig are not as big or cool typically as the mud dig. My focus was to find Sulfohalites, interesting Borax, Halite cubes and clusters; also potentially hanksites if they were awesome.
Watching the demo of blowing crystals out of the ground was cool; but this year I decided to just focus on collecting as much as possible. Again, even though we were in what we thought was a good place in line, we ended up going out of the way to the blow hole spot and it ate some time out of our collecting–but what are you gonna do? We dug in an area that was about 3-5 inches deep of crystals that had piled up. Once sitting in the right direction to get the best sun reflections off the crystals (and out of the shade of the body and hat) we were able to make quick work of sifting through the crystals. I had a small 2-gallon bucket and just tossed the crystals in there; except for the small ones I put in individual 3×3 inch baggies that I brought. This was to ensure the little crystals, or nice ones, didn’t get damaged in the bucket.
This was the last field trip for the day so I didn’t spend any time cleaning crystals at the field trip site. After dinner, we drank a beer, chatted and cleaned into the night. I wrapped the wet crystals in wet paper towels and put them in zip-lock baggies once cleaned. Some that were fully cleaned I applied mineral oil to with a brush. Eventually all crystals except the Halite plates would get mineral oil since we live in a very dry climate.
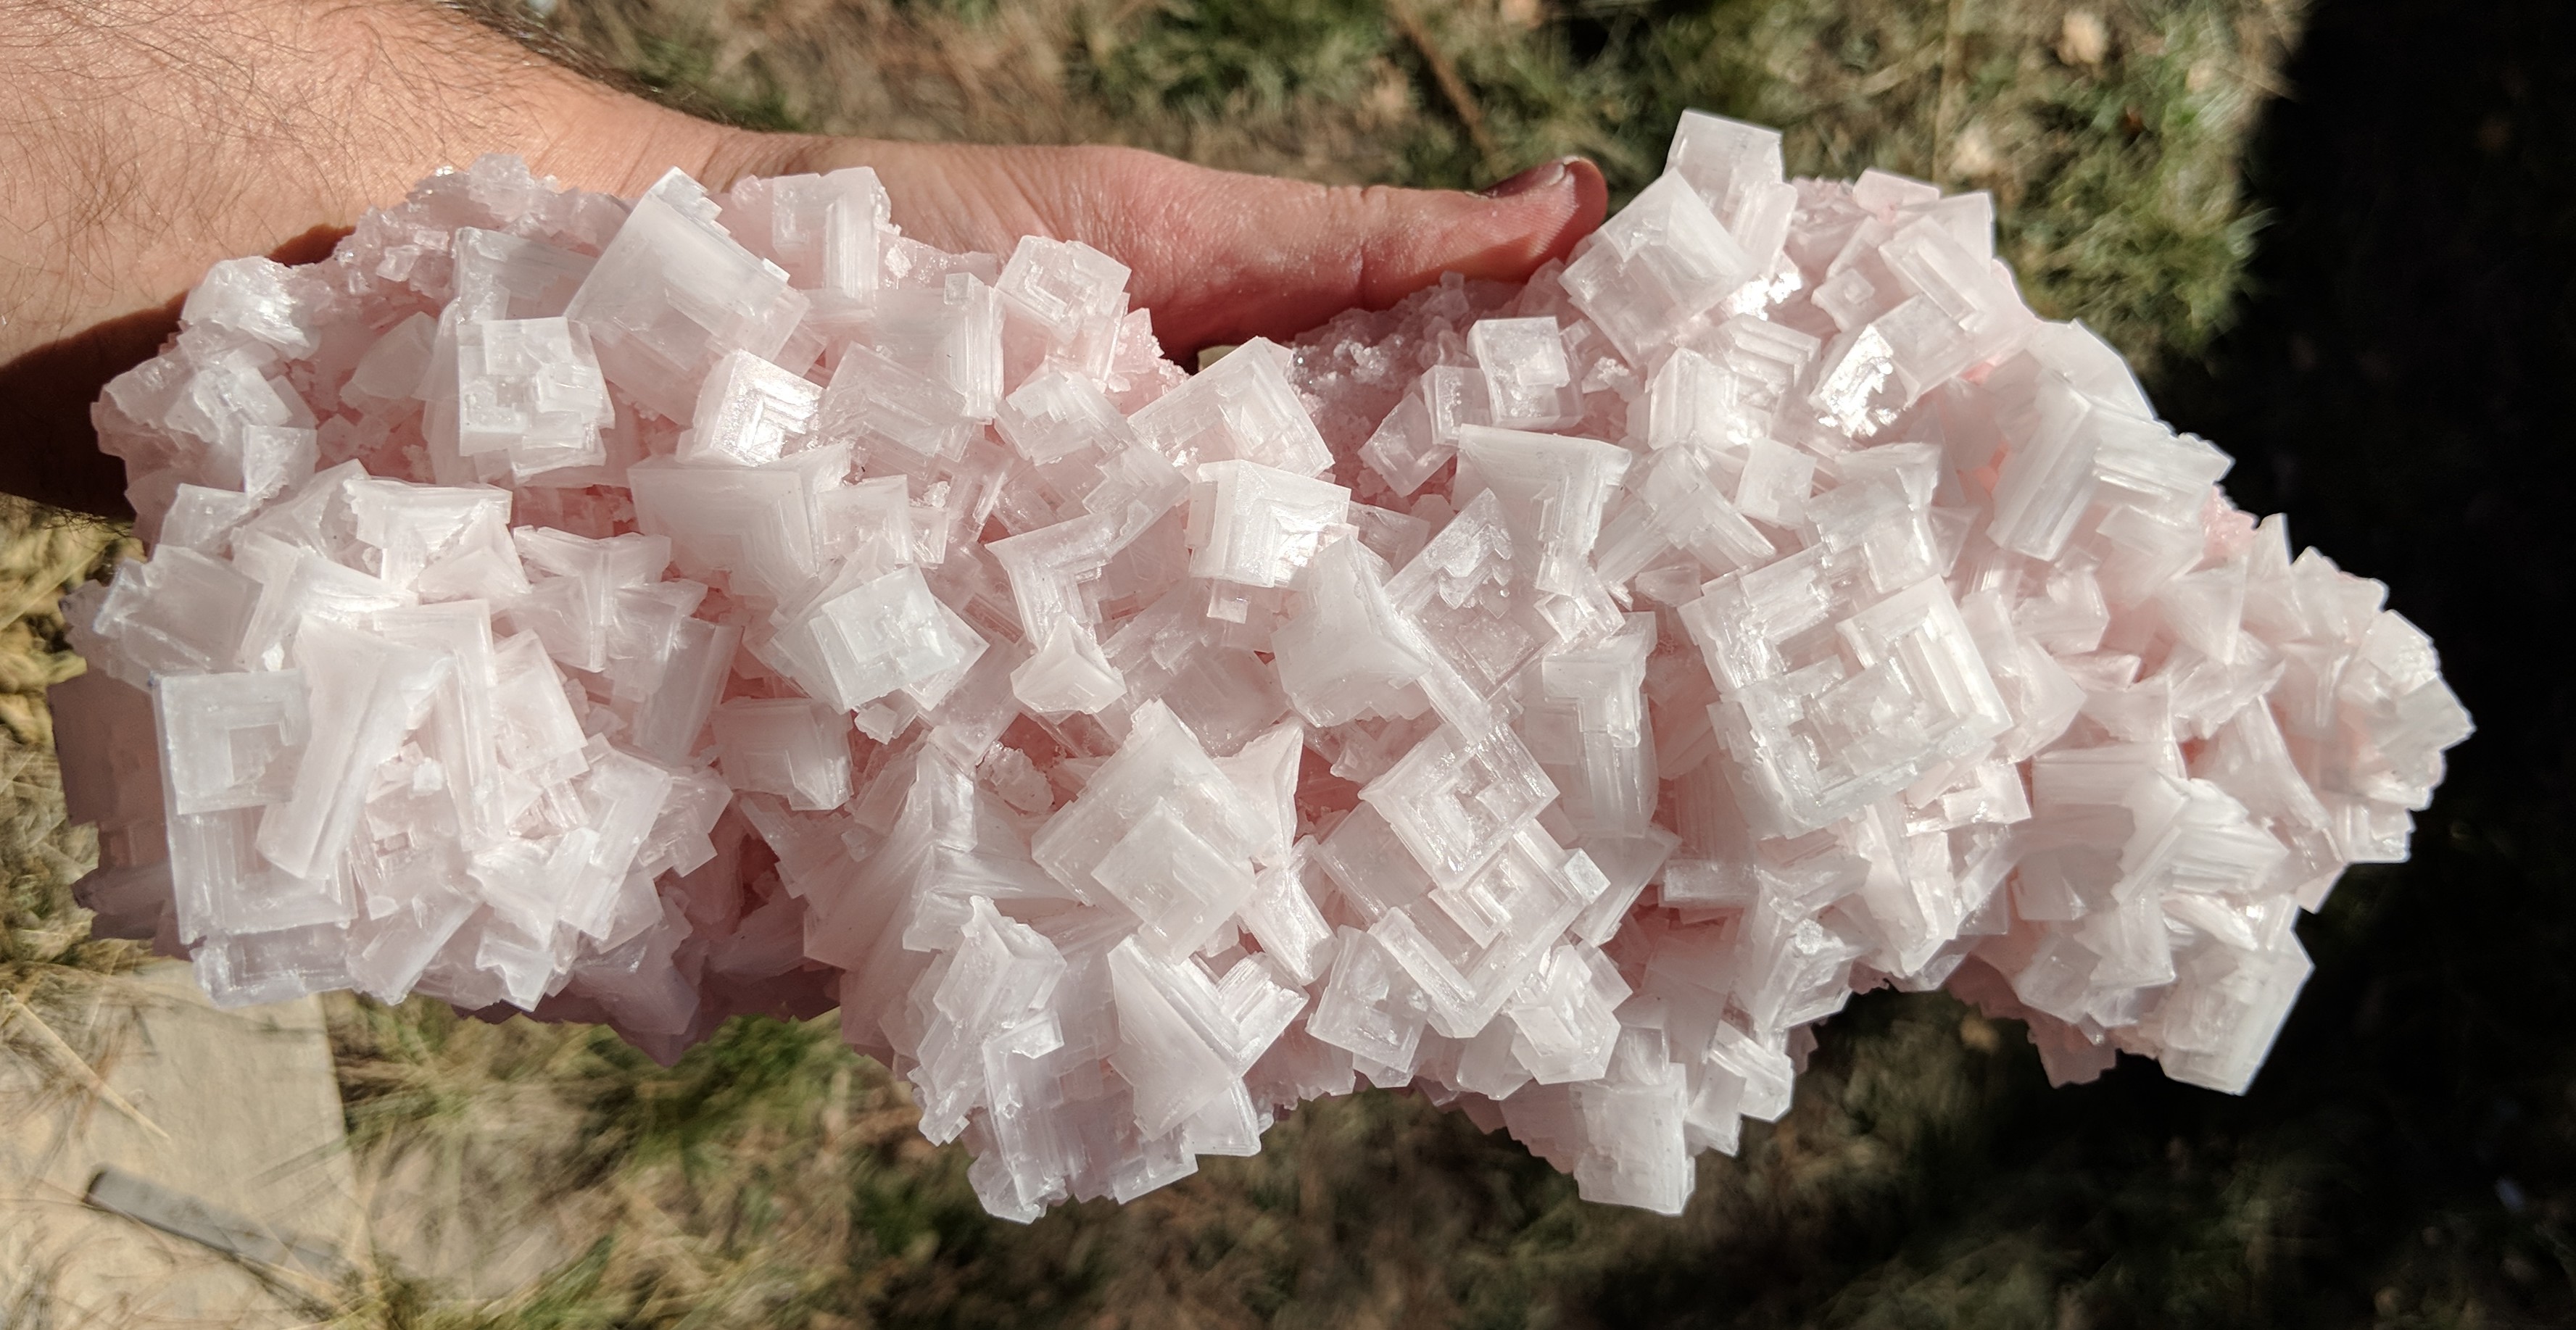
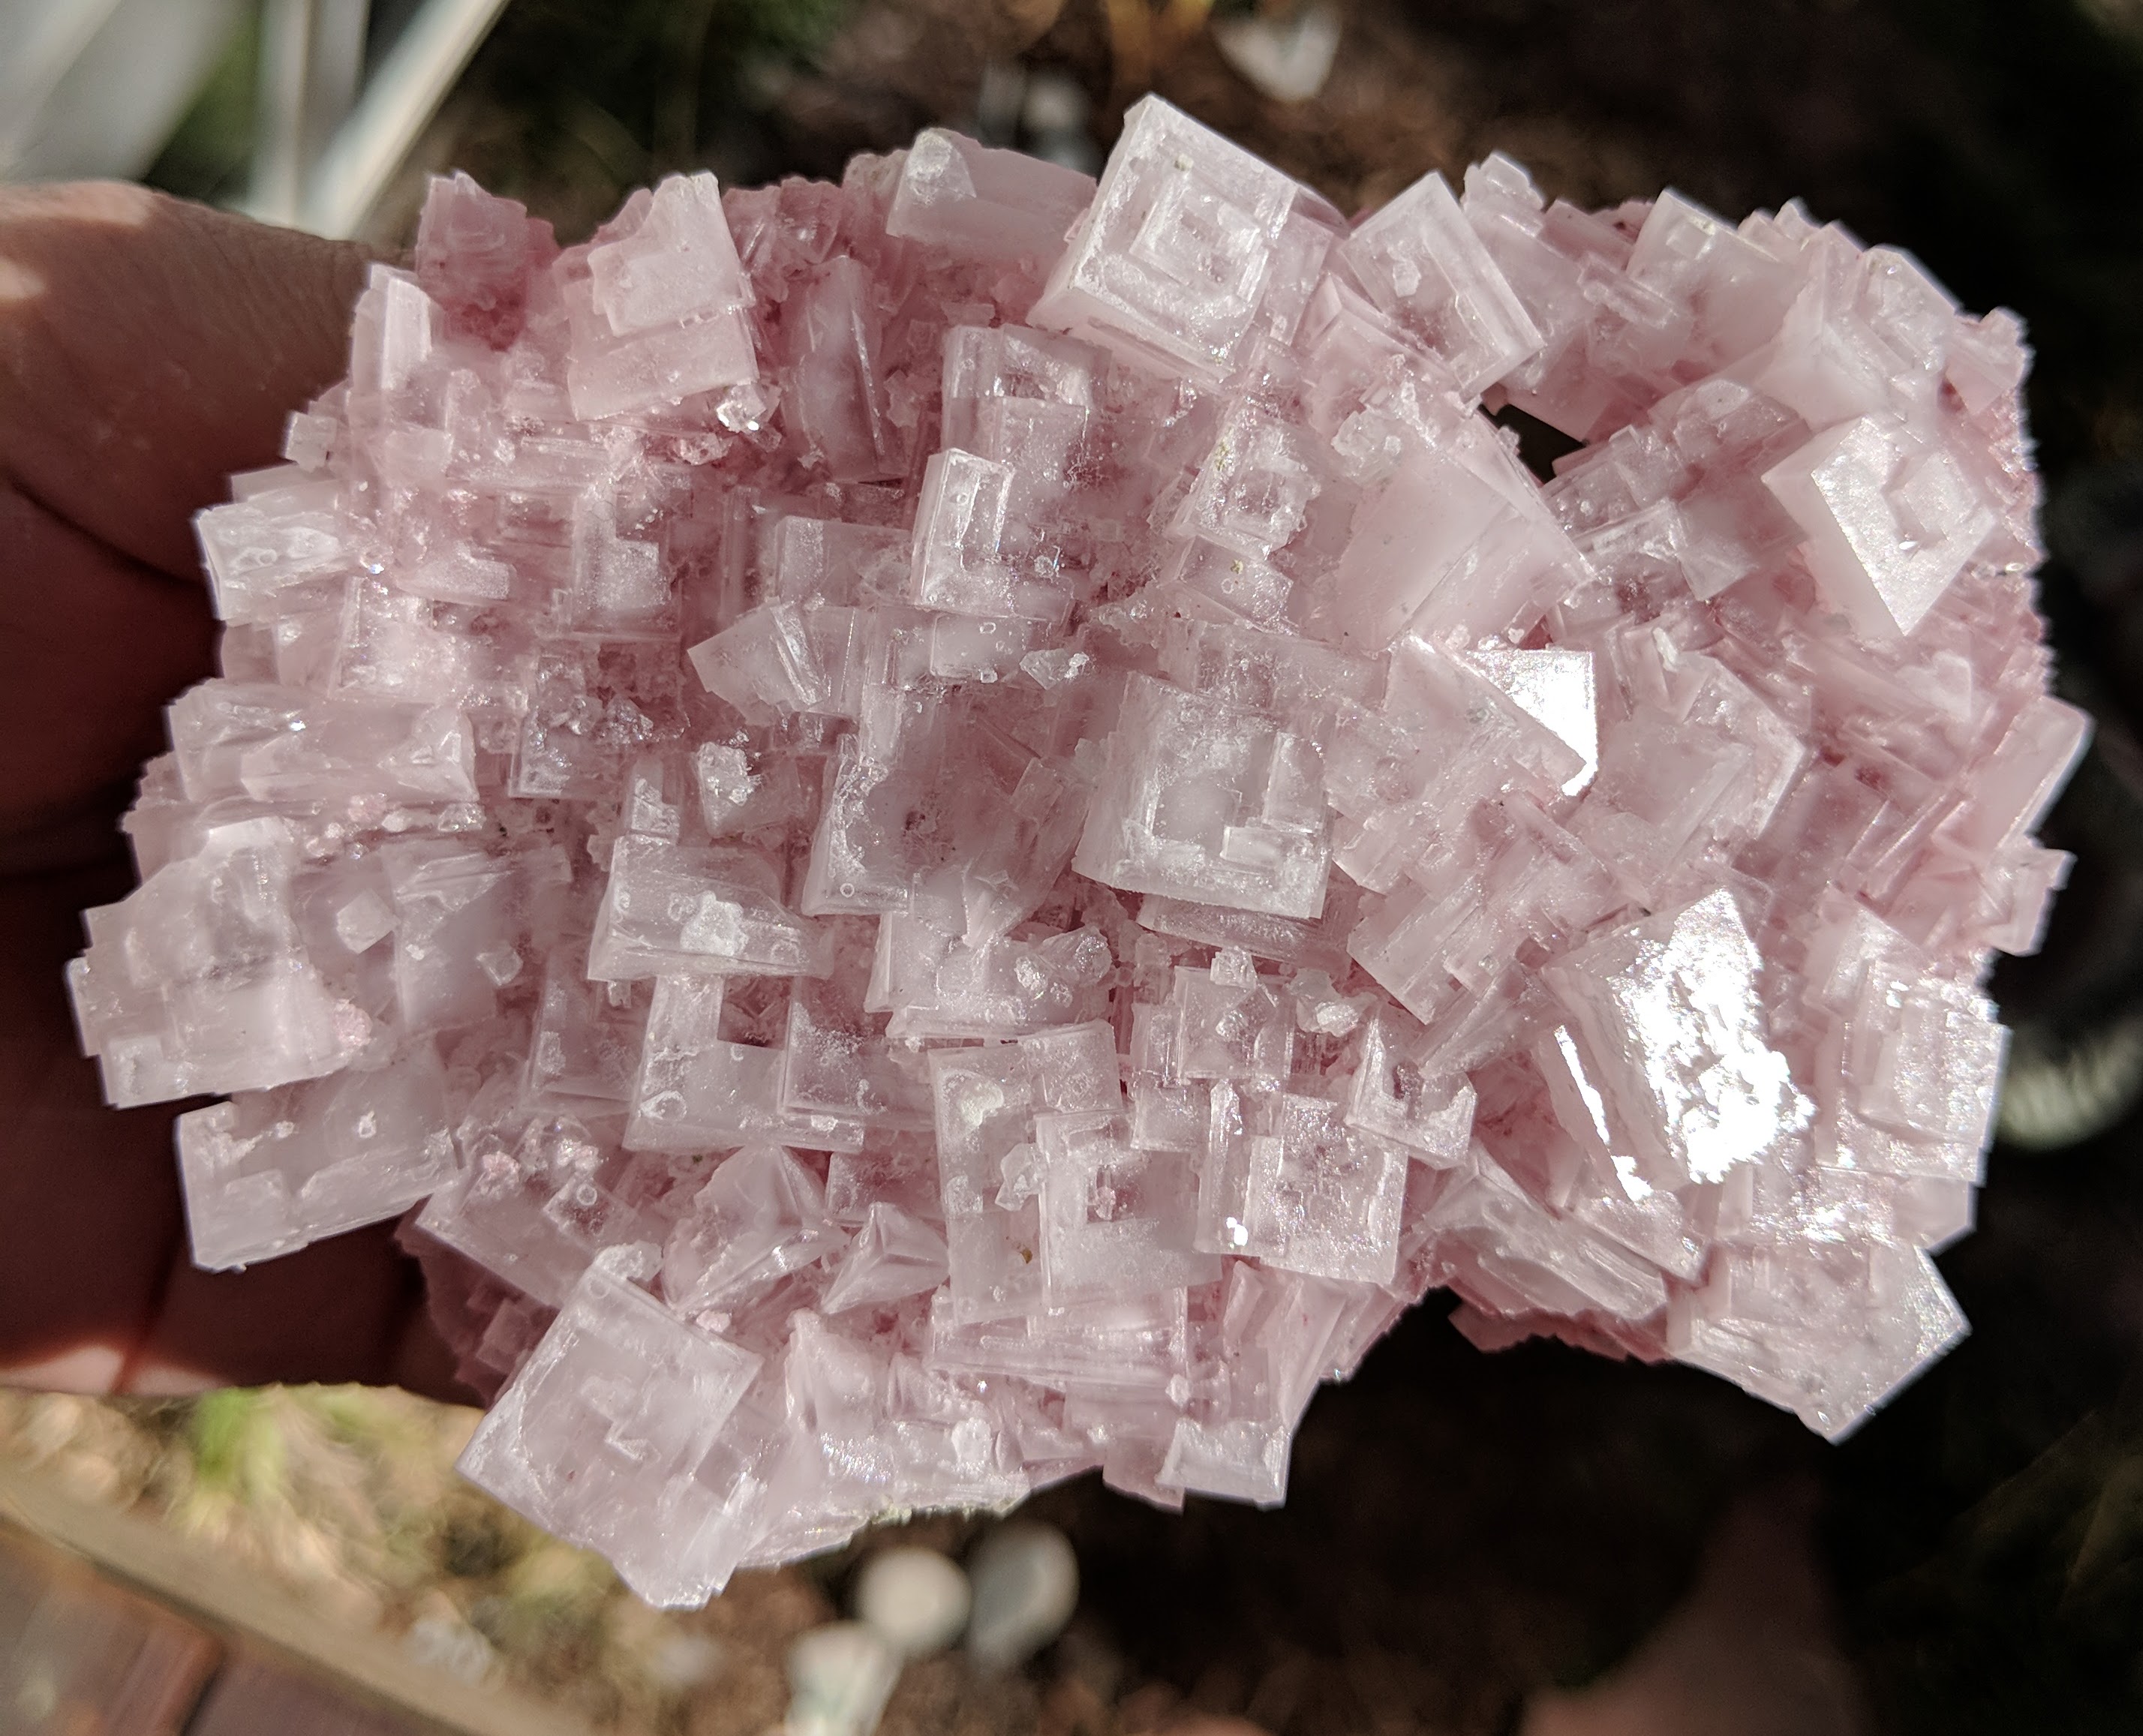
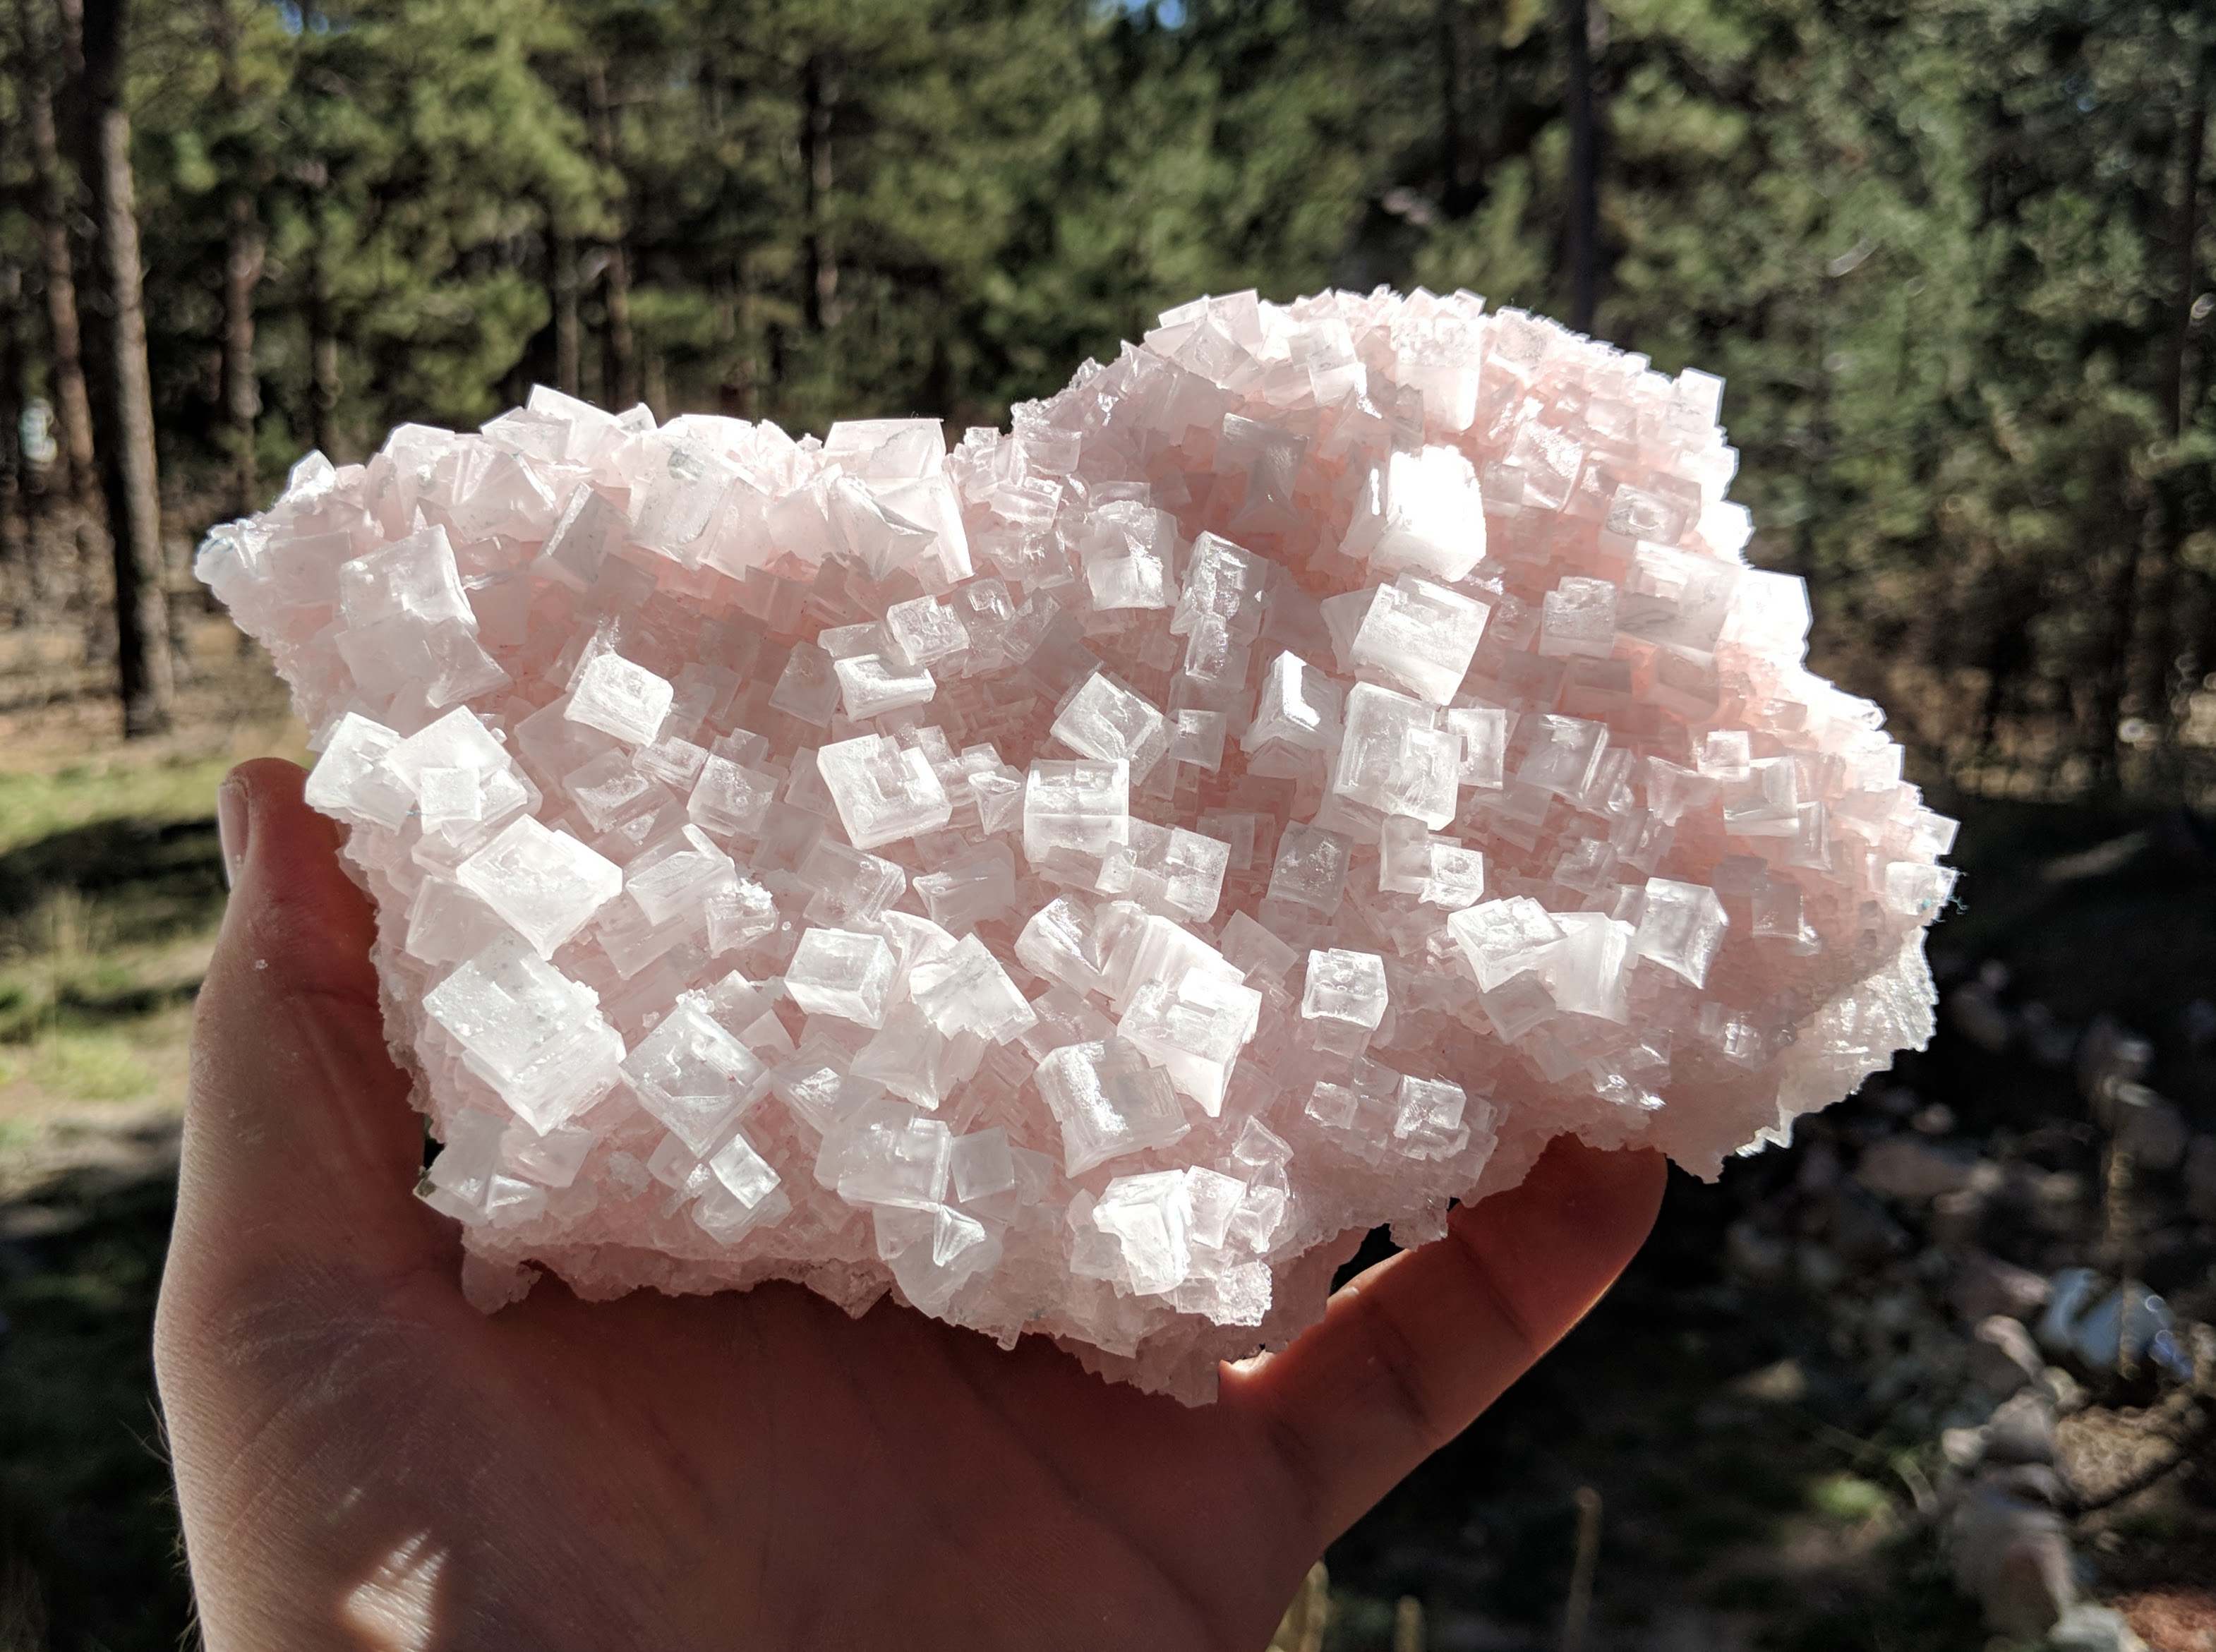
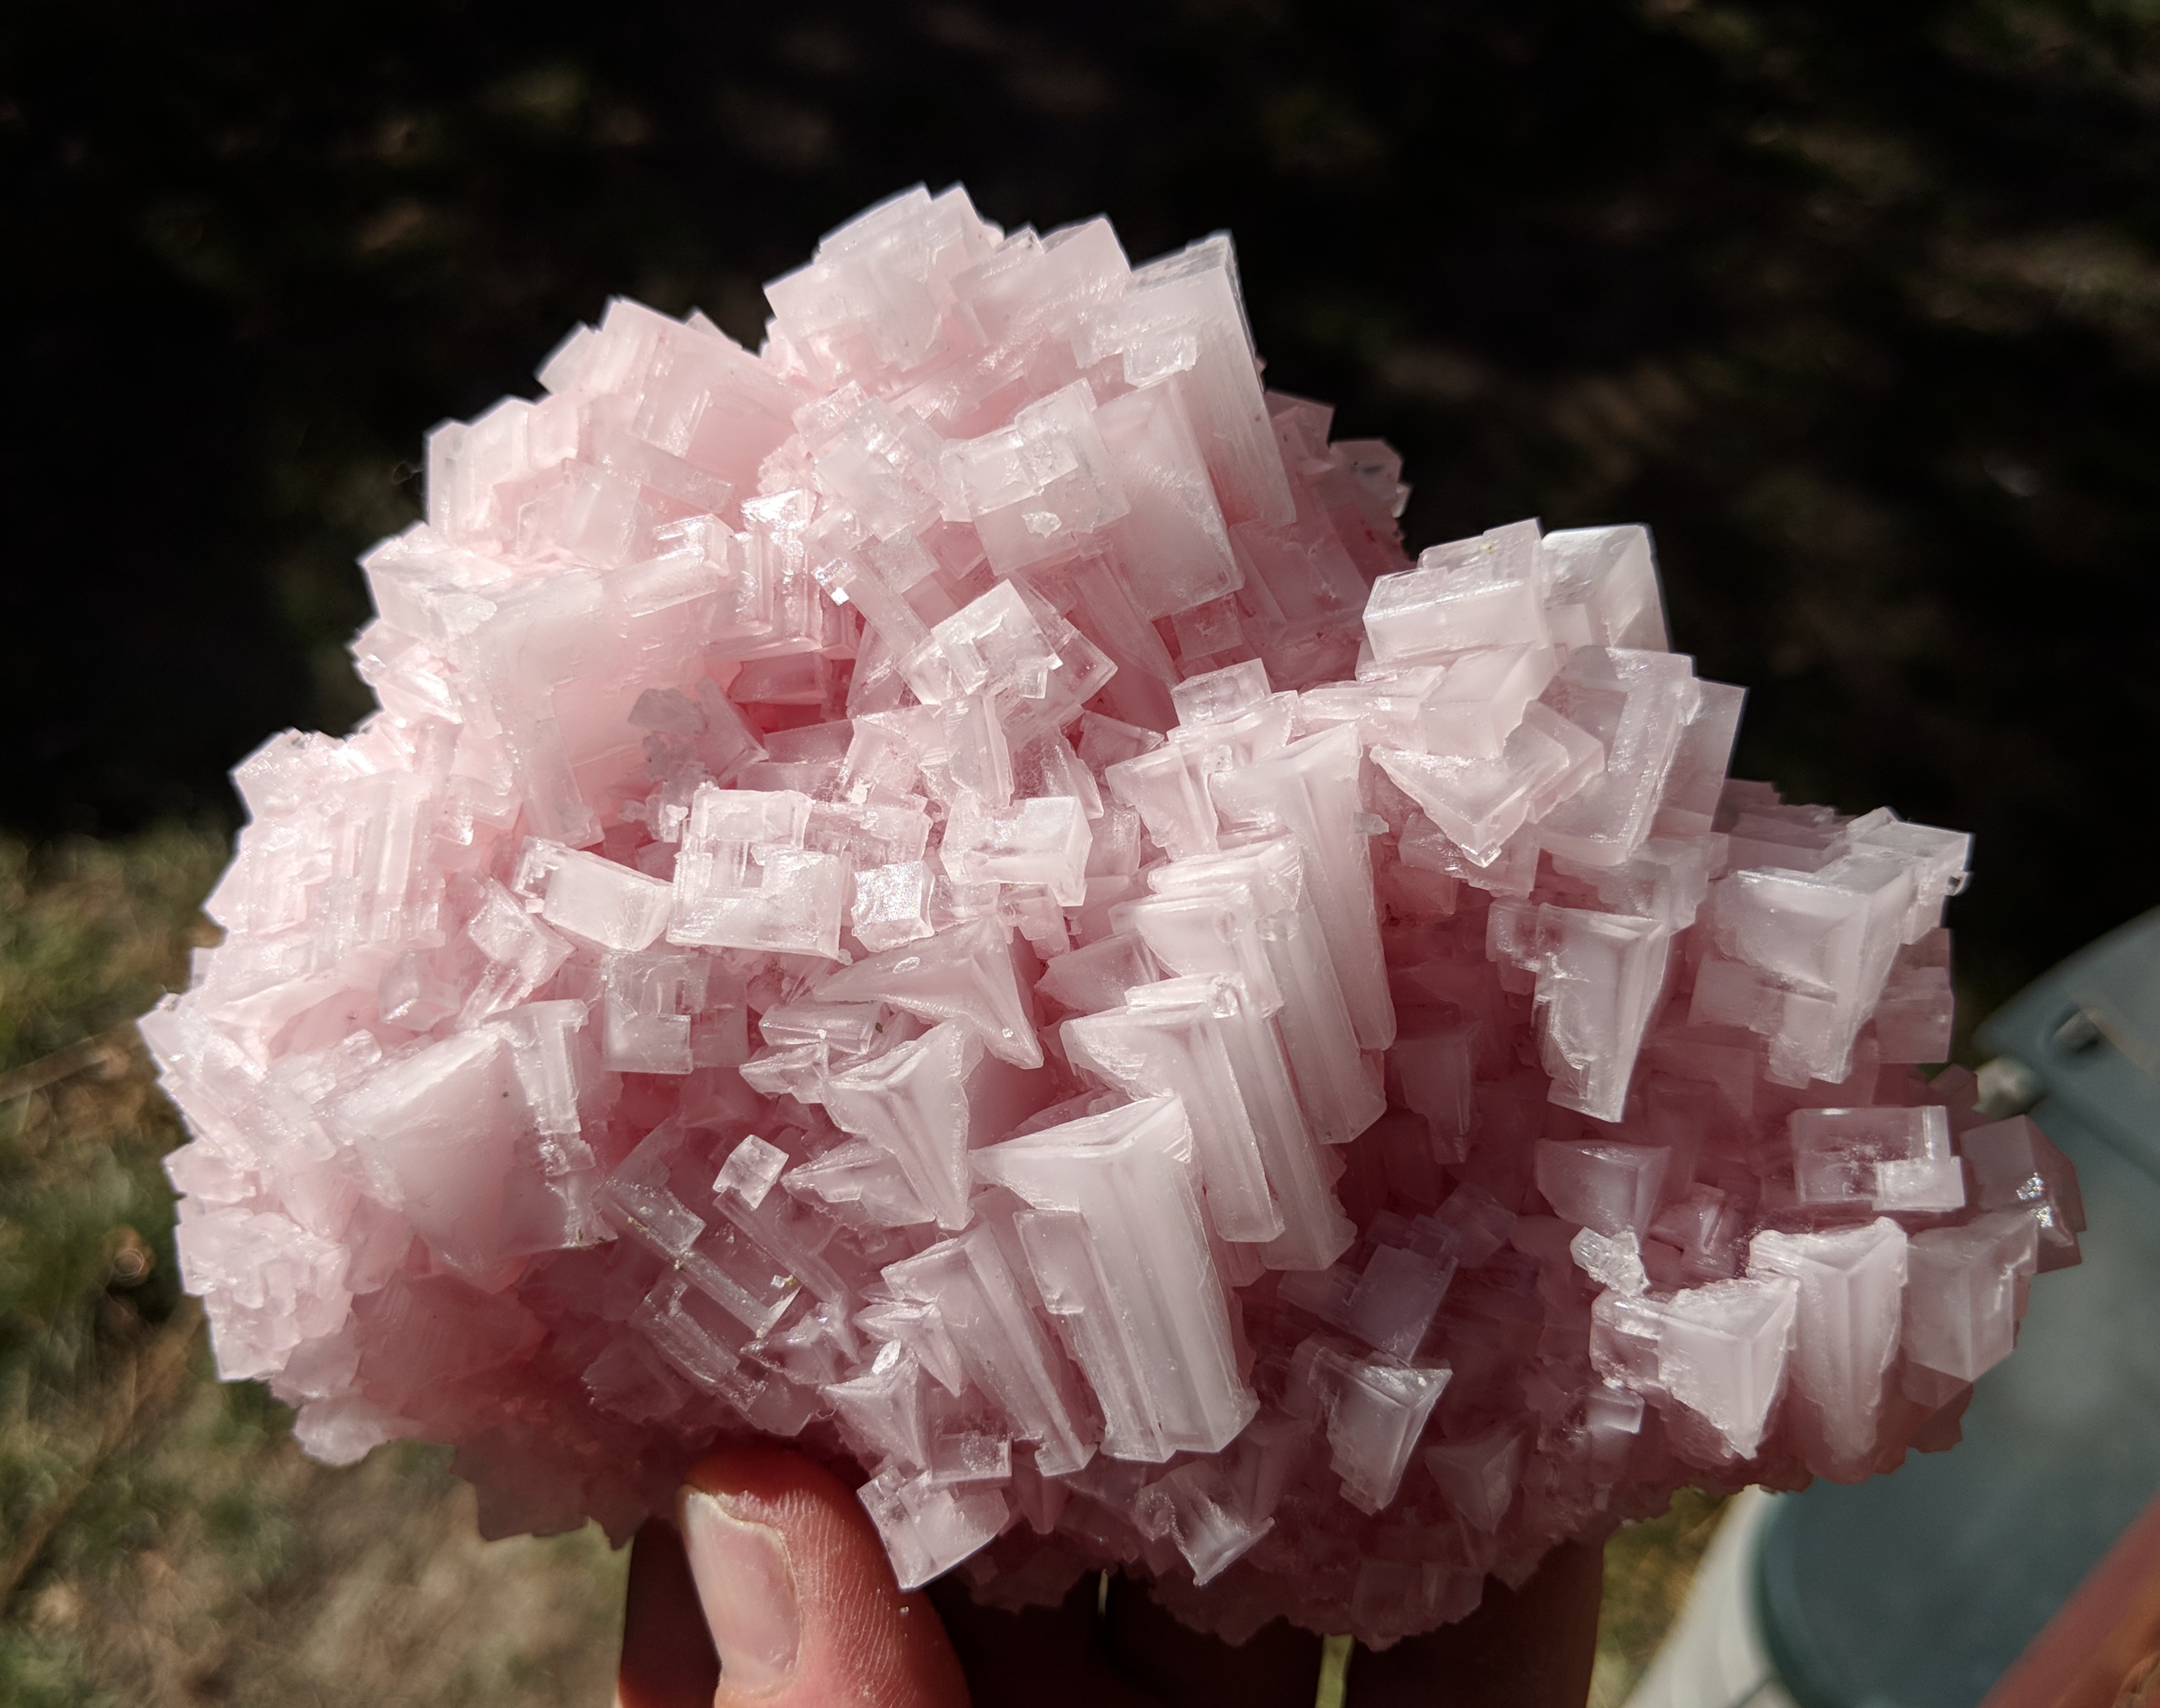
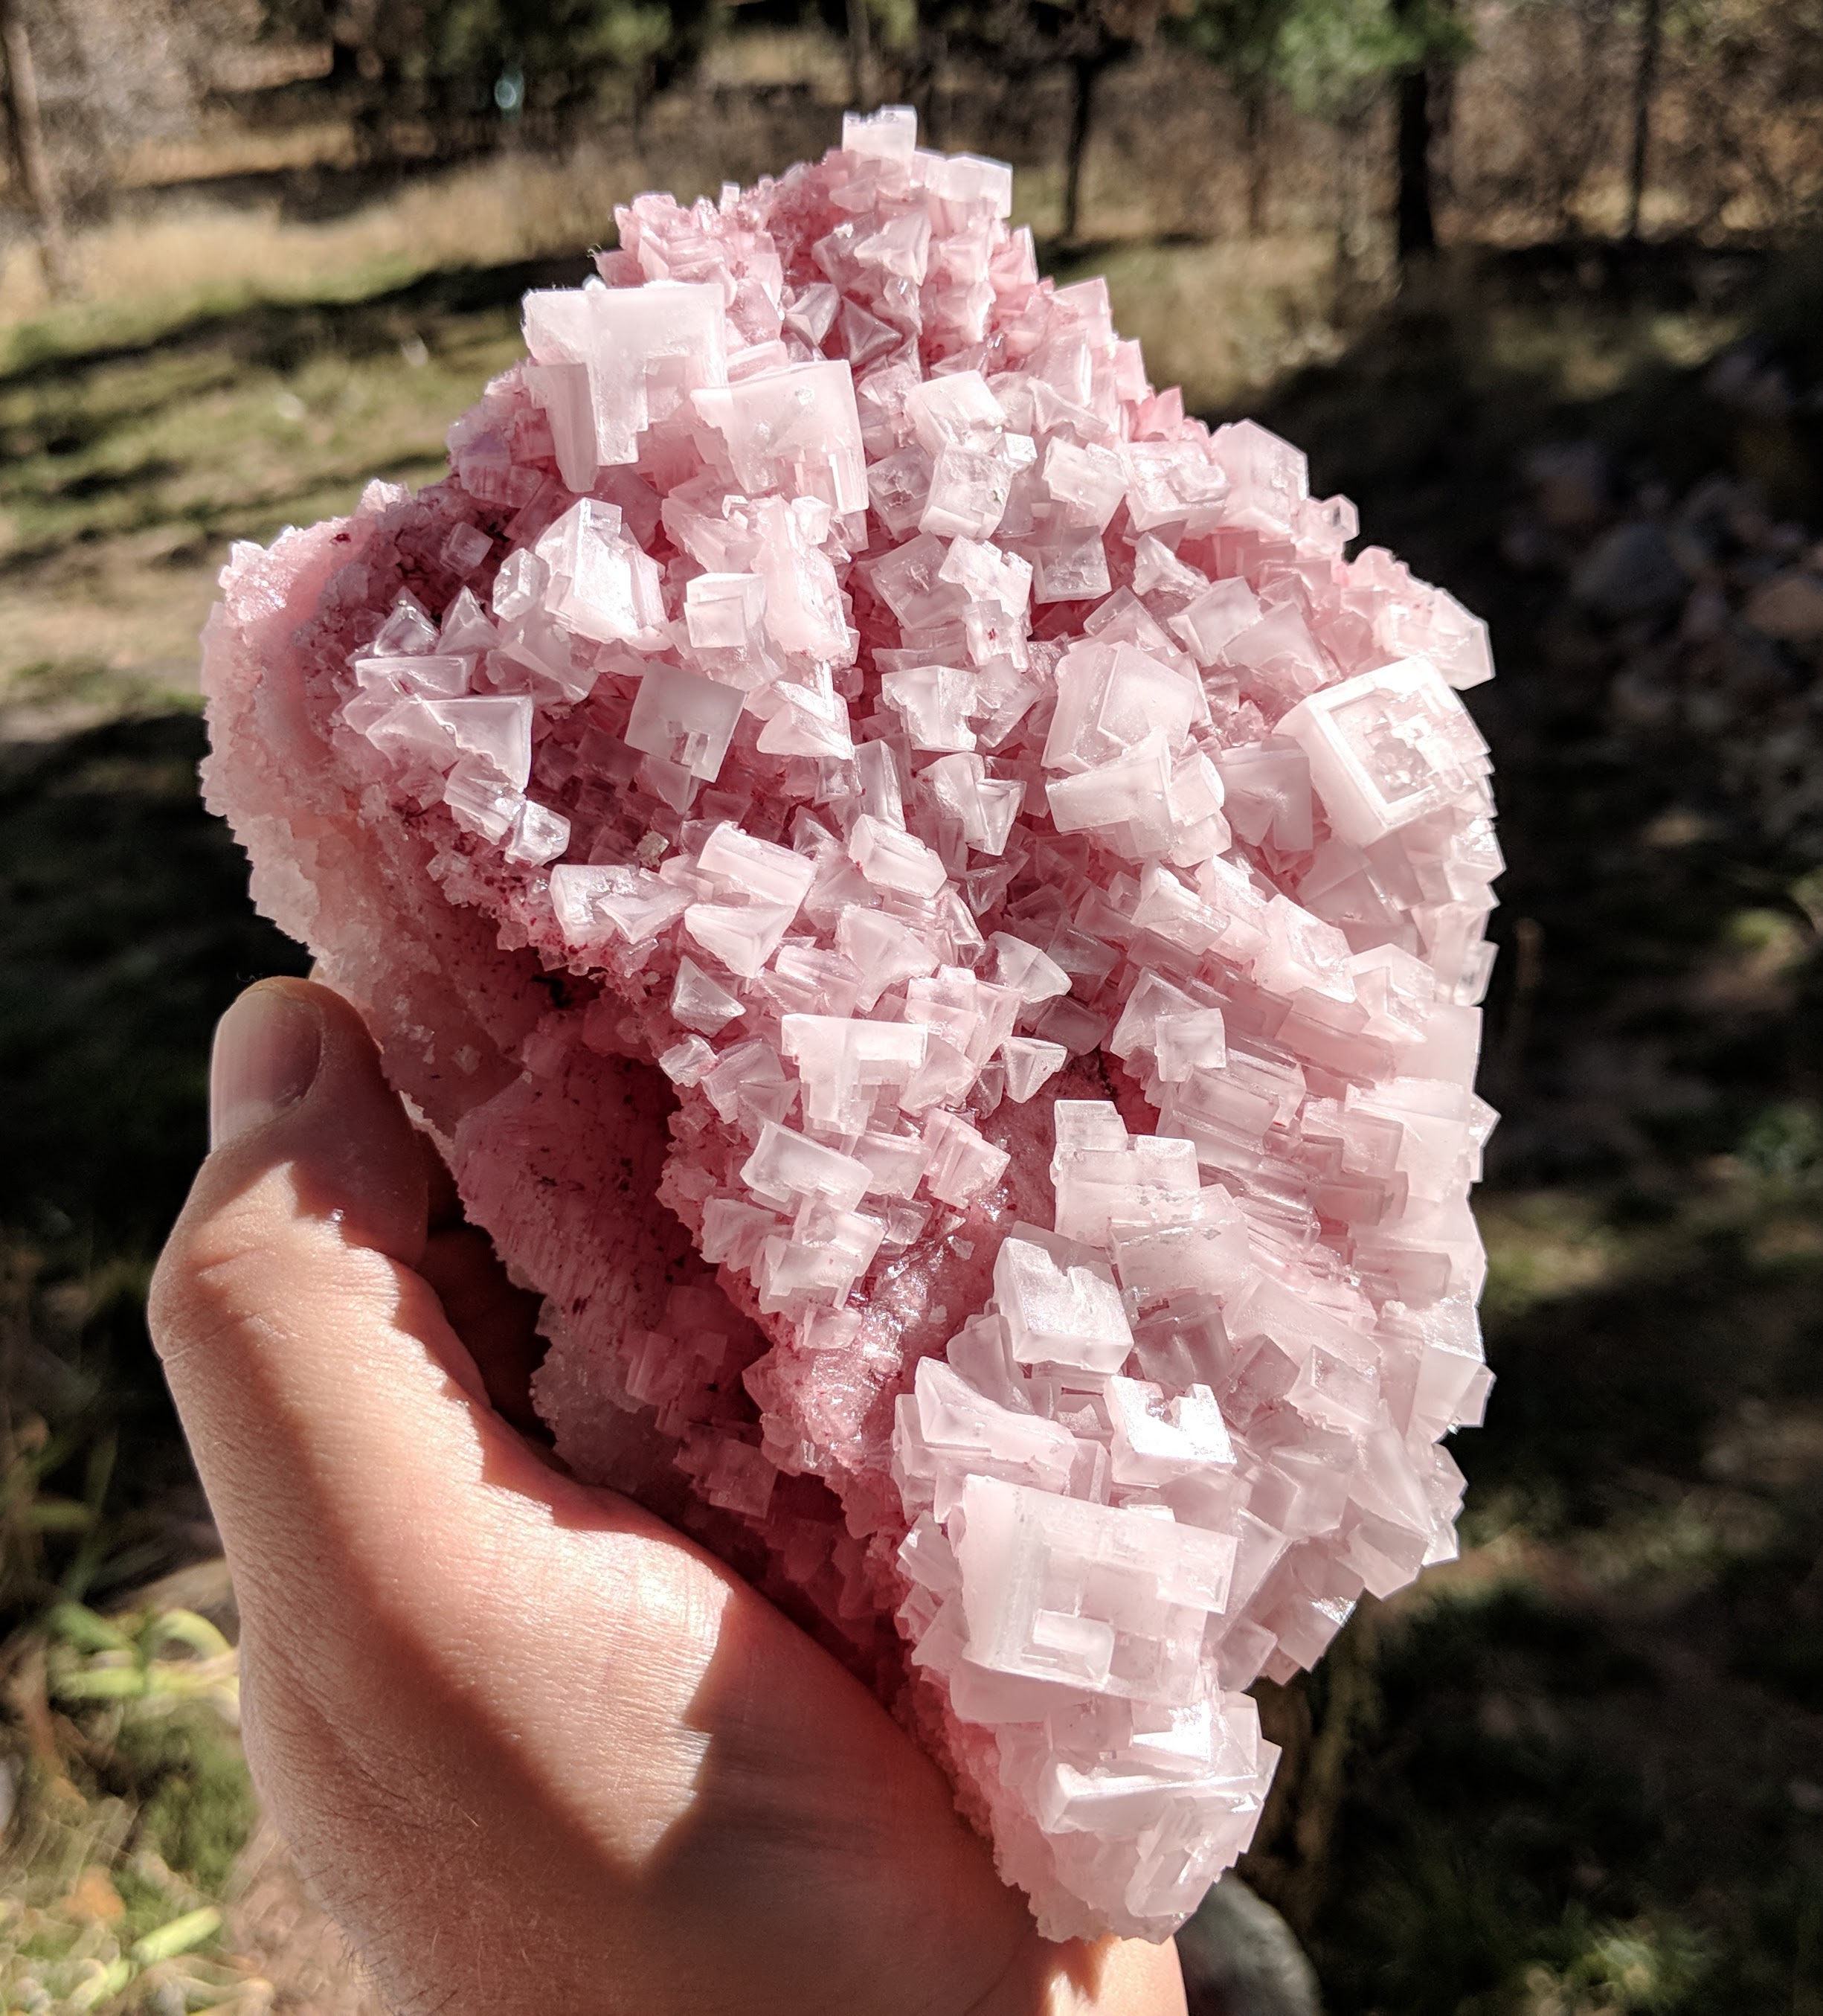
The final field trip was on the salt lakes on Sunday morning. We learned last year that the crystals grown on shelves, typically where there is running brine or on the edge of brine pools. Right away we were finding larger plates but with small crystals. I was digging in the pools and Kirk found a spot (right where everyone was walking by to get further out into the lakes) digging in the ditch at the edge of the lake. This ended up being the best spot and I joined him after a while. We pulled out so many cool plates of medium sized pink halite clusters from this area. We just feel along the edge of the ditch and you could feel the cube crystals with your fingers, then carefully extract the plates by either pulling up, or using a pick and breaking the plate in the size you want. The one problem was, we didn’t have enough space in the car to bring a ton of plates home, so we ended up giving many away to passers by–which in itself was a lot of fun!


For the trip home, I discovered last year that if you pack them in your salty clothes (you get pretty wet digging) they make the trip well. I packed them in a 5 gallon bucket on top of my zip-lock baggies of other crystals from the previous digs. I also brought a couple of beach towels this year to wrap the plates in. The dealers there utilize either produce boxes or hard plastic storage boxes you get at the hardware store. These come out clean, so just a rinse in the ditch and leave them out to dry is all that is needed before you wrap them in cloth. I only had a couple break apart on the way home, having them secured in the bucket was safe. I do not use mineral oil on the halite plates but do use it for the other crystals.
Again, a wonderful trip filled with fun! This time Kirk’s boys got to join us. Hopefully there will be many more Gem-o-rama trips in the future!